Just think of a sunny Sunday morning. Waking up to the smell of freshly baked rolls that guides you to the kitchen for breakfast. No rush, no hurry…just some time for you to enjoy a very relaxed breakfast. This unique smell and the joyful anticipation of a good breakfast – there is nothing better than that.
The best thing is: You don´t even have to leave the house and stand in line with the other 30 people that would like to buy rolls for their Sunday morning breakfast. You can stay at home, already enjoy a good cup of coffee and definetly eat your rolls while they are still warm. Here is the perfect recipe for your Sunday morning breakfast rolls – Enjoy & Happy Baking!
Things to know before you start
Time Schedule
| Steps | Work time | Waiting time |
| Autolyse | ~5 minutes | 18 hours |
| Mix | ~20 minutes | 10 minutes |
| Bulk Fermentation & Degassing | ~5 minutes | 60 minutes |
| Shape | ~20 minutes | – |
| Proof | – | 60 minutes |
| Score | ~5 minutes | – |
| Bake | ~5 minutes | 20 minutes |
| Cool | – | 10-15 minutes |
These delicious breakfast rolls will be on the table in under 21 hours.
Total ingredients
| Weight | Ingredient |
| 500 g | All-purpose flour |
| 8 g | Salt |
| 8 g | Sugar |
| 8,3 g | Yeast – Fresh |
| 310 g | Water |
You will have a dough of about 834,3 g in total suitable for 8 rolls.
Difficulty
A nice and simple recipe for tasty rolls with just a handful of ingredients.
Baking tools
A bakers couche can come in pretty handy during the proofing phase. You can find a good one in our should have baking tools overview.
Steps
1. Autolyse
| Weight | Ingredient |
| 200 g | Water – Lukewarm |
| 0,3 g | Yeast – Fresh |
| 200 g | All-purpose flour |
- Mix all ingredients thoroughly together
- I used water straight from the tap
- Store sealed for 18 hours at 20-22°C (68-71,6°F)
2. Mix
| Weight | Ingredient |
| 8 g | Salt |
| 8 g | Sugar |
| 8 g | Yeast – Fresh |
| 110 g | Water – Lukewarm |
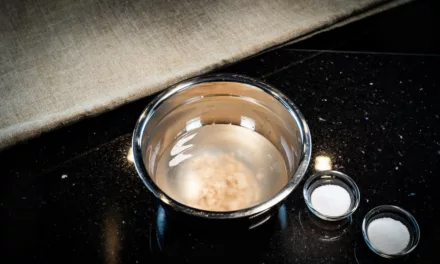
- Mix salt, sugar and crumbled yeast with water in a separate bowl to dissolve
- Again water straight from the tap is perfectly fine
| Weight | Ingredient |
| – | Autolyse |
| 300 g | All-purpose flour |
| – | Dissolved salt, sugar, yeast and water mixture |
- Mix all of the mentioned ingredients together in a stand mixer for 5 minutes on speed one and 10 minutes on speed two
- The dough should be elastic and smooth
3. Bulk Fermentation & Degassing
- Cover the dough and let it rest for a total of 60 minutes at 24°C (75,2°F)
- During that time degas the dough once after 20 minutes and a second time after another 20 minutes have passed
- Degassing is done by slapping the dough a couple of times on the top
4. Shape
- Unfold your bakers couche and coat it with flour
- If you don’t have a bakers couche you can use a clean kitchen towel
- Short guide on how to get the whole dough into nice rolls:
- Divide the dough into 8 small dough balls equalling each one to about 104 g
- On a very lightly floured surface flatten the dough ball a bit
- Pull the edges from the sides in the air and then in the middle of the dough to create a smooth outer skin on all sides of the dough ball
- Flip the dough upside down
- Cover the dough with your hand forming a claw around it
- Start rotating little circles with your hand on the dough for about 10 to 15 seconds
- Again flatten the dough a bit
- Place it seam-side up on the bakers couche
- Repeat the process for each dough ball
- Here is a short video from us on how this is done:
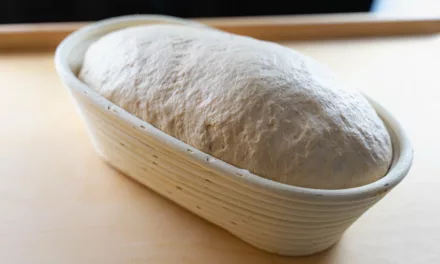
5. Proof
- You should have already placed your dough balls seam-side up on the floured bakers couche
- Cover them with the other half of the bakers couche or a second bakers couche / kitchen towel
- Let them proof for 60 minutes

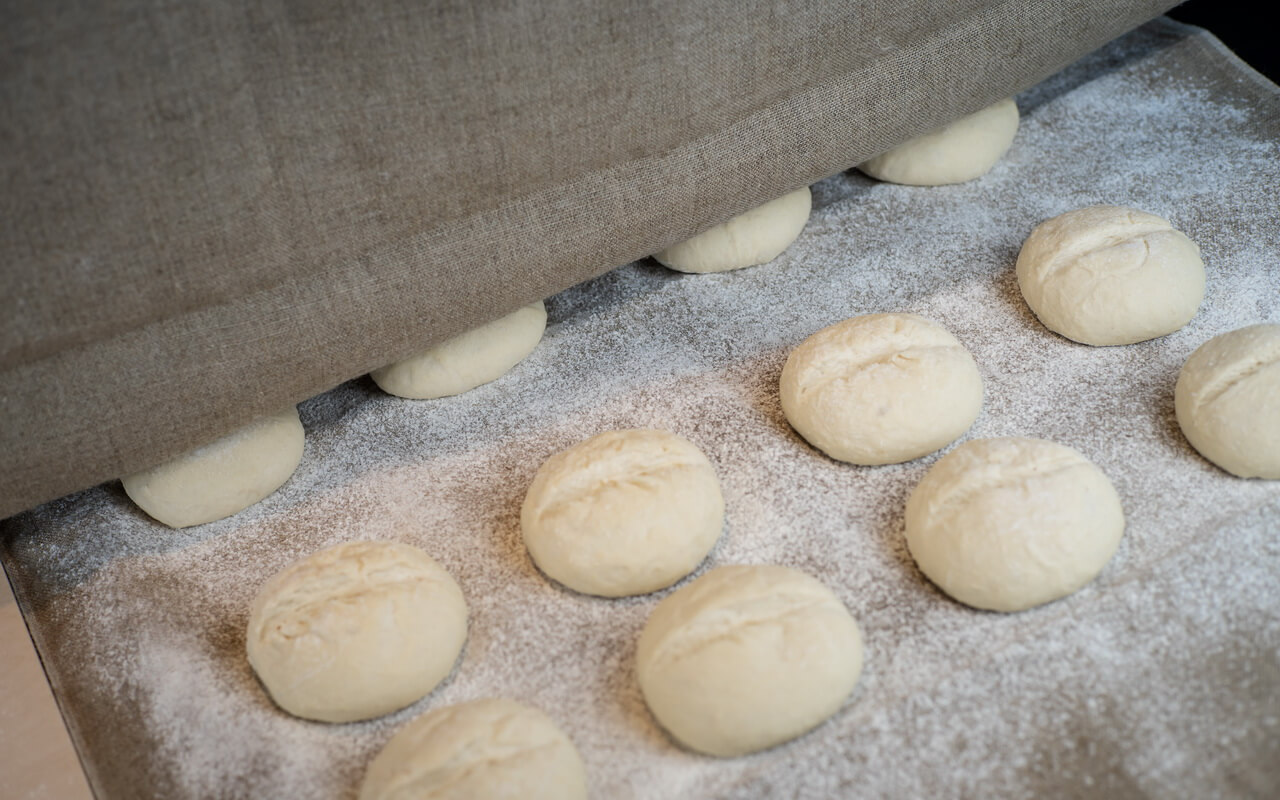
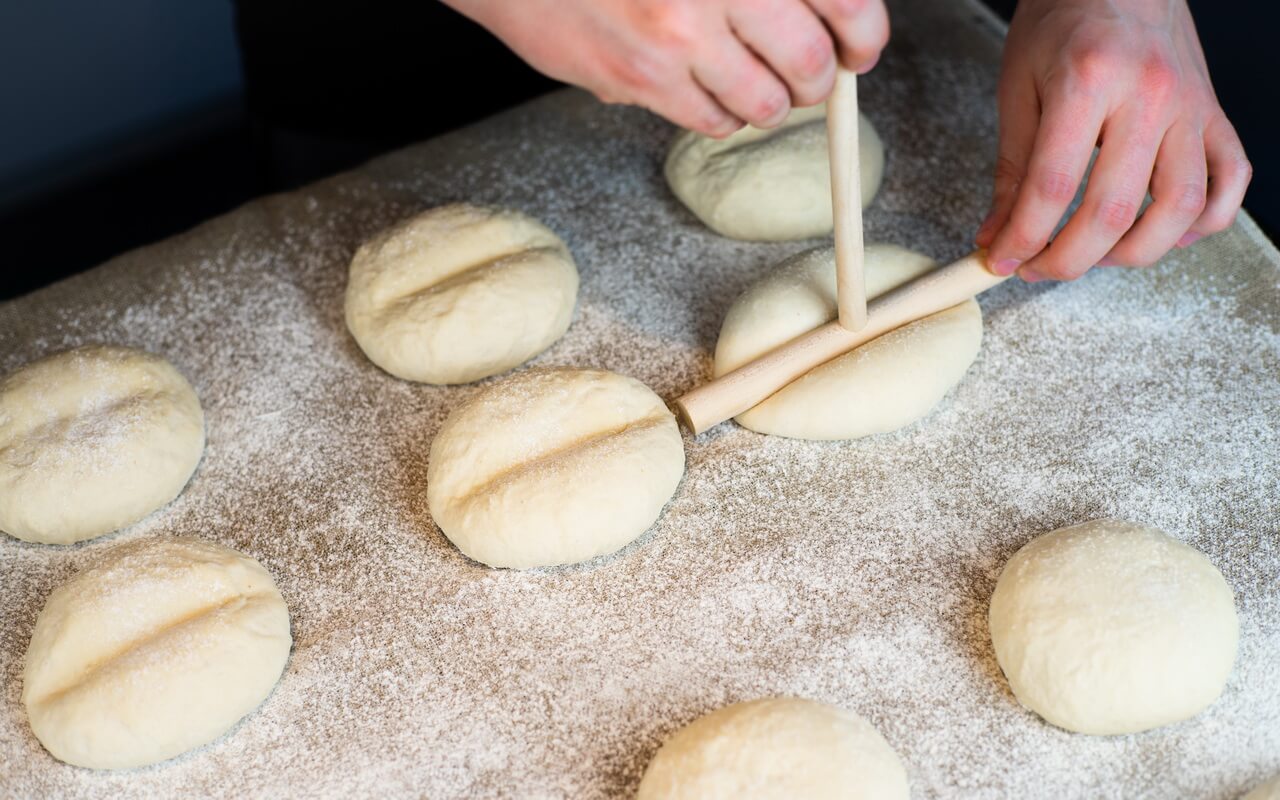
6. Score
- After the proofing phase make one quick cut in the middle from left to right on each roll
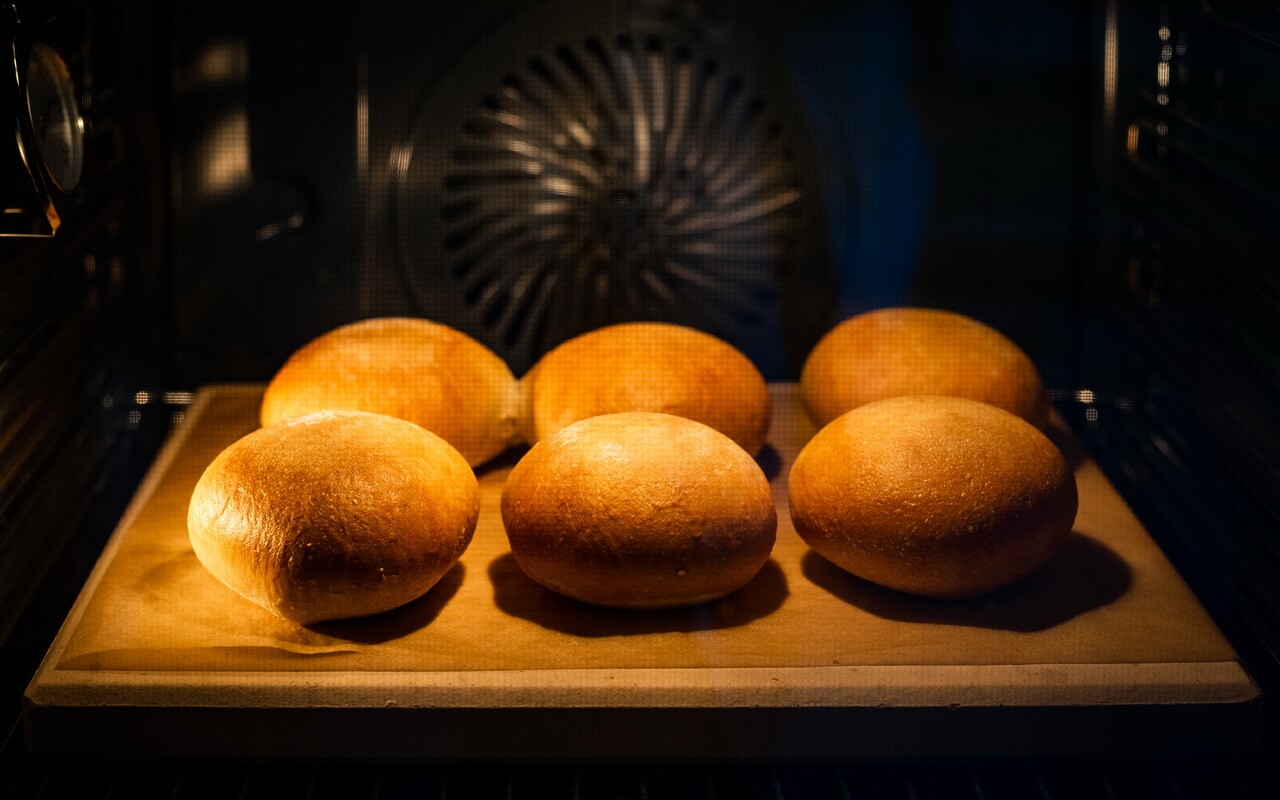
7. Bake
- Preheat oven to 230°C (446°F) for ~30 minutes with the upper and lower heat function
- Put the rolls in the oven, create steam and bake for 20 minutes
- Don’t let the steam out during the whole baking time
- After baking take your rolls out immediately
- Here is a video of the baking process in timelapse of our breakfast rolls for this recipe:

8. Cool
- Let your rolls cool for 10 to 15 minutes on some kind of grid
Conclusion
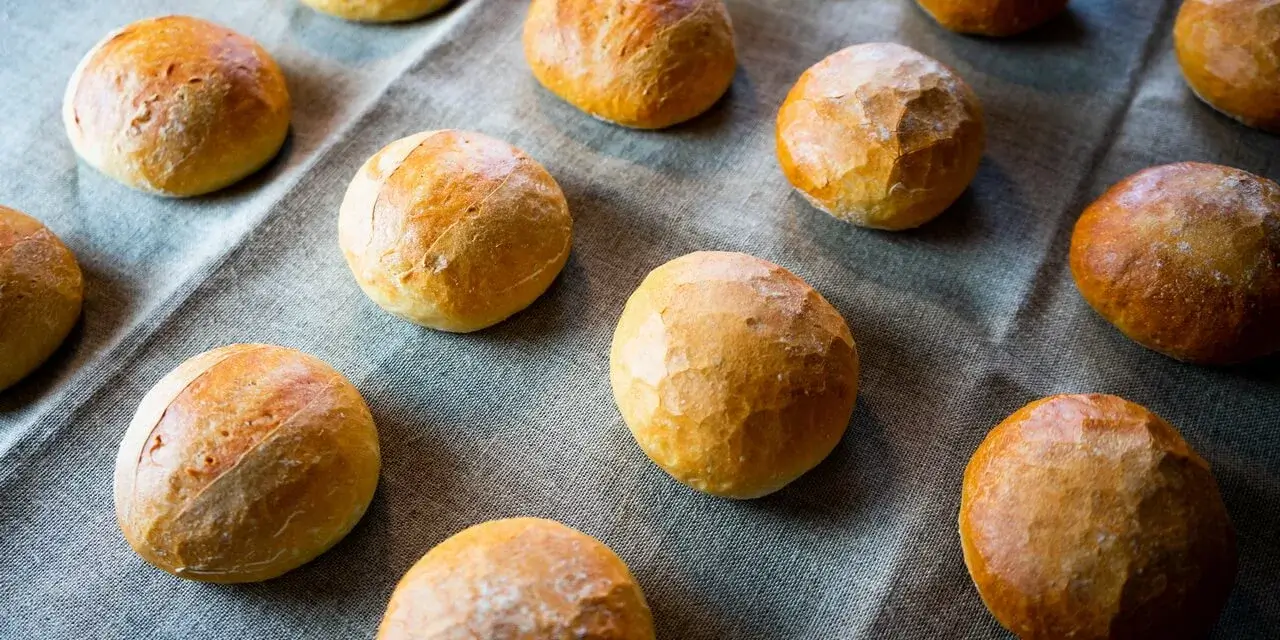
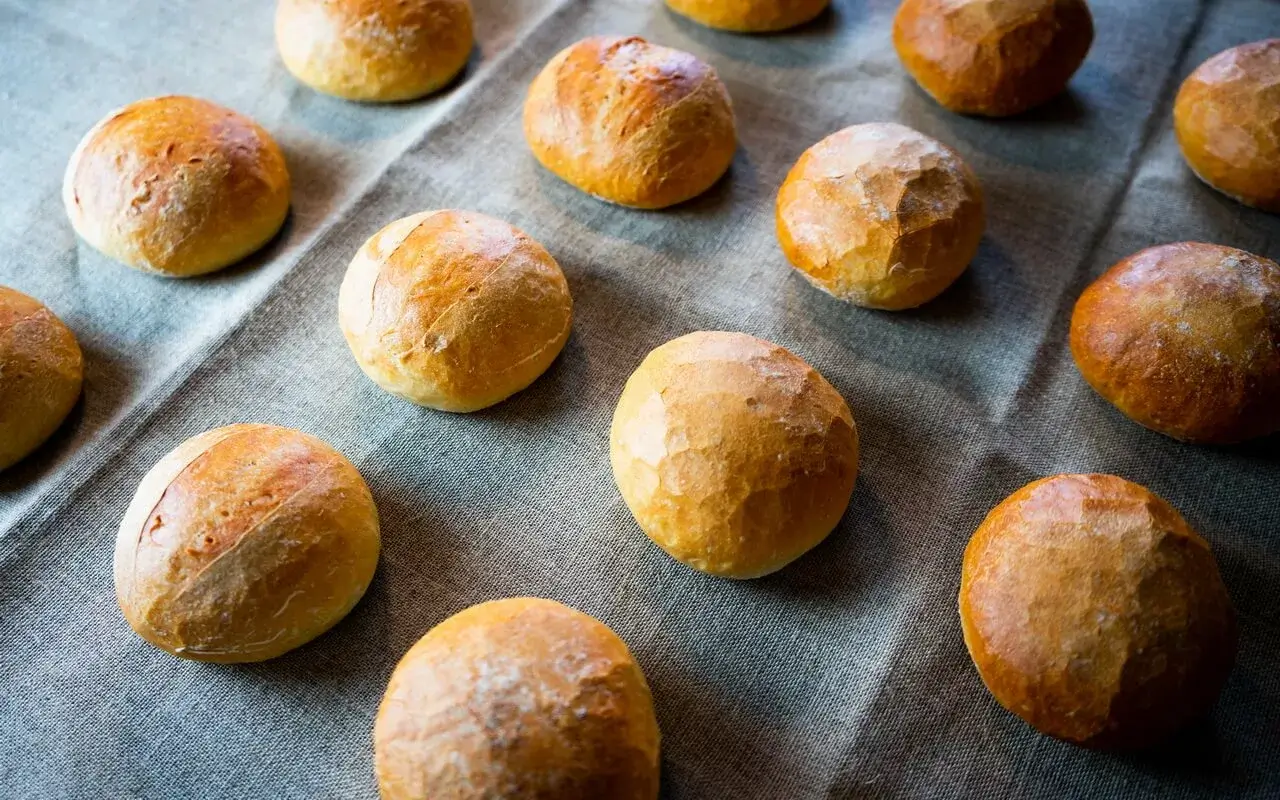
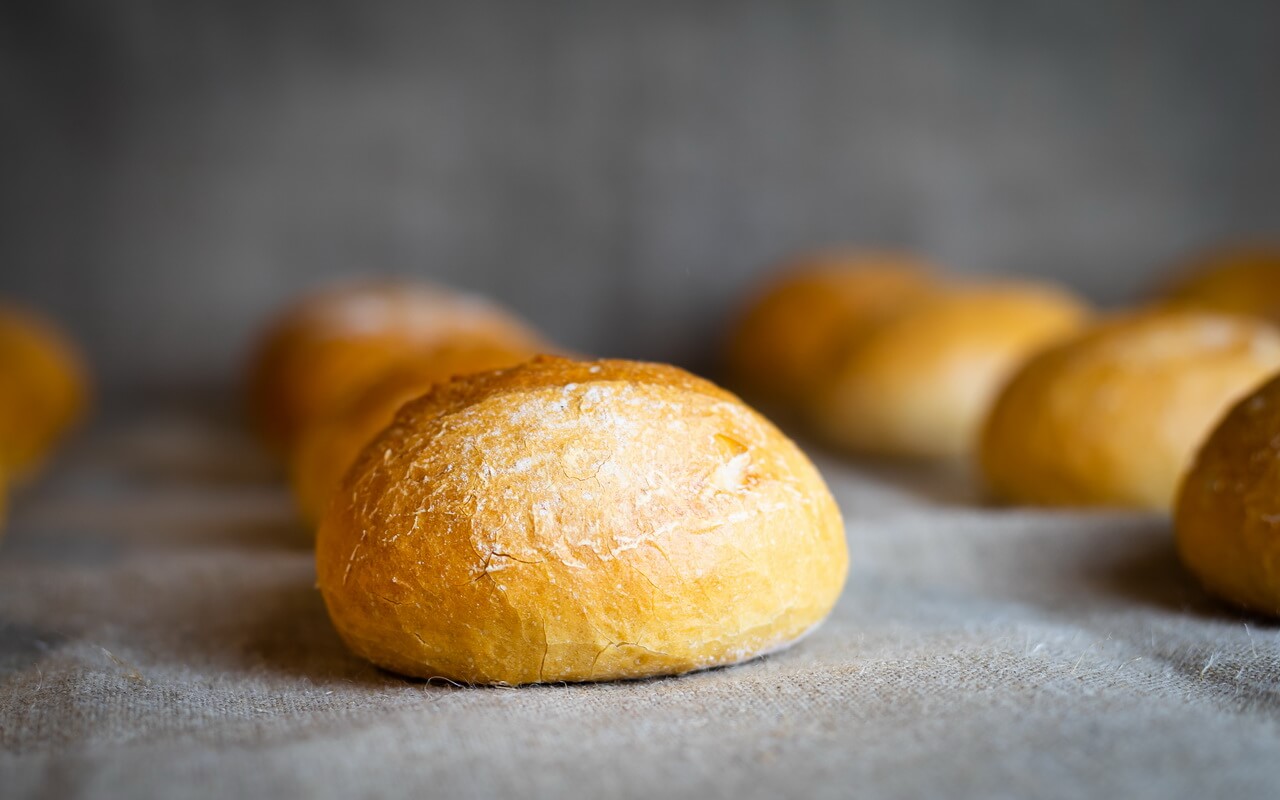
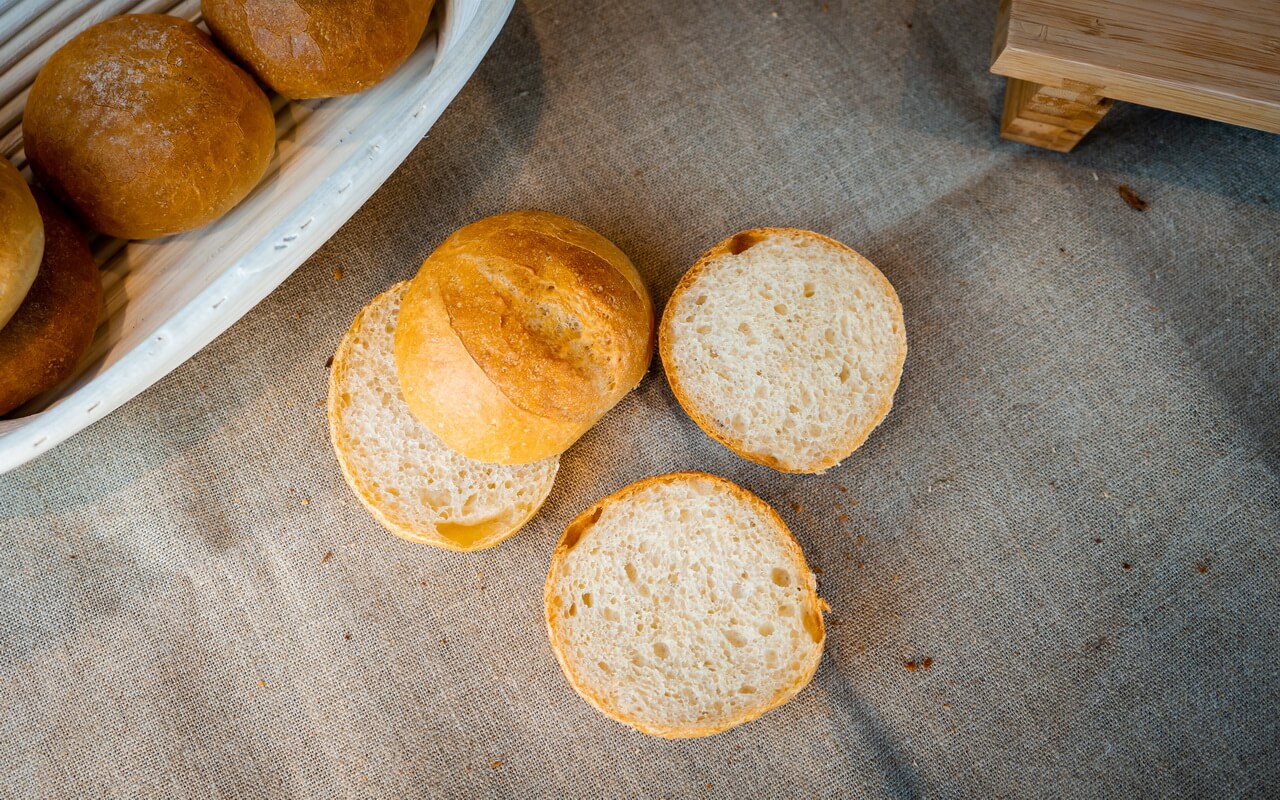
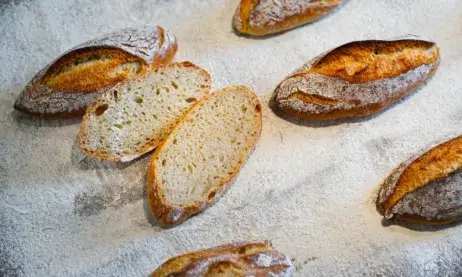
Crust
The crust is just a little browned and crispy. The taste is not too heavy and has the typical smell of a bakery on Sunday morning.
Crumb
The pores are very fine and the crumb is nicely mild and fluffy. It even tastes a little sweetish.
Taste
If you think of a Sunday breakfast, these rolls are definitely on that table. There are no other words needed.
Goes good with
Whatever you like for a nice breakfast. They taste good with anything.
Lessons learned
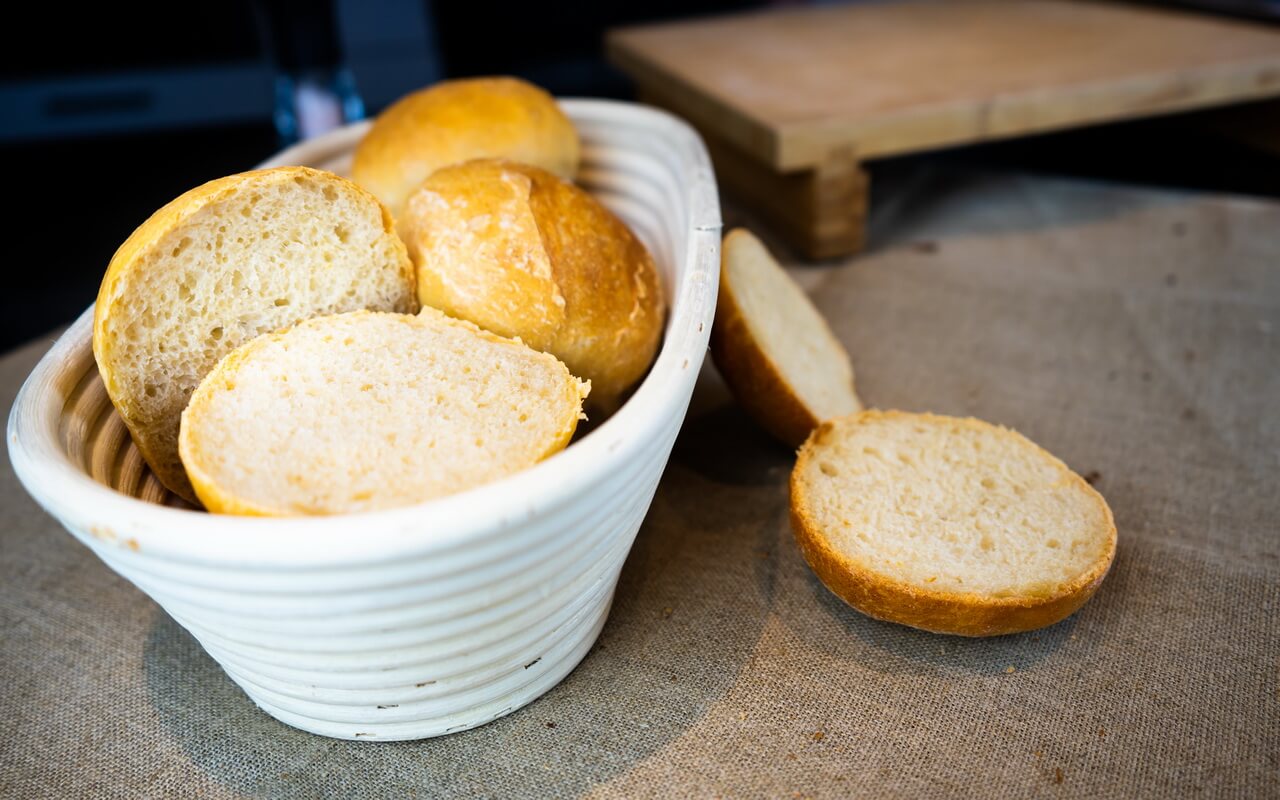
You may wonder why there is no nice break up in the middle of our rolls where we made the cut after they got baked. That is because we let them proof for 90 instead of 60 minutes and scored them after 60 minutes. During the 30 minutes longer proofing time the dough nearly rose to its maximum. Therefore it couldn’t expand that much more during the baking phase.
We also made a second batch of these breakfast rolls using another technique during the proofing. In this second batch we put them seam-side down on the bakers couche, made a dent after 45 minutes, let them also proof for 90 minutes in total and didn’t score at all. This is what it looked like:
With this approach the rolls also didn’t break up in the middle during the baking phase most probably because of the too long proofing time. You could also try out this technique and see what the result is after 60 minutes of proofing time.
The recipe is already adjusted so you will have a better visual result than we had. Nevertheless they tasted delicious and had a nice crust and crumb. Rest assured that we will bake these rolls again with the adjusted proofing time and share our results with you.
Gallery


