Remember the summer holidays from your school time? Great weather, lots of sun, long days spent outside and quality time with your family and friends. These days traditionally start with a looong breakfast, if possible on the balcony or in the garden. Everyone is relaxed and you finally can take some time to really enjoy breakfast time rather than eating in a hurry because school or work is waiting.
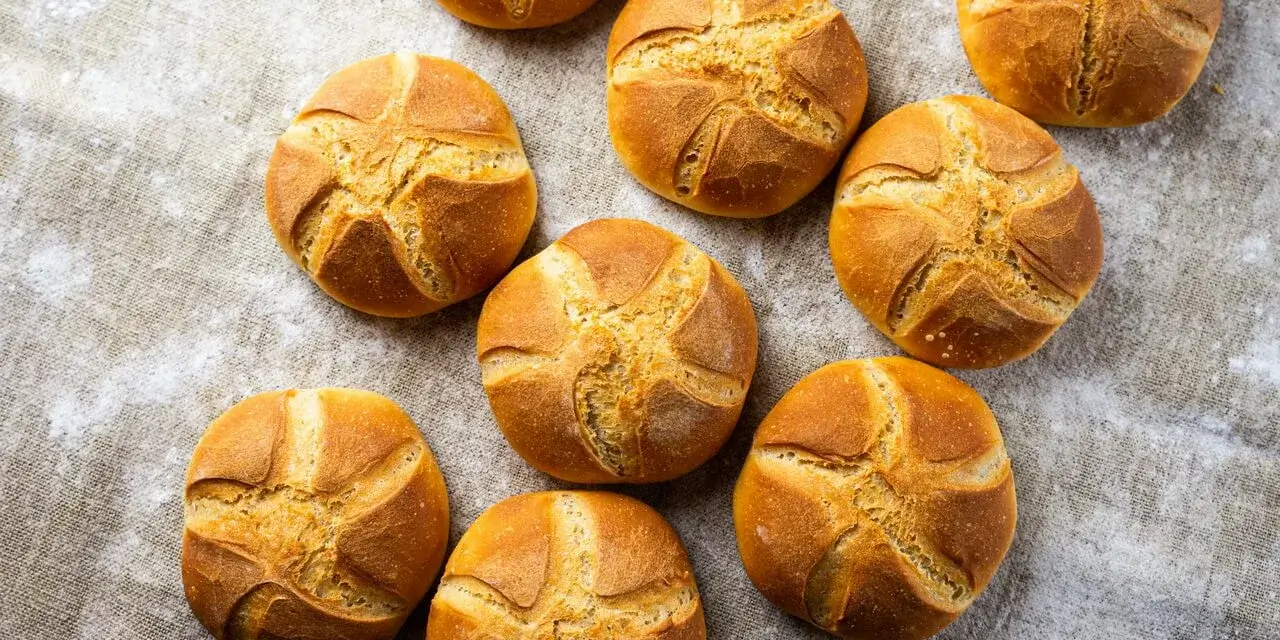
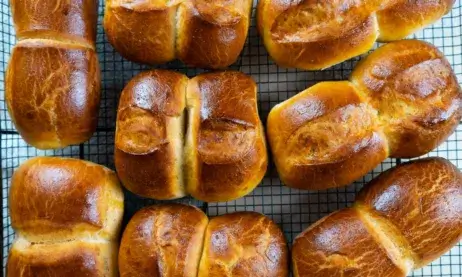
These Kaiser rolls taste exactly like this: relaxed holiday breakfast from your childhood and we can promise you will love them.
Things to know before you start
Time Schedule
| Steps | Work time | Waiting time |
| Mix | ~20 minutes | – |
| Bulk Fermentation | – | 8-12 hours |
| Shape | ~20 minutes | – |
| Proof | – | 3 hours |
| Score | ~5 minutes | – |
| Bake | ~5 minutes | 20 minutes |
| Cool | – | 10-15 minutes |
Some great tasting Kaiser rolls will be ready to eat in about 12,5 to 16,5 hours.
Total ingredients
| Weight | Ingredient |
| 475 g | All-purpose flour |
| 25 g | Rye flour |
| 10 g | Salt |
| 10 g | Honey |
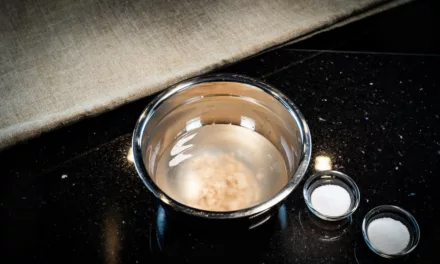
| 4 g | Yeast – Fresh |
| 10 g | Butter |
| 100 g | Milk – 3,5% Fat |
| 190 g | Water |
| ~25-50 g | Potato starch |
You will have a dough of about 824 g in total suitable for 9 Kaiser rolls.
As usual you can just double or triple the ingredients to make more rolls in one go.
Info: The potato starch is used for dusting the bakers couch and not used in the dough. If you don’t have some, you could also use all-purpose flour for dusting.
Difficulty
A simple recipe with just a handful of steps.
Keep in mind, that we aren’t going to use a special shaping technique to get the rolls in the “Kaiser shape”, because it is hard to learn and needs a lot of practice. Instead we are going to score the rolls in a way to get the shape of a Kaiser roll.
You could even buy a “Kaiser rolls stamp” to get the dough in shape. We didn’t have one so we went for the scoring.
Baking tools
A bakers couche is needed for the long proofing phase of 3 hours. You can find a good one in our should have baking tools overview.
Steps
1. Mix
| Weight | Ingredient |
| 475 g | All-purpose flour |
| 25 g | Rye flour |
| 10 g | Salt |
| 10 g | Honey |
| 4 g | Yeast – Fresh |
| 10 g | Butter – Softened |
| 100 g | Milk – 3,5% Fat – 5°C (41°F) |
| 190 g | Water – 20°C (68°F) |
- Mix all of the mentioned ingredients together in a stand mixer for 5 minutes on speed one and 6 minutes on speed two
- The dough should be elastic and smooth
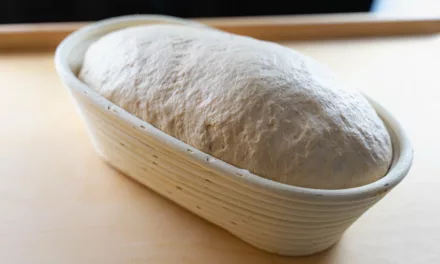
2. Bulk Fermentation
- Put the dough in a non-reactive container
- Store sealed in the fridge at 4-6°C (39,2-42,8°F) for 8 to 12 hours
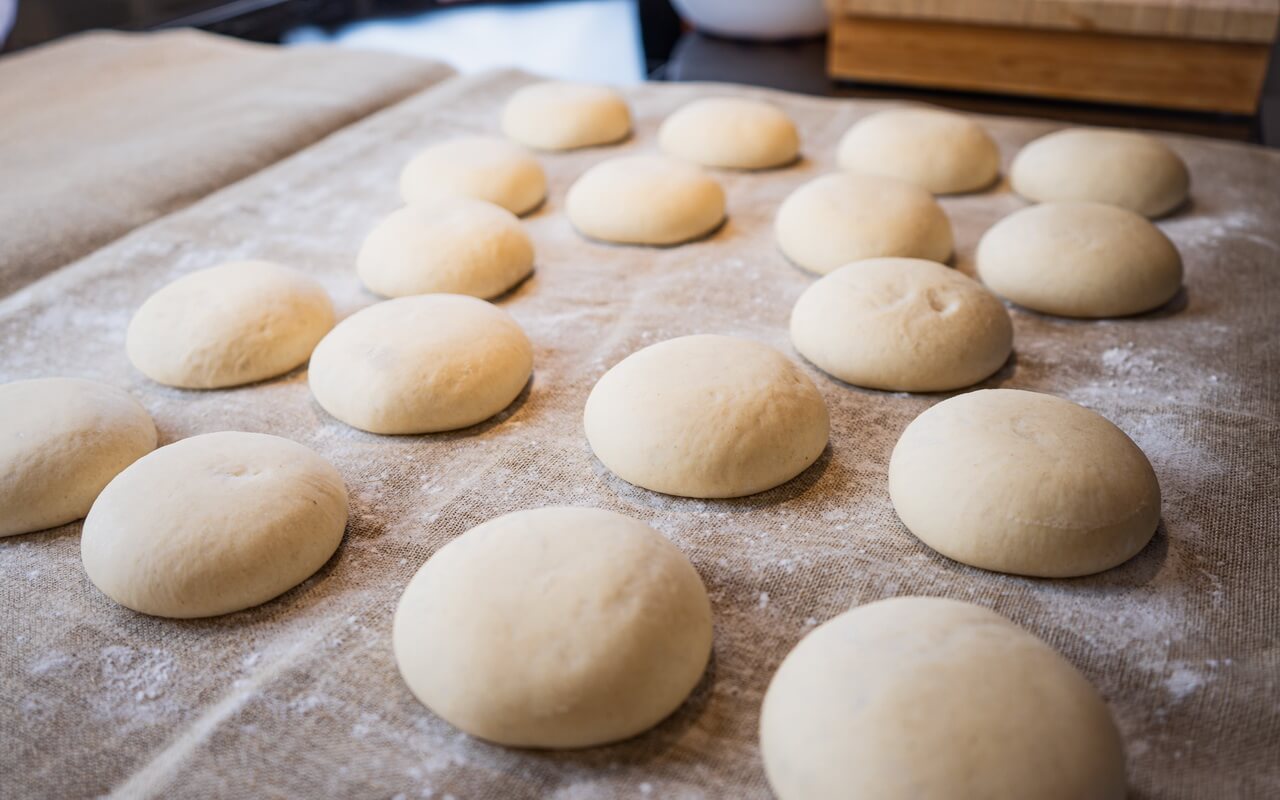
3. Shape
- Unfold your bakers couche and coat it with a good portion of potato starch
- Short guide on how to get the whole dough into rolls:
- Divide the dough into 9 small dough balls equalling each one to about 91 g
- On a very lightly floured surface flatten the dough ball a bit
- Pull the edges from the sides in the air and then in the middle of the dough to create a smooth outer skin on all sides of the dough ball
- Flip the dough upside down
- Cover the dough with your hand forming a claw around it
- Start rotating little circles with your hand on the dough for about 10 to 15 seconds
- Again flatten the dough a bit
- Place it seam-side down on the bakers couche
- Repeat the process for each dough ball
- Here is a short video from us on how this is done:
4. Proof
- You should have already placed your dough balls seam-side down on the bakers couche
- Cover them with the other half of the bakers couche or a second bakers couche / kitchen towel
- Let them proof for 3 hours at 20°C (68°F)
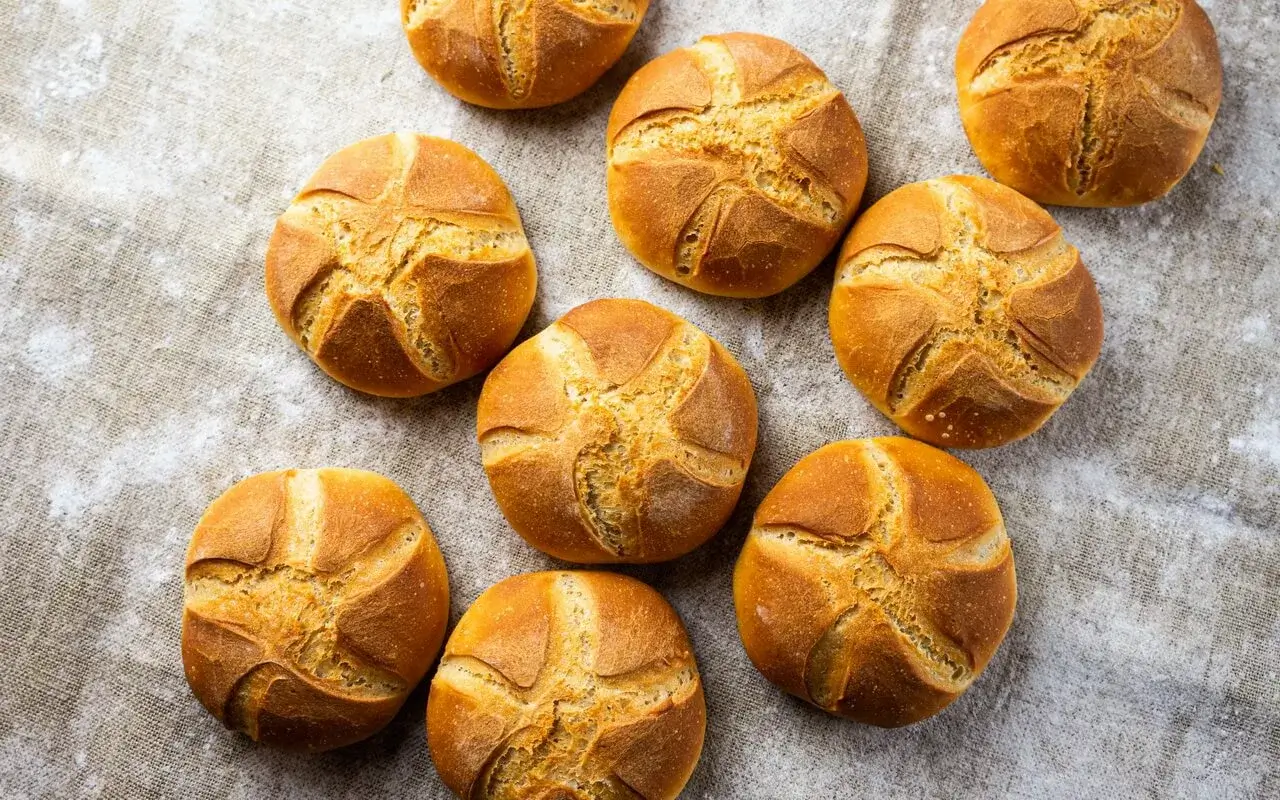
5. Score
- Cover a pizza peel with parchment paper
- Gently place your rolls seam-side down onto it
- With a bread lame make 5 individual cuts from the center to the side in a crescent shape on top of the dough
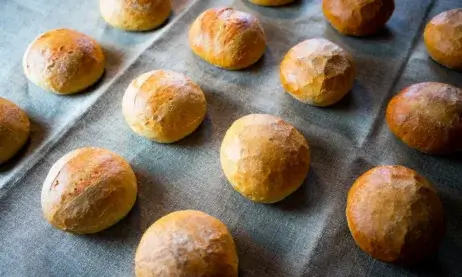
6. Bake
- Preheat oven to 250°C (482°F) for ~45 minutes with the upper and lower heat function
- Spray the rolls with a bit of water
- Put them in the oven, create steam, lower the temperature immediately to 230°C (392°F) and bake for 20 minutes
- Don’t let the steam out during the whole baking time
- After baking take your rolls out immediately

7. Cool
- Let your Kaiser rolls cool for 10 to 15 minutes on some kind of grid
Conclusion
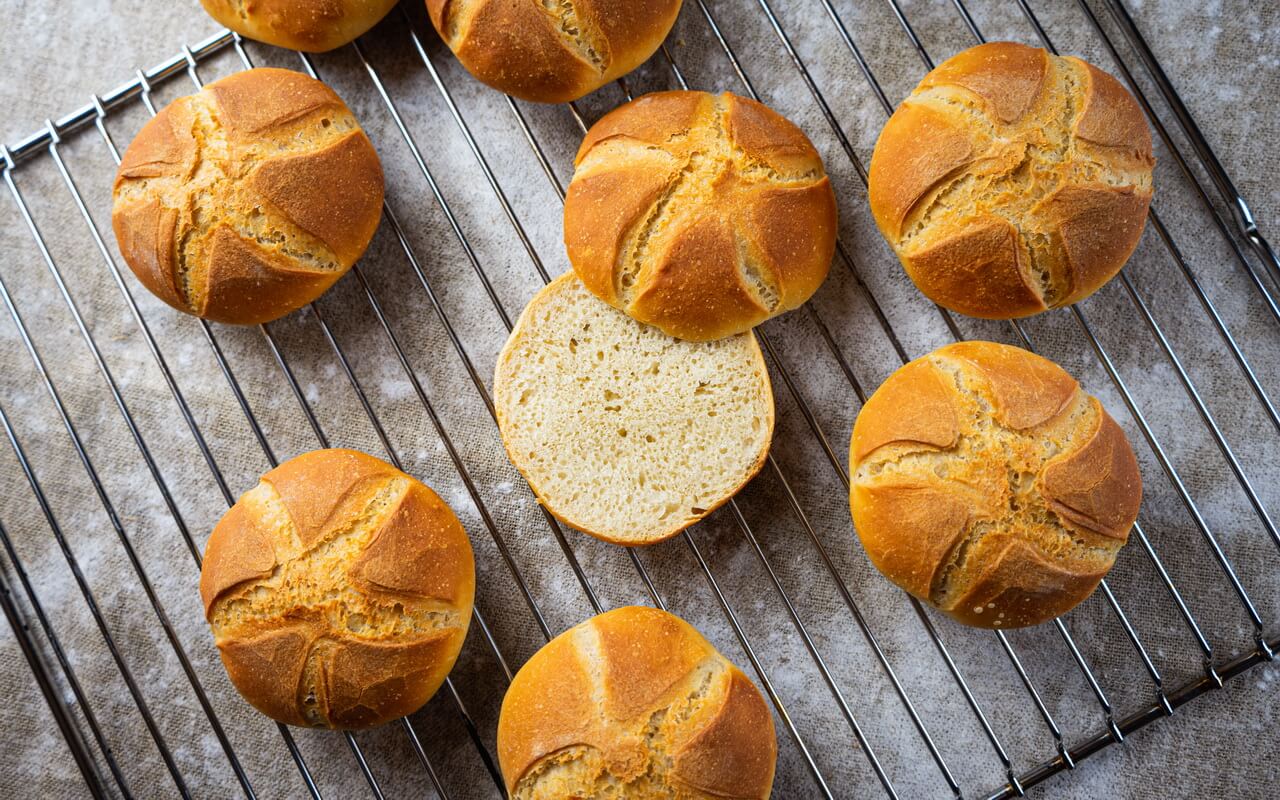
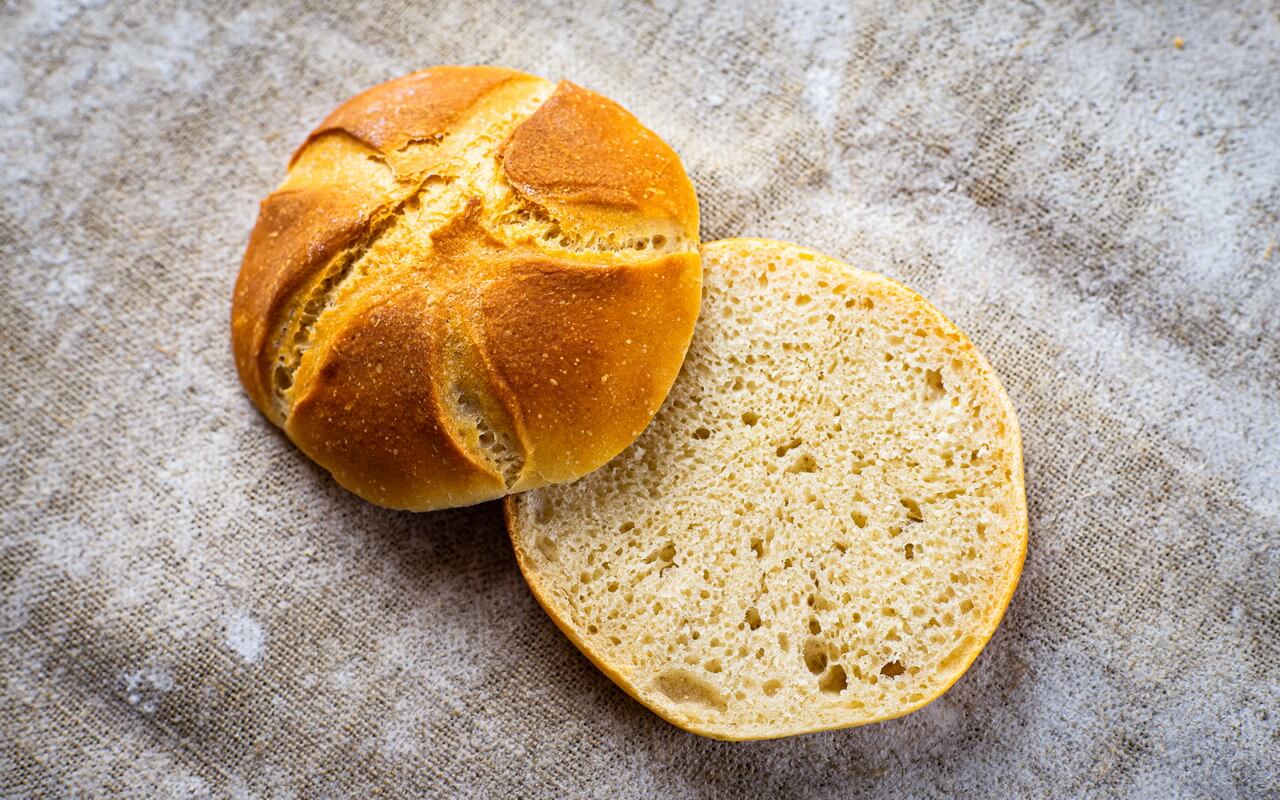
Crust
The crust is nicely firm but not too crunchy.
Crumb
Fluffy and soft. The crust has fine and even pores which provides a great base to cover them with whatever you like without being afraid that your roll may tear apart.
Taste
The taste of these delicious Kaiser rolls immediately brings back childhood memories as they taste like summer and holidays.
Goes good with
Whatever you enjoy on you rolls! Why not try one of your favourite childhood spreads to make the memories even stronger?
Credits
This recipe was inspired by Hüttenhandsemmel.
Gallery

