
Introduction
Are you ready to embark on a journey to perfect your sourdough baking skills? This guide is your roadmap, filled with tips, tricks, and solutions to common sourdough dilemmas.
Sourdough baking can be a tricky business. The process is as much an art as it is a science, and even experienced bakers can run into problems. But don’t worry, this guide is here to help.
As a passionate baker, I’ve spent years in the kitchen experimenting with different baking techniques and recipes. I’ve faced and overcome many of the challenges you’re likely to encounter on your sourdough journey.
So, are you ready to transform your sourdough baking? Let’s dive in!
Table of Contents
- Understanding Sourdough
- Sourdough Bread Variations
- Common Sourdough Problems and Solutions
- Advanced Troubleshooting Techniques
- Advanced Sourdough Techniques
- Conclusion
- Frequently Asked Questions (FAQ)
Understanding Sourdough
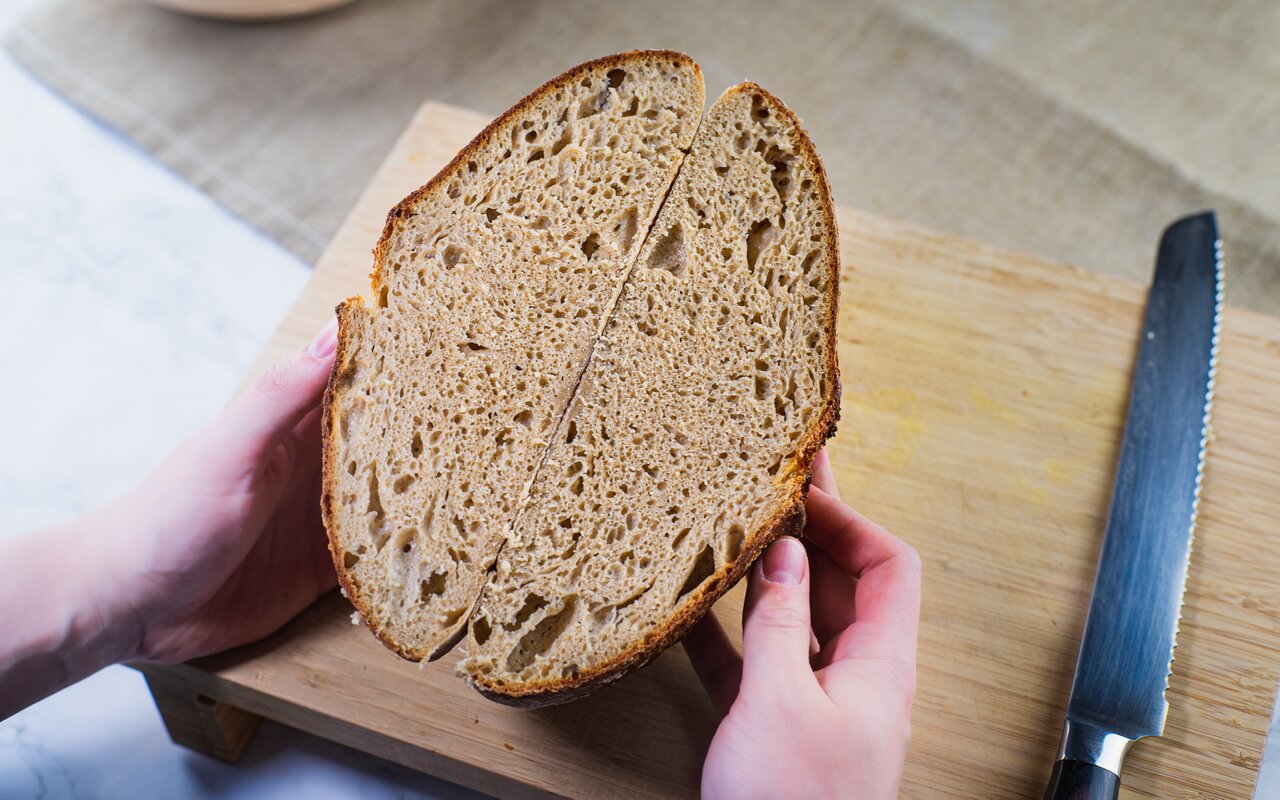
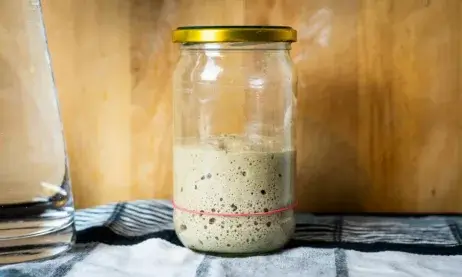
Sourdough is a type of bread made from a fermented mixture of flour and water, known as a ‘starter’. This fermentation process gives sourdough its distinctive tangy flavor and chewy texture. But understanding the science behind sourdough can be the key to troubleshooting common problems.
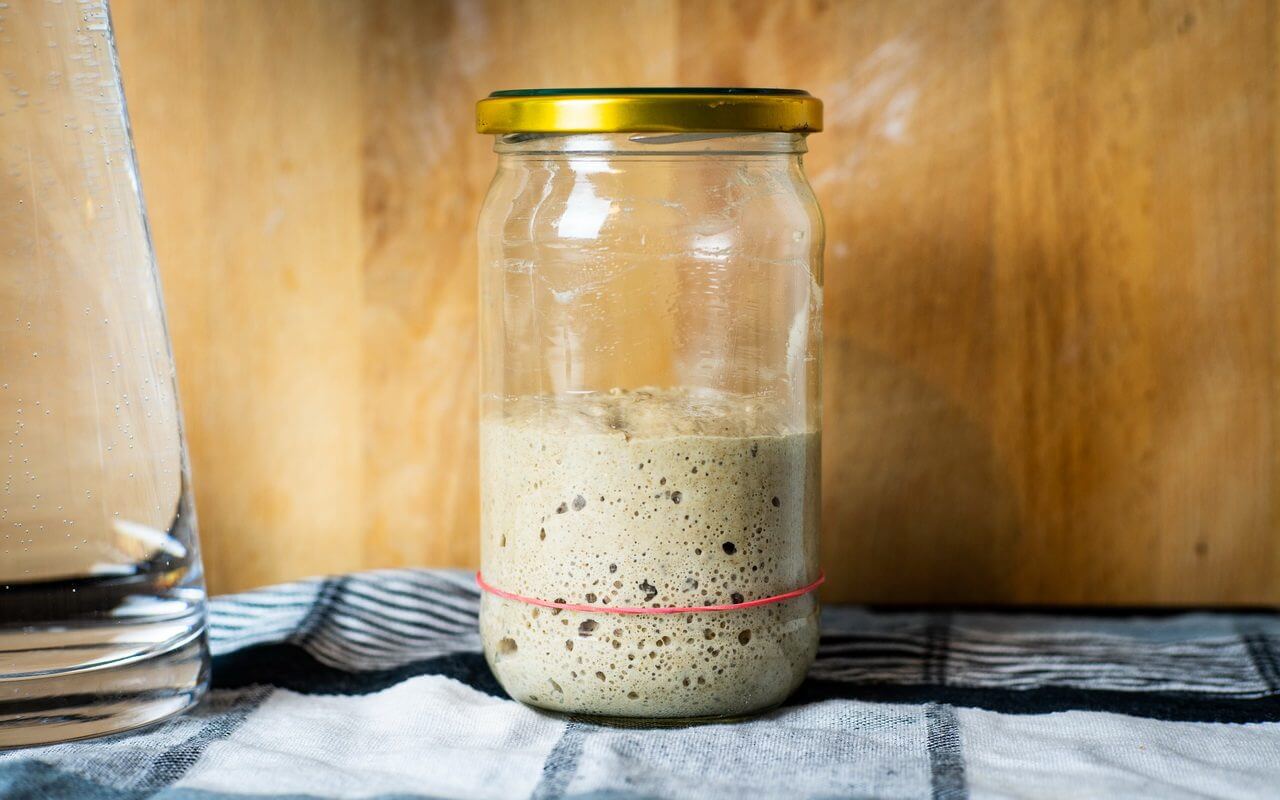
The magic of sourdough lies in its simplicity. With just flour, water, and time, you can create a living, breathing entity – the sourdough starter. This starter, teeming with wild yeast and beneficial bacteria, is what sets sourdough apart from other types of bread. It’s responsible for the bread’s rise, flavor, and unique characteristics.
But with this simplicity comes complexity. The wild yeast and bacteria in the starter are sensitive to their environment. Changes in temperature, humidity, and even the type of flour used can affect their behavior, leading to different results in your bread. This is where the art and science of sourdough baking come into play.
Sourdough Bread Variations
Sourdough bread is incredibly versatile, and there are countless variations you can try once you’ve mastered the basic recipe. Here are a few to get you started:
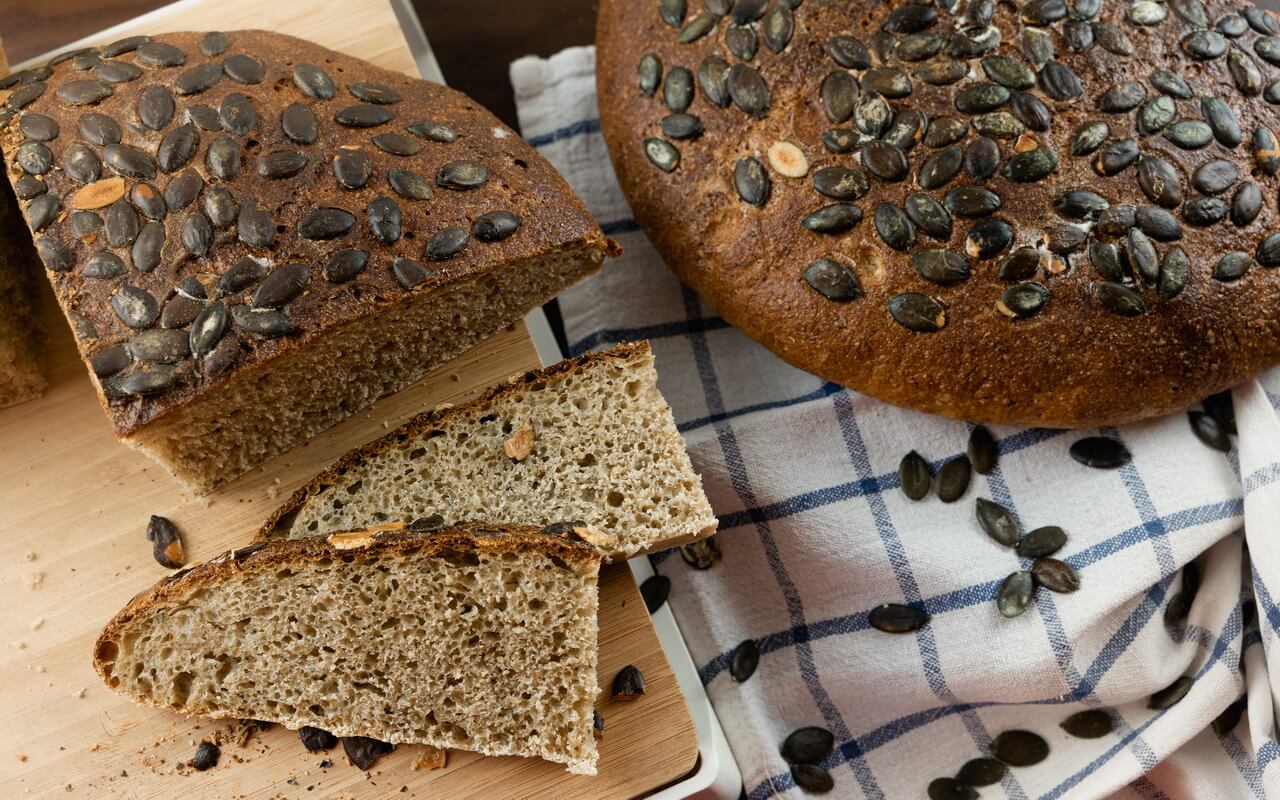
- Whole Wheat Sourdough: Replace some of the white flour in your recipe with whole wheat flour for a bread with a denser texture and a slightly nutty flavor. Keep in mind that whole wheat flour absorbs more water than white flour, so you may need to adjust the hydration level of your dough.
- Rye Sourdough: Rye flour gives sourdough a rich, earthy flavor. Because rye flour has less gluten than wheat flour, rye sourdough tends to be denser and more compact. Try replacing a portion of the wheat flour with rye flour in your recipe.
- Fruit and Nut Sourdough: Add dried fruits and nuts to your dough for a sweet and savory twist on classic sourdough. Try combinations like cranberry and walnut or apricot and almond.
- Herb Sourdough: Infuse your bread with flavor by adding fresh or dried herbs to your dough. Rosemary, thyme, and oregano all work well.
Remember, when experimenting with sourdough variations, you may need to adjust your recipe and techniques to account for the different ingredients.
Common Sourdough Problems and Solutions
In this section, we’ll explore some of the most common issues that bakers encounter when making sourdough, along with practical solutions to overcome them.
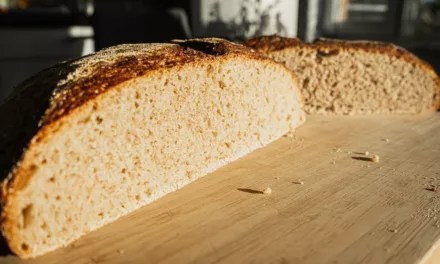
- Dense or Heavy Bread: This is often a result of under-proofing, where the dough has not been allowed to rise sufficiently before baking. To solve this, try extending the proofing time or increasing the temperature of your proofing environment.
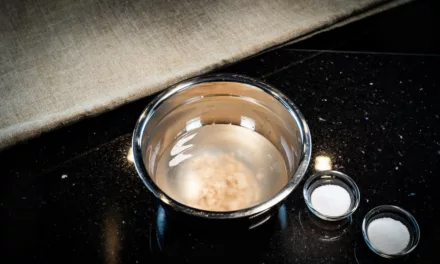
- Bread Not Rising: This could be due to a weak or inactive starter. Make sure your starter is healthy and active by feeding it regularly and keeping it at a consistent temperature. If you’re facing issues with your starter, check out my guide on how to identify and fix sourdough starter problems.
- Crust Too Thick or Hard: This can be caused by baking the bread at too high a temperature or for too long. Try reducing the oven temperature or baking time.
- Sourdough Not Sour Enough: The sourness of sourdough comes from the fermentation process. To increase the sourness, try extending the fermentation time or using a higher proportion of starter in your dough.
Advanced Troubleshooting Techniques
Once you’ve mastered the basics of sourdough baking, you might encounter more complex issues that require advanced troubleshooting techniques. Here are a few common advanced issues and their solutions:
- Adjusting for Climate: The temperature and humidity of your environment can have a significant impact on your sourdough. In a hot, humid climate, your dough may rise faster and become stickier. In a cold, dry climate, your dough may take longer to rise and be stiffer. Adjust your recipe by changing the water content or proofing time as needed.
- Dealing with Different Types of Flour: Different types of flour have different protein contents, which can affect the gluten development and hydration level of your dough. If you’re using a type of flour that’s different from what your recipe calls for, you may need to adjust the water content or kneading time.
- Long-Term Starter Maintenance: If you’re maintaining your starter over a long period, you might encounter issues like a weak rise or a change in flavor. Regular feedings are crucial for maintaining a healthy starter. If your starter seems weak, try feeding it more frequently or changing the type of flour you’re using. Learn more about how to maintain a sourdough starter on my blog.
Advanced Sourdough Techniques
Once you’ve mastered the basics and solved common problems, it’s time to explore some advanced sourdough techniques.
- Stretch and Fold: This technique helps to strengthen the gluten network in the dough, leading to a better rise and more open crumb.
- Cold Fermentation: By refrigerating the dough during the bulk fermentation or proofing stages, you can slow down the fermentation process, leading to more complex flavors in the final bread.
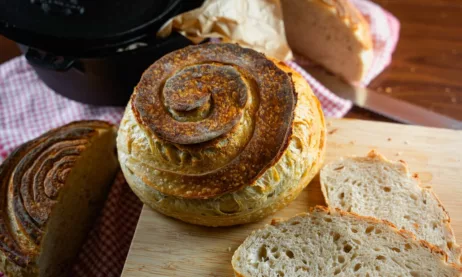
- Scoring: This is the process of making cuts on the surface of the dough before baking. It not only gives the bread a beautiful appearance but also controls where the bread will expand during baking.
Conclusion
Sourdough baking is a journey of discovery, experimentation, and, yes, troubleshooting. But with patience, practice, and a little bit of science, you can master the art of sourdough baking and create beautiful, delicious loaves in your own kitchen.
Frequently Asked Questions (FAQ)
What’s wrong with my sourdough bread?
There could be several reasons why your sourdough bread isn’t turning out as expected. It could be due to issues with your starter, fermentation time, kneading technique, or baking process. Identifying the specific problem can help you find the right solution.
Can you fix sourdough that didn’t rise?
Yes, if your sourdough didn’t rise, it could be due to an inactive starter or insufficient proofing time. You can try feeding your starter more regularly to make it more active or increase the proofing time for your dough.
How do you know if sourdough is overworked?
Overworked sourdough can become tough and lose its ability to rise properly. If your dough feels tight and is difficult to shape, it might be overworked. Remember, sourdough requires a gentle touch and should not be kneaded as vigorously as other types of bread dough.
What does overproofed sourdough look like?
Overproofed sourdough can appear flat and deflated. It may also have a sour or alcoholic smell, indicating that the yeast has exhausted its food supply. If your dough has overproofed, you may need to reshape it and allow it to proof again for a shorter time.
Can you overmix sourdough bread?
Yes, overmixing can lead to overdevelopment of gluten, making the dough tough and dense. It’s important to mix your dough just until the ingredients are combined and the dough has developed enough strength.
Can you Autolyse sourdough too long?
Autolyse is the process of mixing flour and water and letting it rest before adding the rest of the ingredients. While a longer autolyse can lead to more flavor development, going too long can result in a dough that is too sticky and difficult to work with. A typical autolyse period for sourdough is about 20-30 minutes.
What happens if you let sourdough proof too long?
If sourdough is allowed to proof for too long, it can become overproofed. This means the yeast has produced too much gas and the dough has expanded beyond its optimal point, resulting in a bread that is flat and dense.
What’s the longest you can let sourdough rise?
The length of the rise can vary depending on the temperature and the activity of your starter. However, a typical bulk fermentation for sourdough is about 3-5 hours at room temperature. If you want to extend the rise time, you can put the dough in the refrigerator for a slow, cold fermentation.


