In order to be able to bake sourdough bread and rolls you need to have a sourdough starter, also known as just starter of mother dough. Therefore, we created this short guide for you on how to create your very own sourdough starter.
Don’t be afraid of creating your own sourdough starter. It will only take you about five days with around 5 to 10 minutes of work each day. At the end you will be able to bake way more different breads and rolls. Additionally bread and rolls made out of sourdough are way richer in flavour, healthier, last longer and simply taste better.
Furthermore once you created your own starter you can keep it alive forever. In order to do this you will need to feed it once every 7 to 14 days which takes you 5 to 10 minutes of work. If you already have a one you can check our article on how to maintain a sourdough starter.
Needed Tools And Ingredients
Tools
| Tool | Info |
| Scale |
|
| Non-reactive container |
|
| Spatula / Spoon |
|
| Thermometer |
|
| Rubber band (optional) |
|
Ingredients
| Ingredient | Info |
| Flour |
|
| Water |
|
How-to
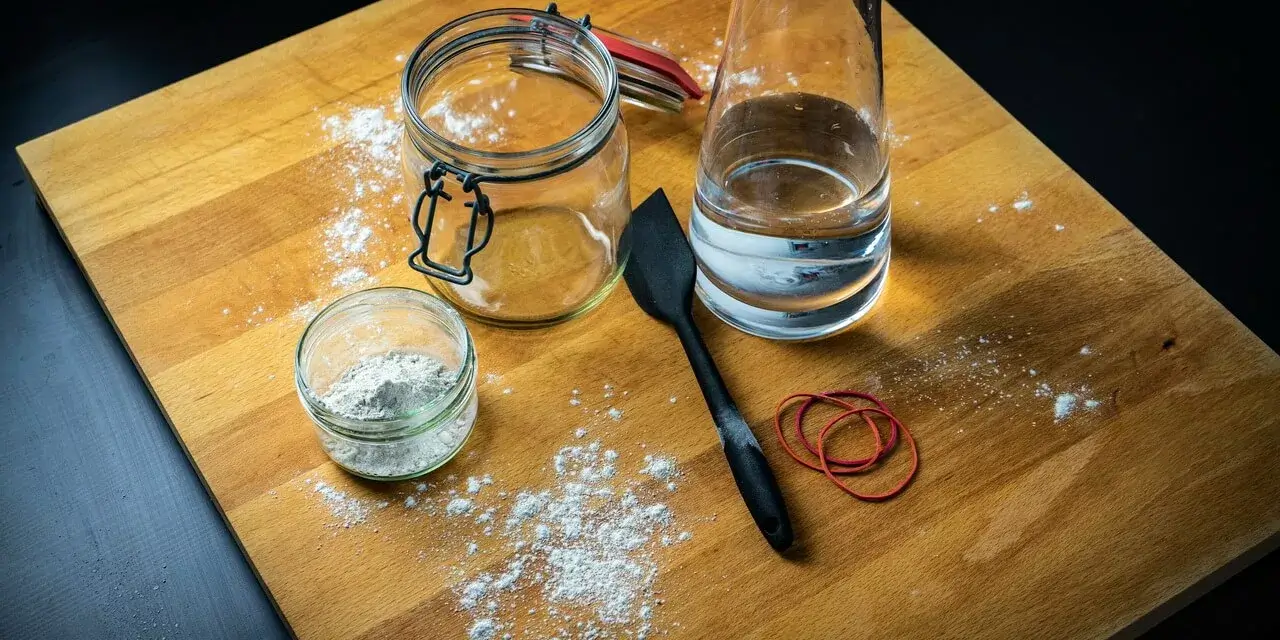
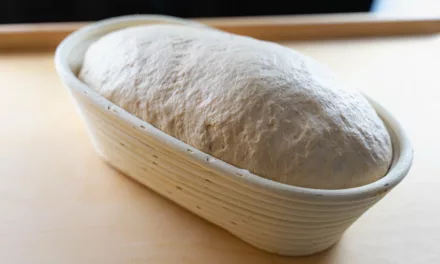
I used pumpernickel flour and a canning jar as the container in this guide.Day One
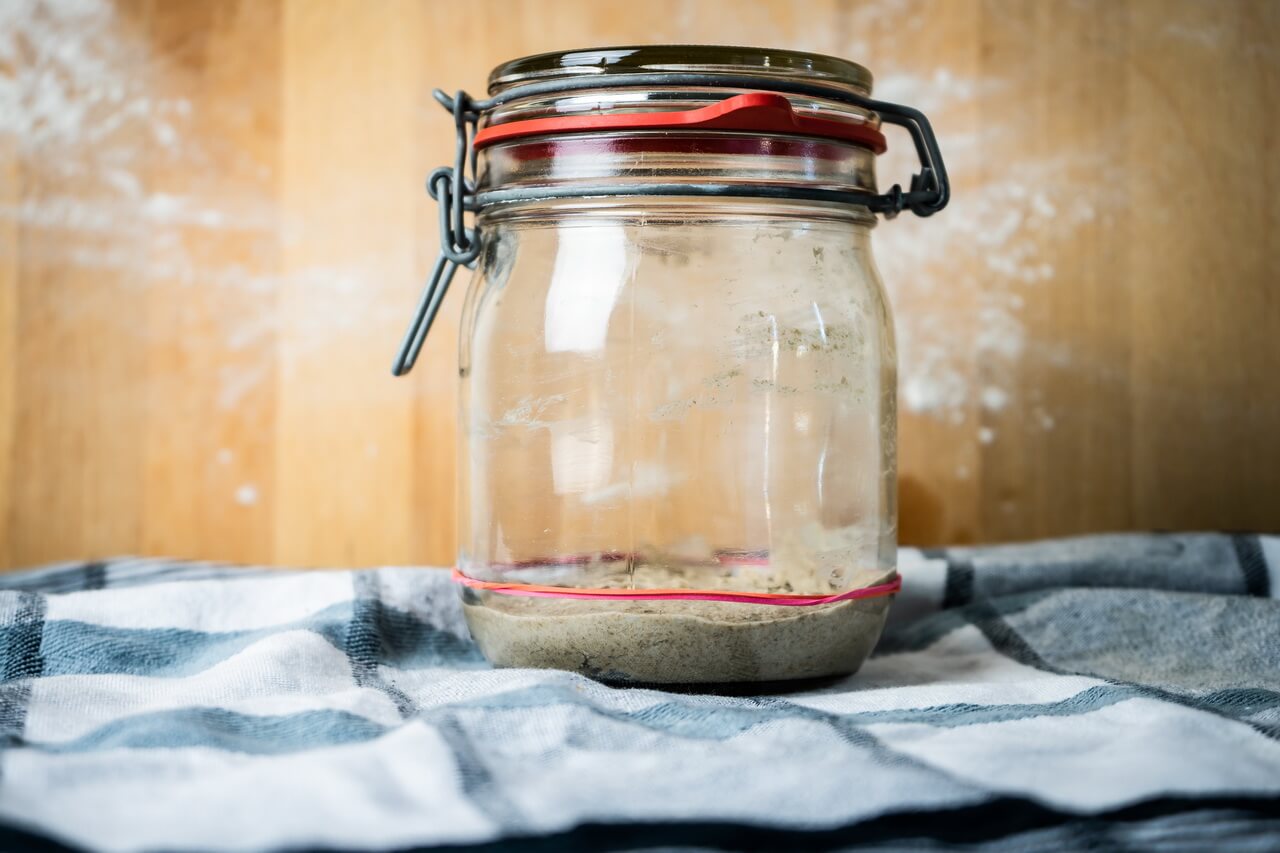
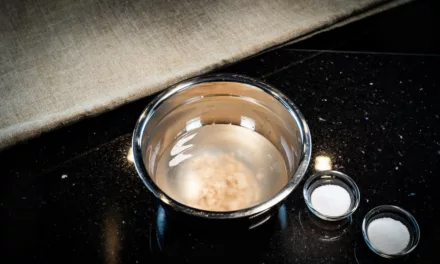
- Fill 50 g flour and 50 g water at 40°C (104°F) in a container
- Stir everything together thoroughly and make sure that there is no dry flour anywhere
- Cover the container with a lid or at least a towel
- Put it in a warm place at about 26°C (78,8°F)
- Let it ferment for 24 hours and take care that the temperature is not falling
Day Two
- Feed your sourdough starter by adding 50 g flour and 50 g water at 40°C (104°F)
- Stir everything together thoroughly and make sure that there is no dry flour anywhere
- Cover the container
- Put it in a warm place at about 26°C (78,8°F)
- Let it ferment for 24 hours
Day Three
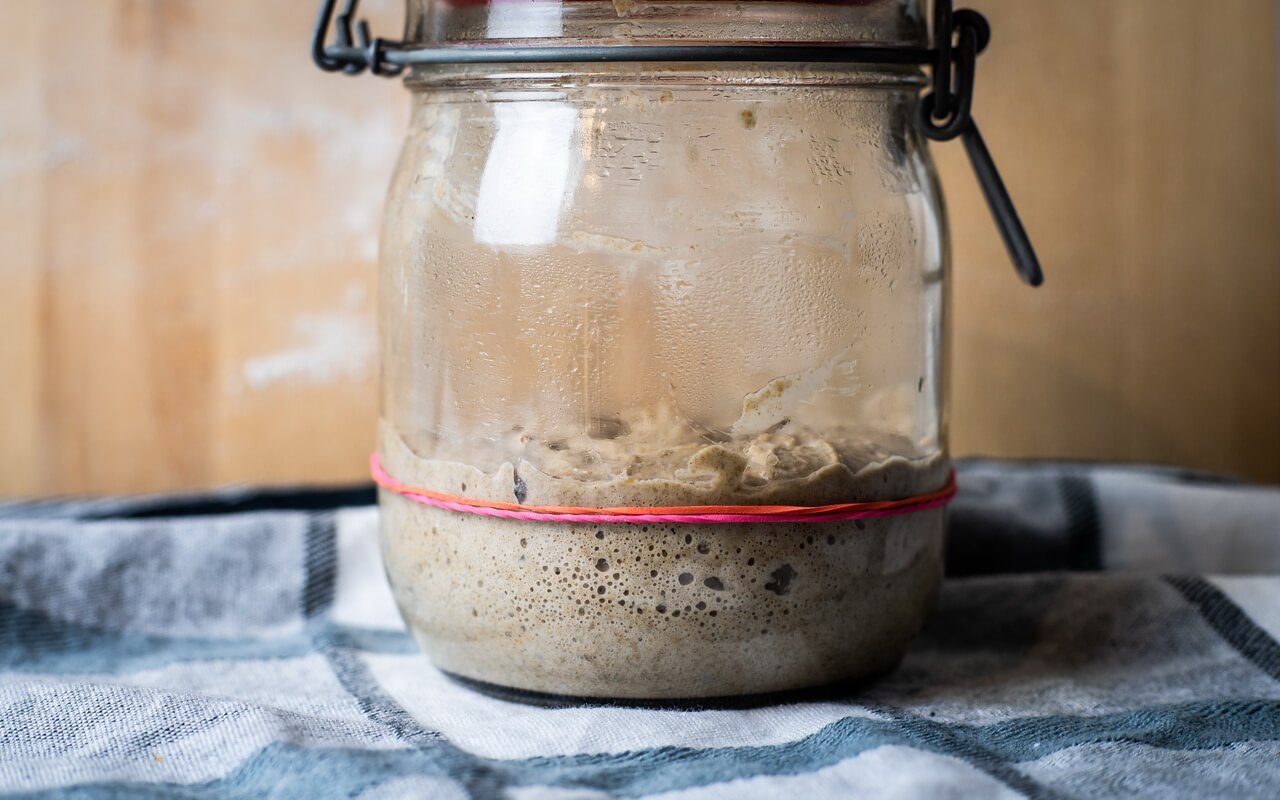
Repeat the steps from day two. Now your sourdough starter should rise and fall after each feeding and contain bubbles.Day Four
Repeat the steps from day two but this time let your sourdoughs starter only ferment for 12 hours. Then feed it again by performing the same steps listed under day two. Your sourdough starter should continue to rise and fall after each feeding and contain bubbles.Day Five
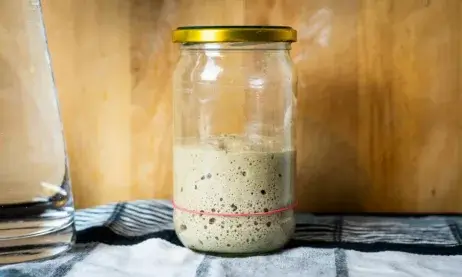
Repeat the step from day four by feeding your starter every 12 hours. Your sourdough starter should now double in size and become very bubbly 8 hours after feeding.Day Six
Congratulations, you just created your very first own sourdough starter! You can now either use it to bake your first sourdough bread with the help of our sourdough bread for beginners recipe or remove 100 g of your created starter, put it in a new clean container, seal it and place in the fridge. The leftovers of the sourdough starter either need to be thrown away, used for baking or as part in a pancake recipe. Your starter can be kept in the fridge for about 7 to 14 days before you need to take care of it and feed again. More information on how to keep your starter alive can be found in our guide how to maintain a sourdough starter. Ah and don’t forget to give your sourdough starter a name as it is now part of your family 😉Additonal Information And Tips
Progress
- The progress on how your sourdough starter develops over 6 days can vary widely
- The quality of flour, water and especially temperature have a huge influence on the progress
- Sometimes you will already see activity after the first feeding and sometimes you won’t see any until the second or third feeding
- It could also occur that the activity is higher on first days and lower on the days after but that is also fine – Please don’t be frustrated as this is perfectly normal as every sourdough behaves differently
- Don’t be afraid and just stick to the guide and everything should work out
Smell
- Don’t worry about a “strange” smell coming out of the sourdough starter
- It is normal and intended to smell sour, acidic and / or alcoholic
Liquid
- From time to time a clear or dark coloured liquid can develop on top of your sourdough starter
- That is okay and no bad sign
- Simply stir the liquid back while feeding
Temperature
- The best temperature to keep the sourdough starter at is 26°C (78,8°F) but most important is that it doesn’t drop below 20°C (68°F) or goes above 30°C (86°F)
- The colder the environment, the more slowly your sourdough starter will develop
- Try to find a warm spot at home
- A trick you can use to keep the temperature between 20°C (68°F) and 30°C (86°F) is by putting the starter into a turned-off oven with the light turned one
- Another trick (which I personally prefer) is by putting the starter into the closed oven with 2 bottles filled with 1 litre hot water next to it and switching the oven on for 1 minute at 30°C
- After some hours the temperature will drop so you can refill the bottles and reheat the oven again
Timing
- The first days you will have to feed your starter every 24 hours and then switch to feeding it every 12 hours
- Therefore I suggest to start creating your starter in the morning before you have to leave the house
- For example you start with the first process of creating your own sourdough starter at 08:00 in the morning and feed it at 08:00 again the next 2 days
- On the fourth and fifth day you feed it at 08:00 and 20:00


Hi, thank you for the clear and straightforward instructions. I have two questions: how do I feed the starter if I prefer to to put it ib the fridge? Do I switch vack to 24 hours feeding or continue every 12 hours. Thank you much
Sorry…if I prefer not to put the starter in the fridge
When making a starter do I not remove any of the starter before feeding it again?