If you never baked a sourdough bread before, this recipe for a sourdough bread for beginners is the perfect starting point as it also provides a step-by-step guidance with a lot of images.
It is a lovely allrounder that can be combined with actually everything. It has the characteristic sourdough taste and is a perfect bread for the summer and winter. Just give it a try and we are sure you’ll love it as much as we do.
Keep in mind, that in order to bake a sourdough bread you will need a sourdough starter. If you don’t have one yet, you can follow our guide on how to create a sourdough starter. We can only speak for ourselves, that it is well worth putting in a bit of work in order to be able and start baking sourdough bread as it has so much more flavour than normal bread where you only use yeast as a raising agent.
Things to know before you start
Time Schedule
| Steps | Work time | Waiting time |
| Levain | ~5 minutes | 18 hours |
| Mix | ~20 minutes | 10 minutes |
| Bulk Fermentation, Stretch & Fold | ~15 minutes | 3 hours |
| Shape | ~10 minutes | – |
| Proof | – | 12-24 hours |
| Preheat Oven | ~10 minutes | – |
| Score | ~5 minutes | – |
| Bake | ~5 minutes | 45 minutes |
| Cool | – | 2 hours |
You will be able to enjoy your very first sourdough bread in about 36 to 48 hours.
Total ingredients
| Weight | Ingredient |
| 10 g | Sourdough starter – Preferably from whole wheat flour |
| 680 g | All-purpose flour |
| 20 g | Salt |
| 10 g | Sugar |
| 6 g | Yeast – Fresh |
| 15 g | Butter |
| 450 g | Water |
You will have a dough of about 1.191 g in total.
Difficulty
This is a simple recipe that only contains the most basic steps in order to bake a sourdough bread for beginners. It also includes images for various steps and explanations.
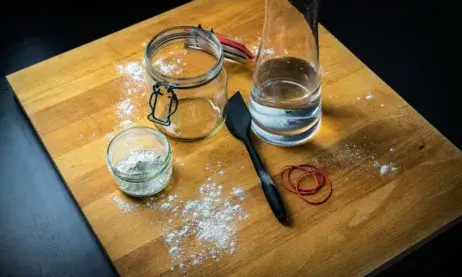
Baking tools
You will be able to achieve good results an nail this sourdough bread for beginners with the basic baking tools we already used in our recipe simple white bread for beginners:
- Scale
- Large bowl
- Small bowl
- Clean kitchen towel
- Spoon
- Sharp knife
- Board (carving board / cutting board / pizza peel)
- Parchment paper
- Baking plate (the thicker, the better)
- Spray bottle
However the following tools have been used during this recipe additionally or replaced some of the ones mentioned above to reach a better result:
- Stand mixer
- Silicone dough scraper
- Instant read thermometer
- Round banneton proofing basket
- Bread lame
- Baking Grill
- Baking stone / pizza stone
- Cast iron skillet
- Lava stones
- Pot
- Oven gloves
You can find all of the used baking tools here.
Steps
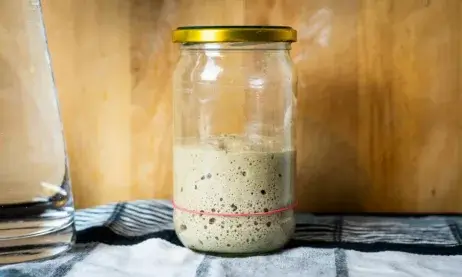
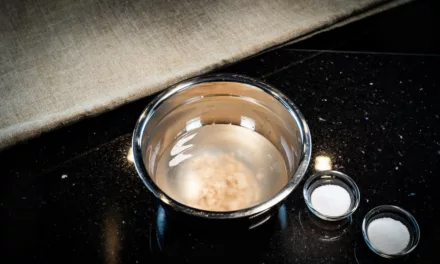
1. Levain
| Weight | Ingredient |
| 10 g | Starter – Preferably from whole wheat flour |
| 100 g | All-purpose flour |
| 100 g | Water – Room temperature |
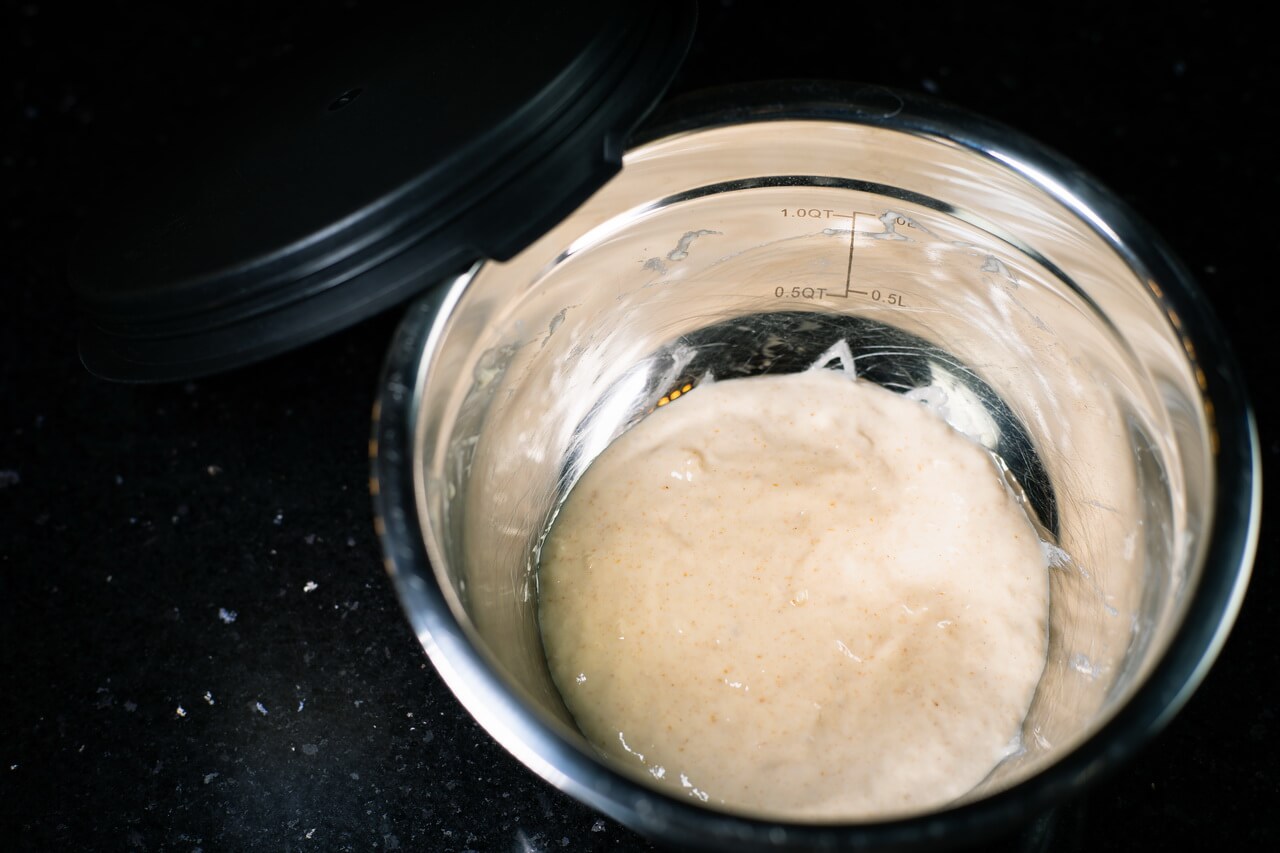
- Mix your sourdough starter with the ingredients above
- Store sealed for 18 hours at 20-22°C (68-71,6°F)
- The purpose of a levain is to boost the yeast activity of the sourdough bread
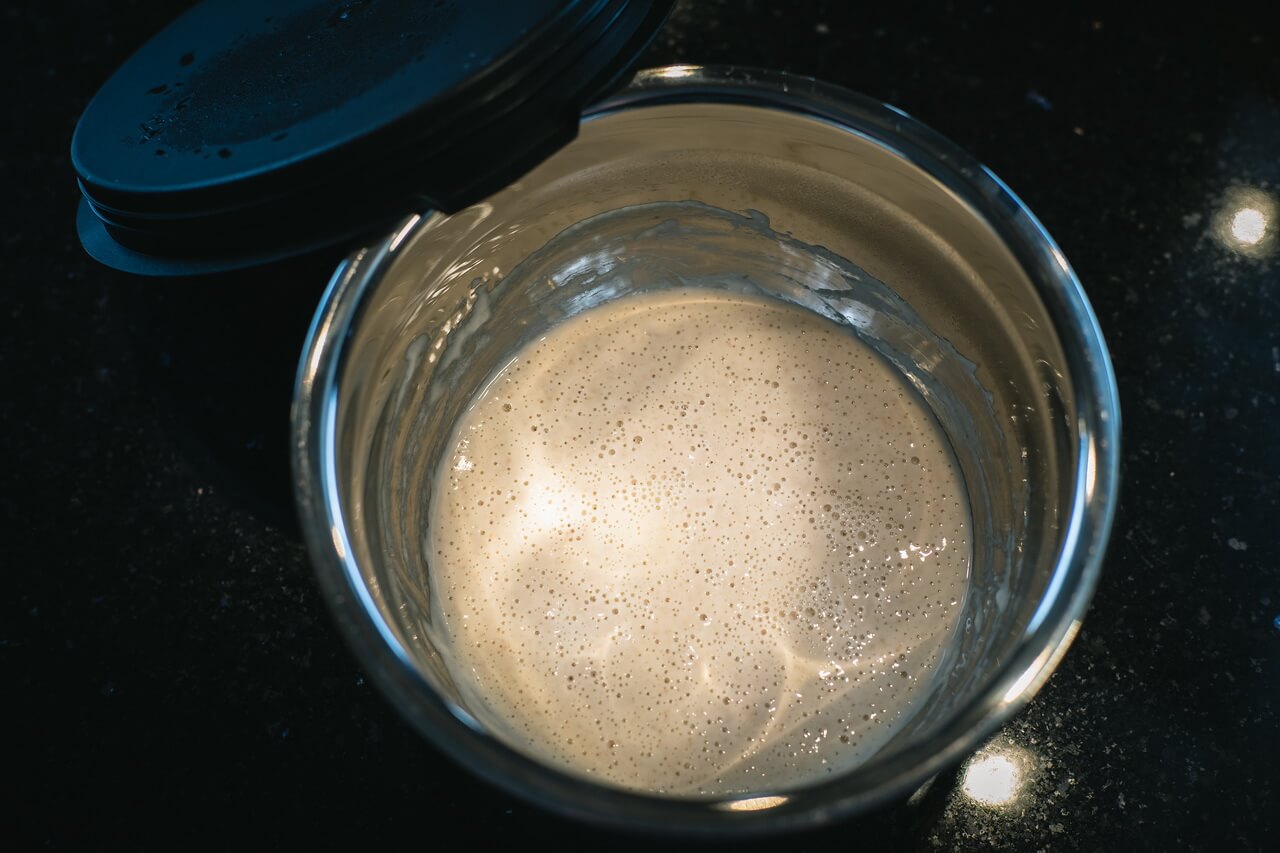
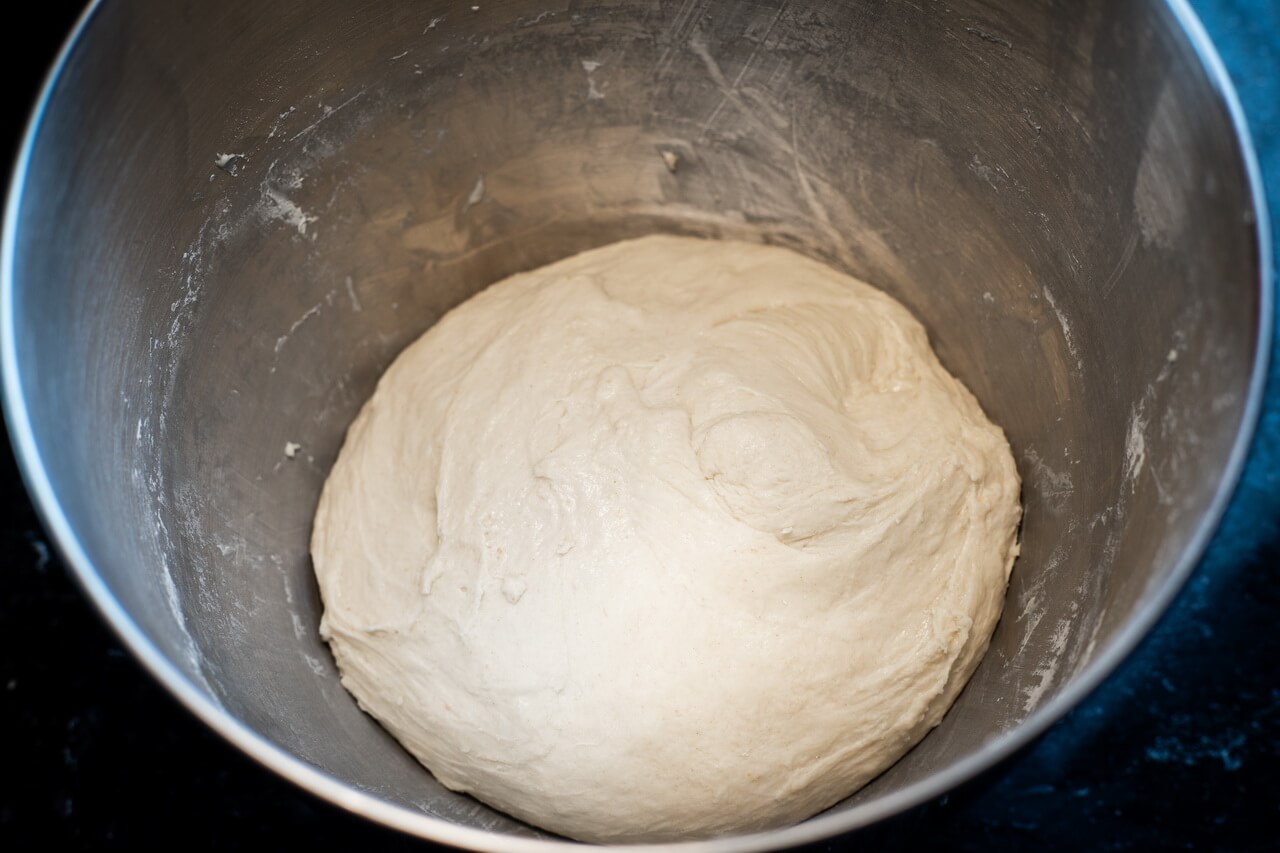
- On the left you can see the levain after mixing and on the right how it looked after 18 hours
- You can see that the one on the right has a lot of bubbles which indicates strong yeast activity
2. Mix
| Weight | Ingredient |
| 20 g | Salt |
| 10 g | Sugar |
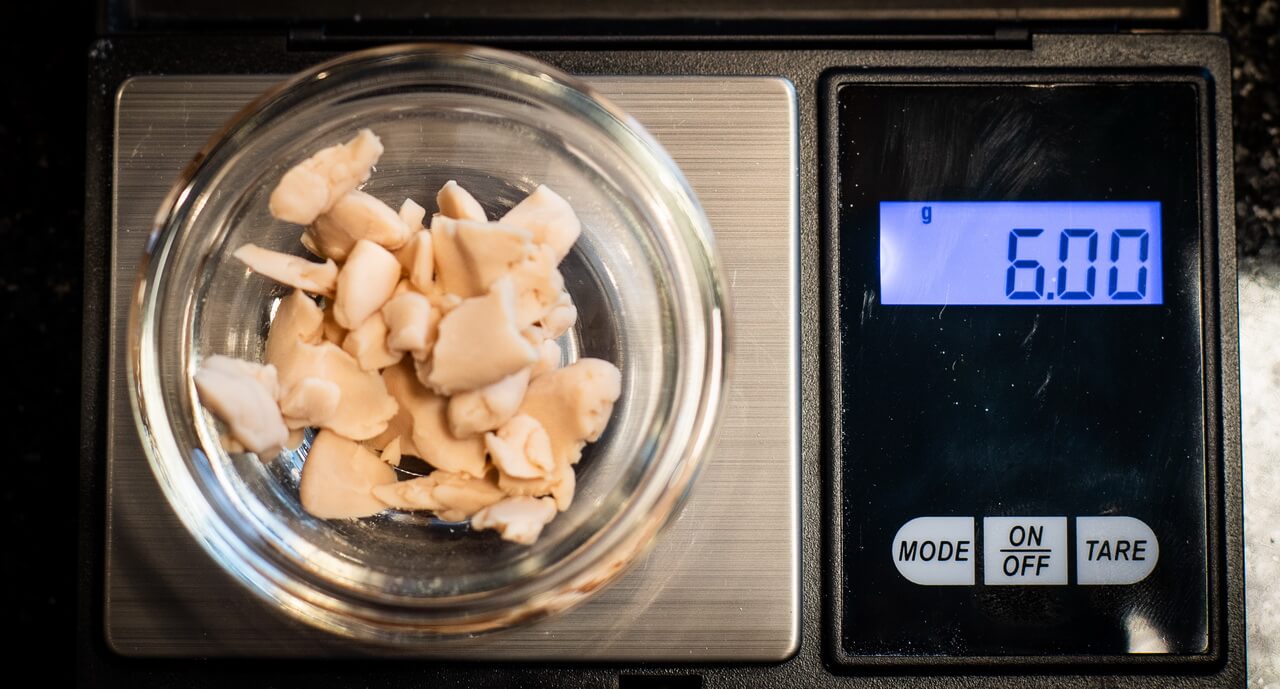
| 6 g | Yeast – Fresh |
| 350 g | Water – 26°C (78,8°F) |


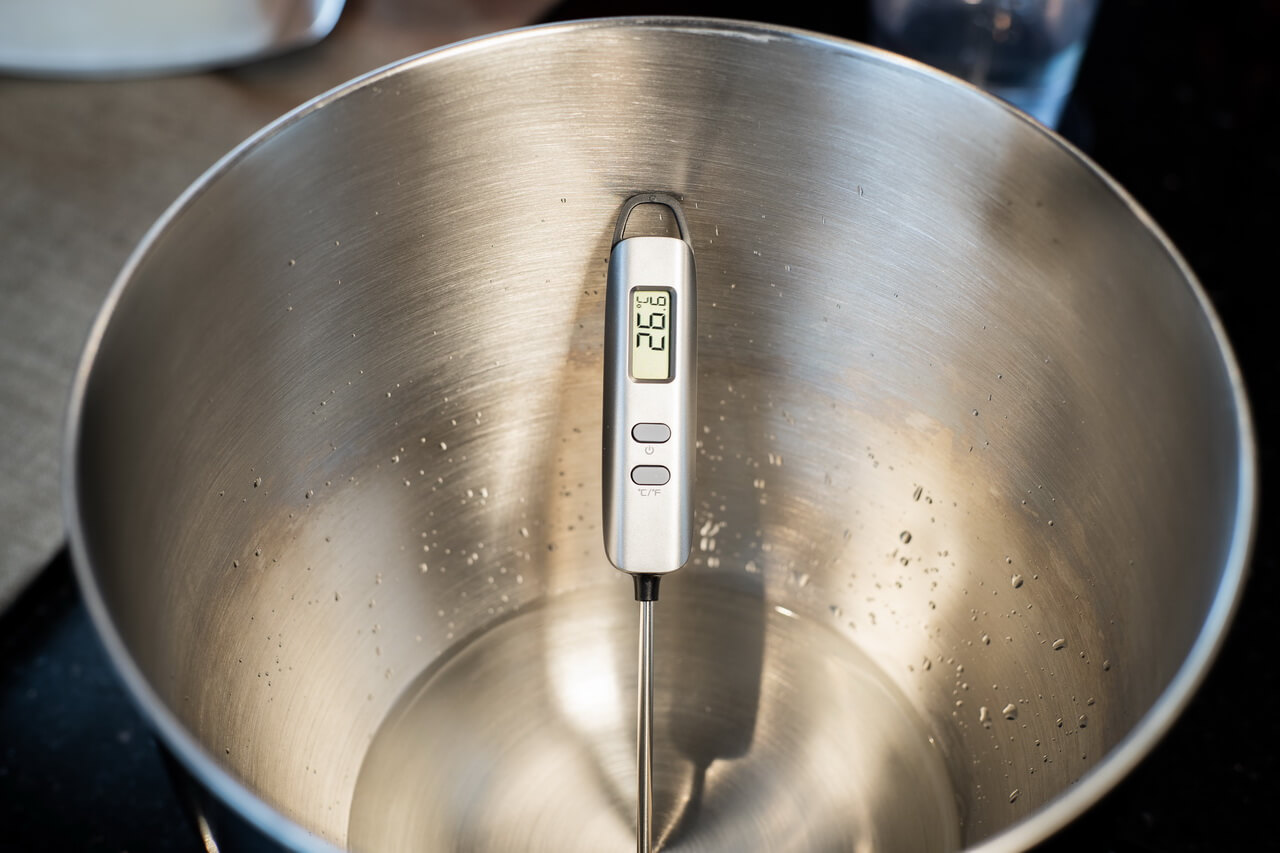
- Pour water 26°C (78,8°F) at into a small bowl
- Add salt, sugar and crumbled yeast
- Stir shortly every 2-3 minutes for 10 minutes until dissolved
| Weight | Ingredient |
| – | Levain |
| 580 g | All-purpose flour |
| – | Dissolved salt, sugar, yeast and water mixture |
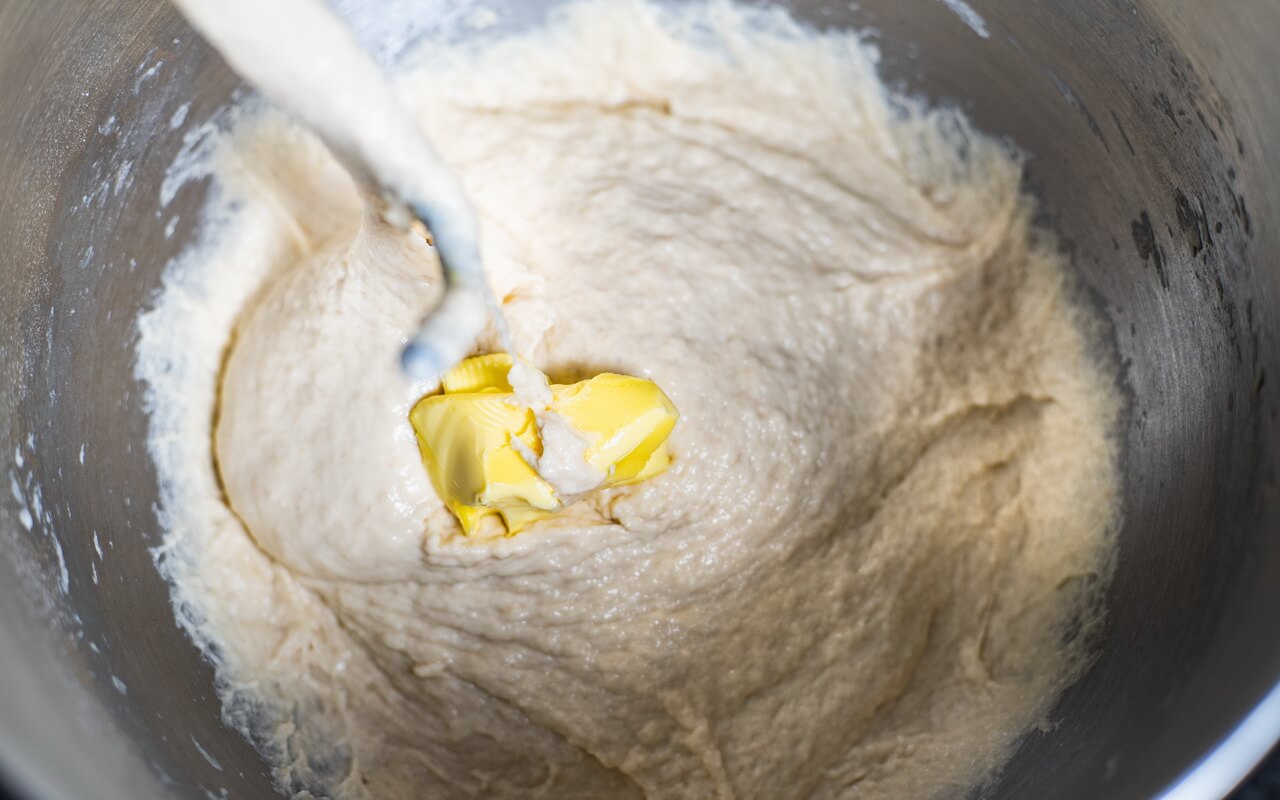
| 15 g | Butter |
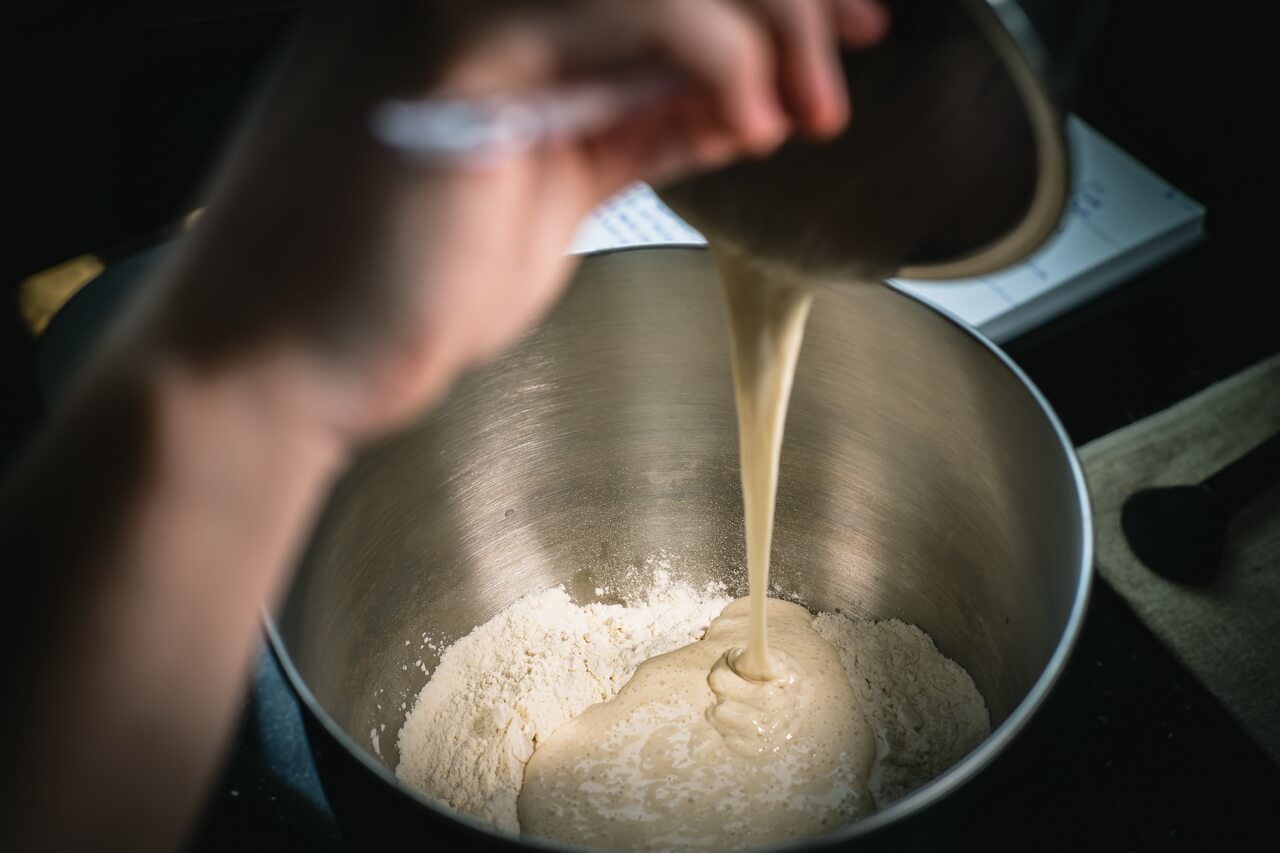
- Mix all of the mentioned ingredients except the butter together in a stand mixer for 6 minutes on speed level one and 8 minutes on speed level two or by hand for about 15 to 20 minutes
- Add the butter after 9 minutes of mixing
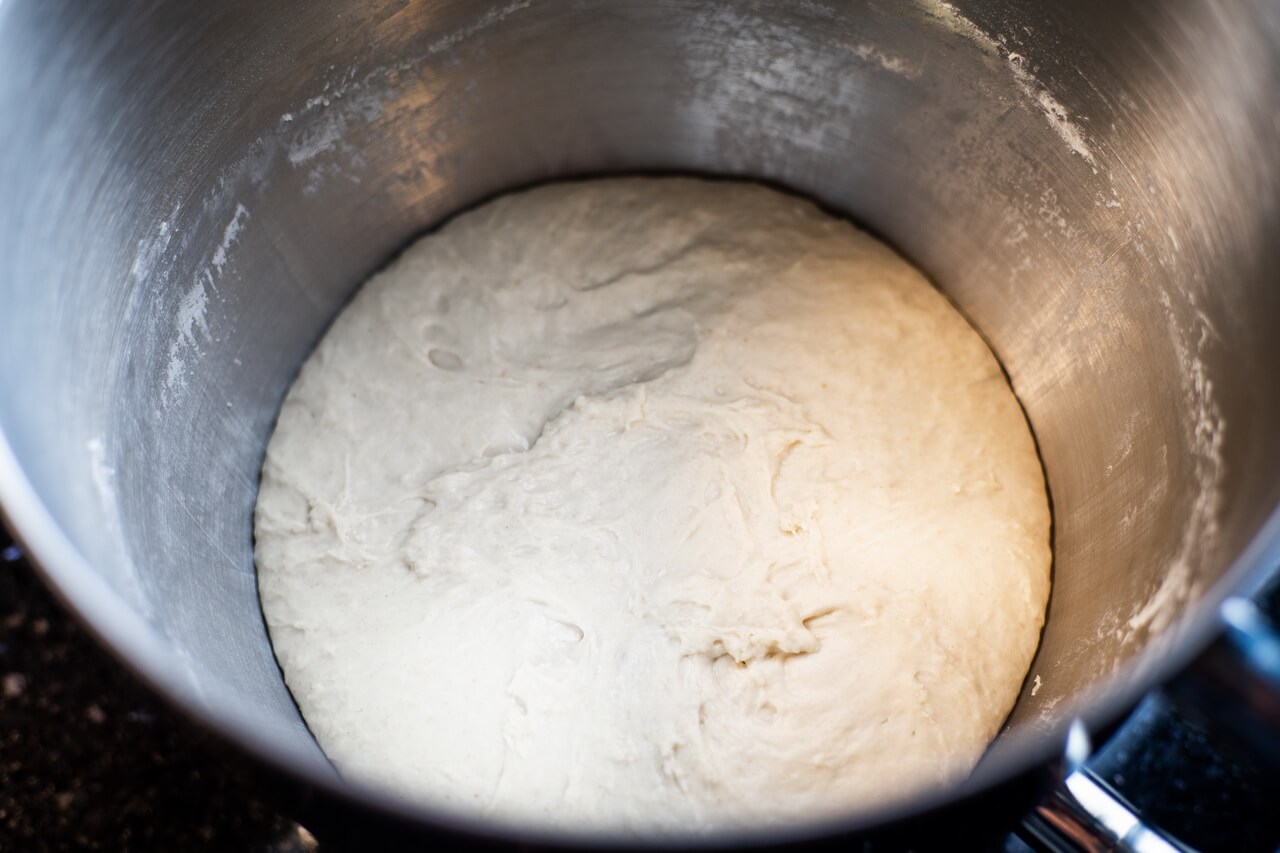
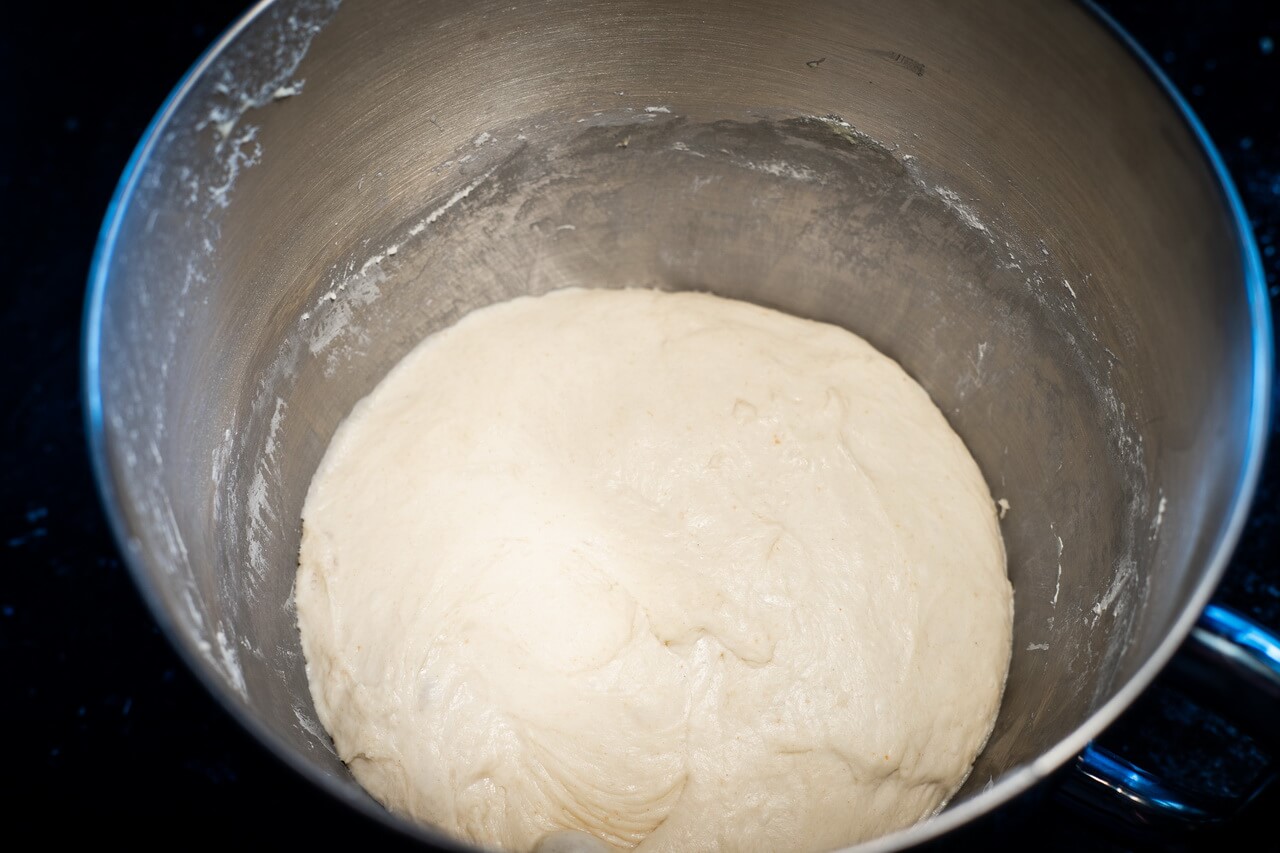
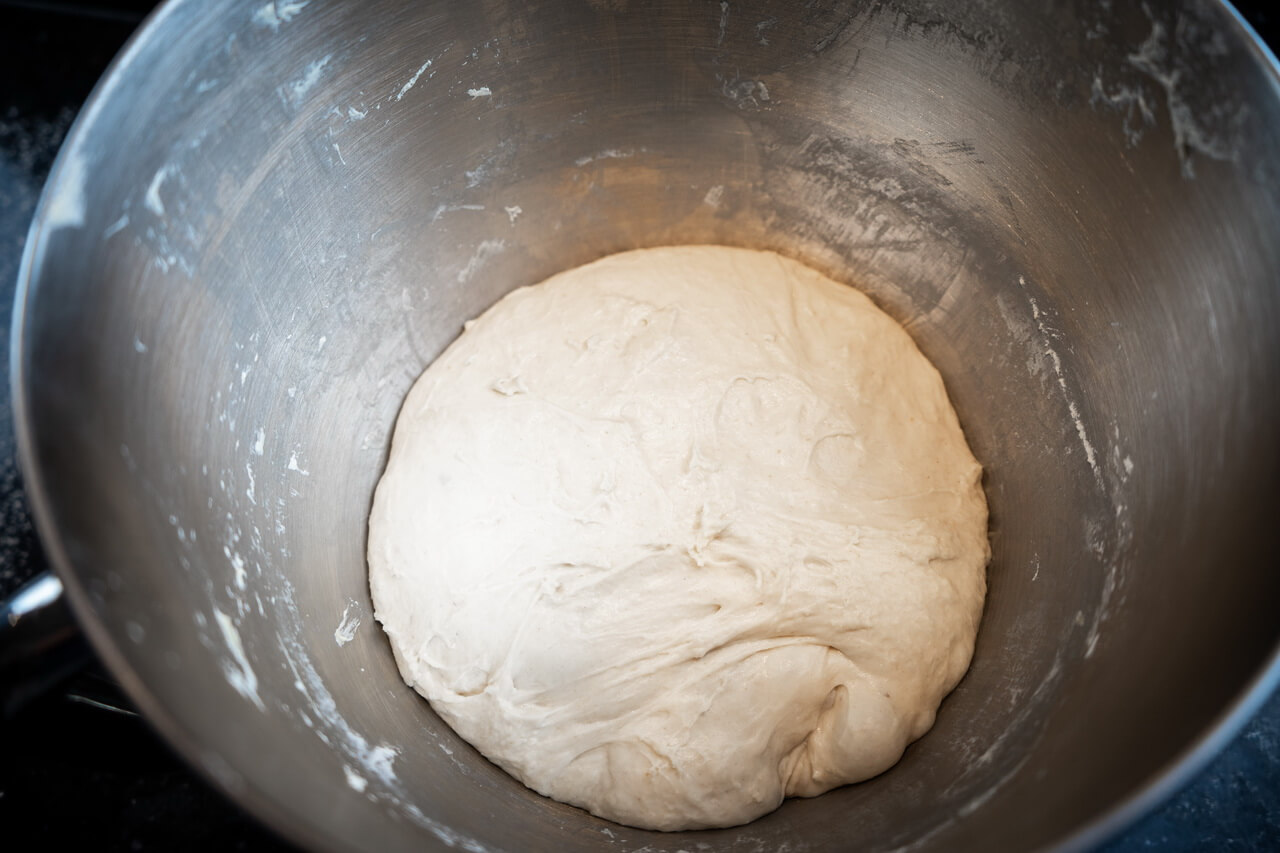
- After mixing the dough shouldn’t stick too much to the bowl
3. Bulk Fermentation, Stretch & Fold
- Cover the dough and let it rest for a total of 3 hours at 20-22°C (68°-71,6F)
- During that time stretch & fold the dough every 45 minutes (3 times in total) and after the 3rd time let it ferment further for 45 minutes until 3 hours in total are reached
- After each stretch and fold put it back to the bowl and cover it again so it doesn’t dry out
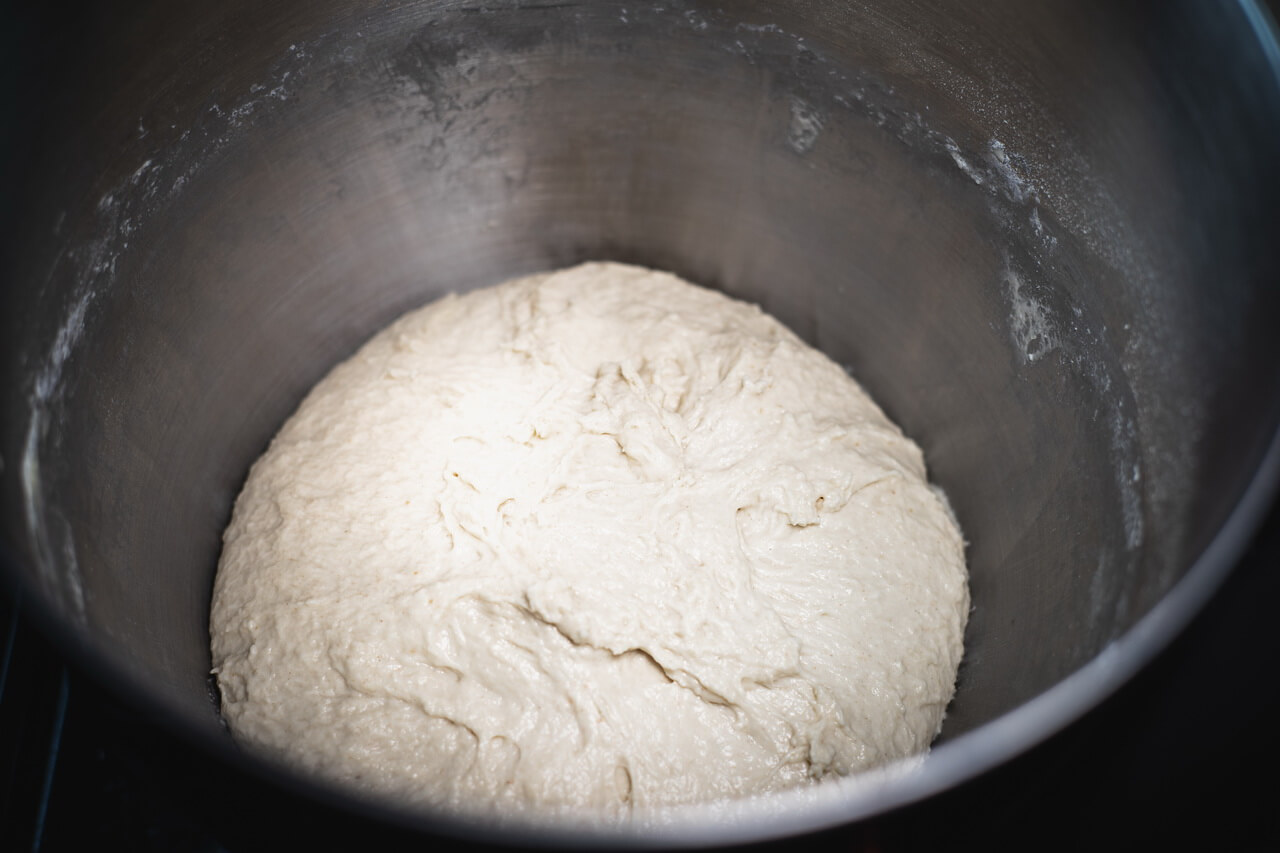
- On the left image you can see the dough after kneading and on the right after the first 45 minutes of bulk fermentation
- By looking closely you can see that it already has risen a bit
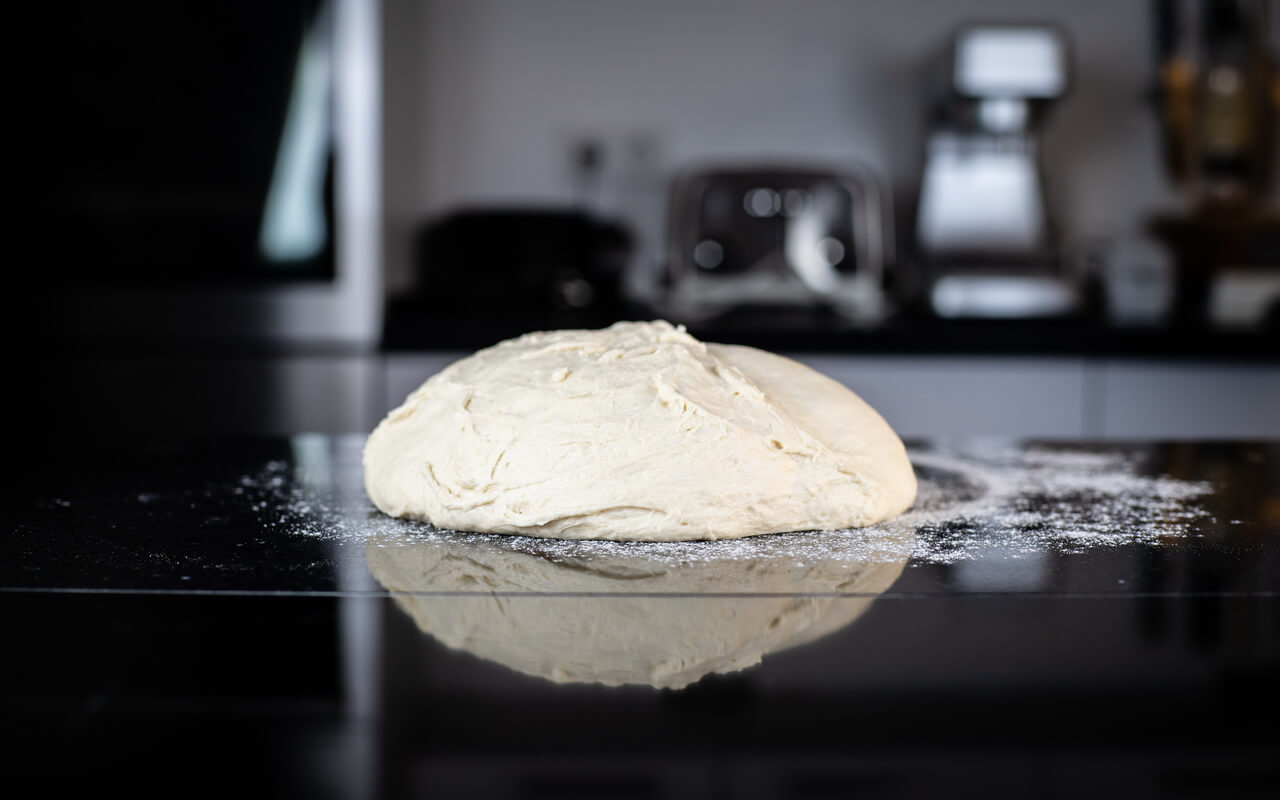
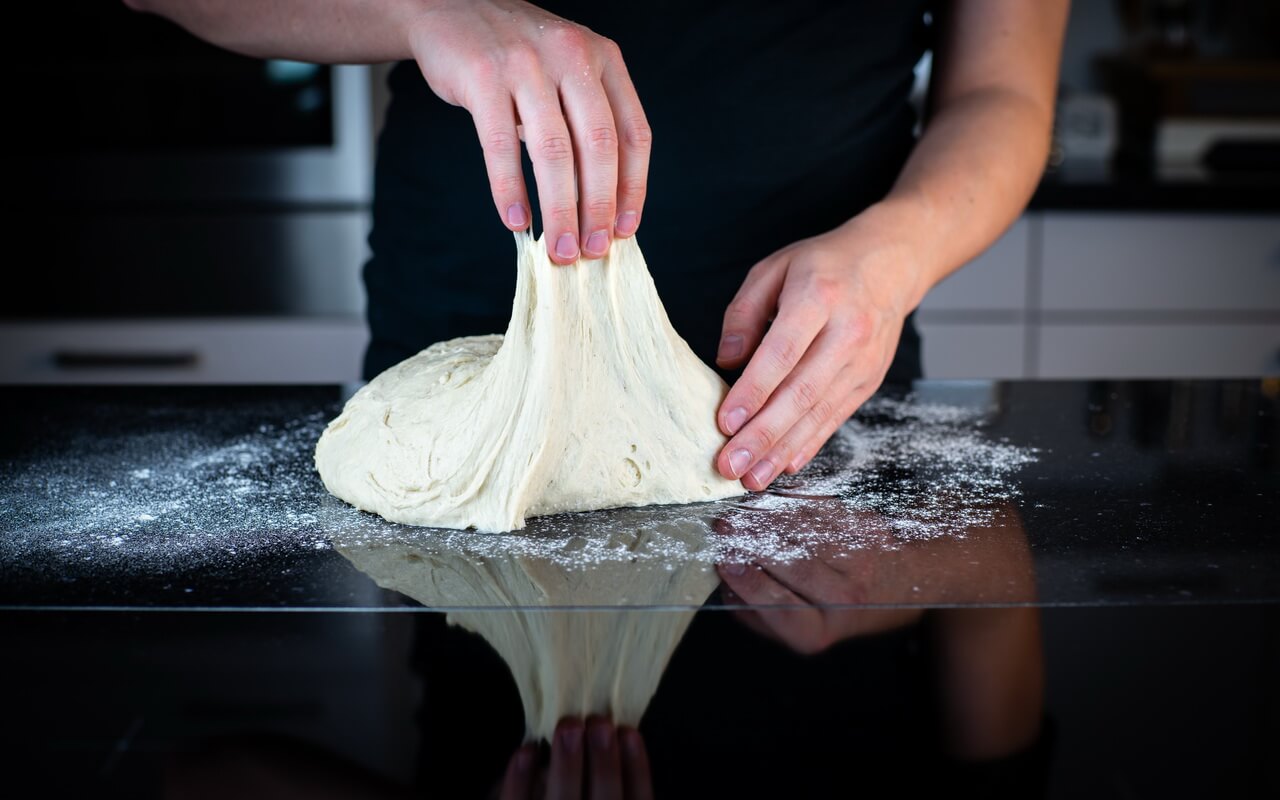
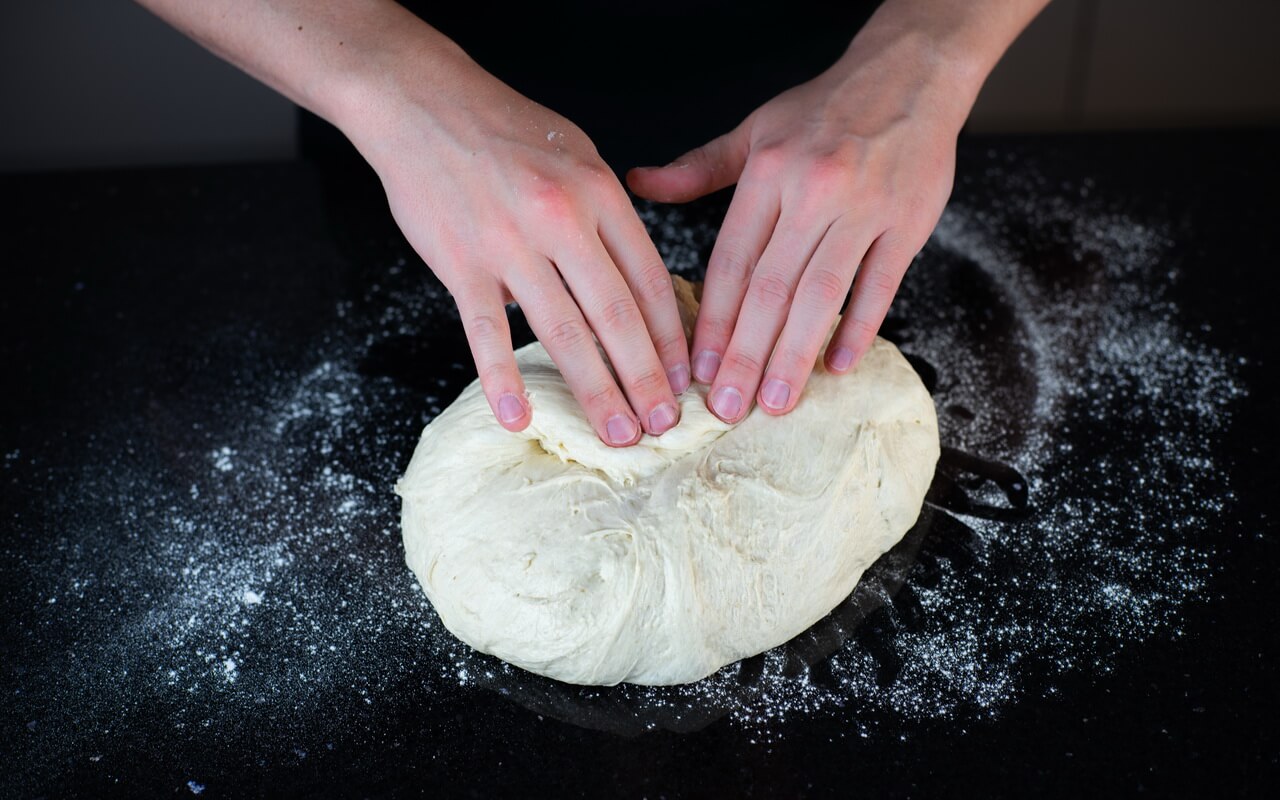
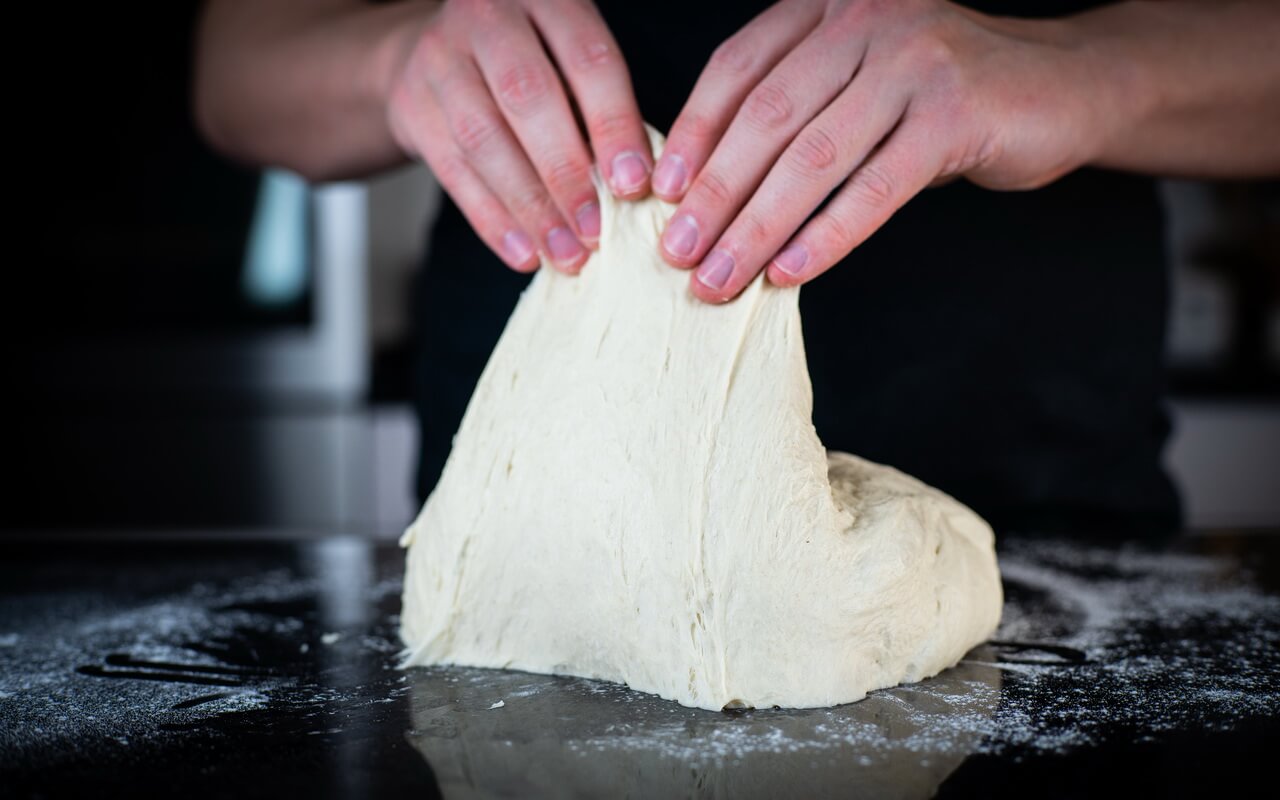
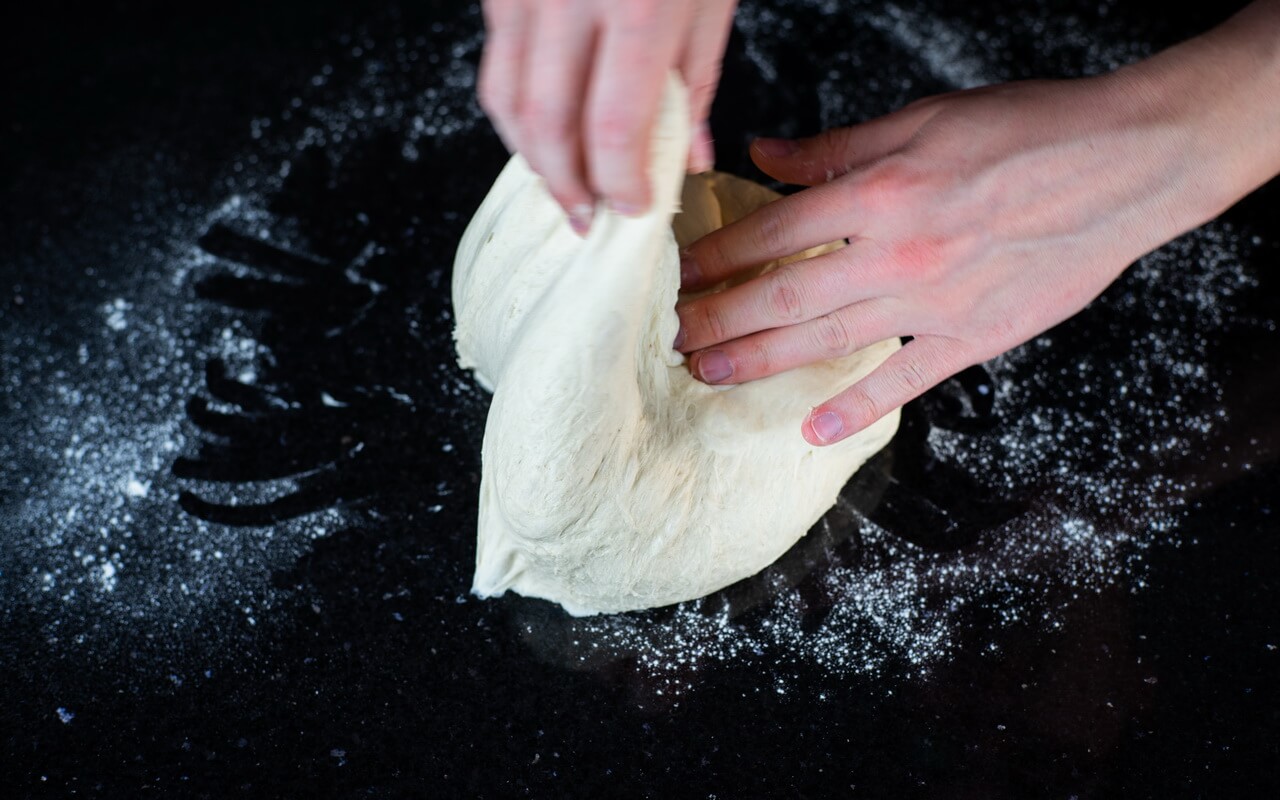
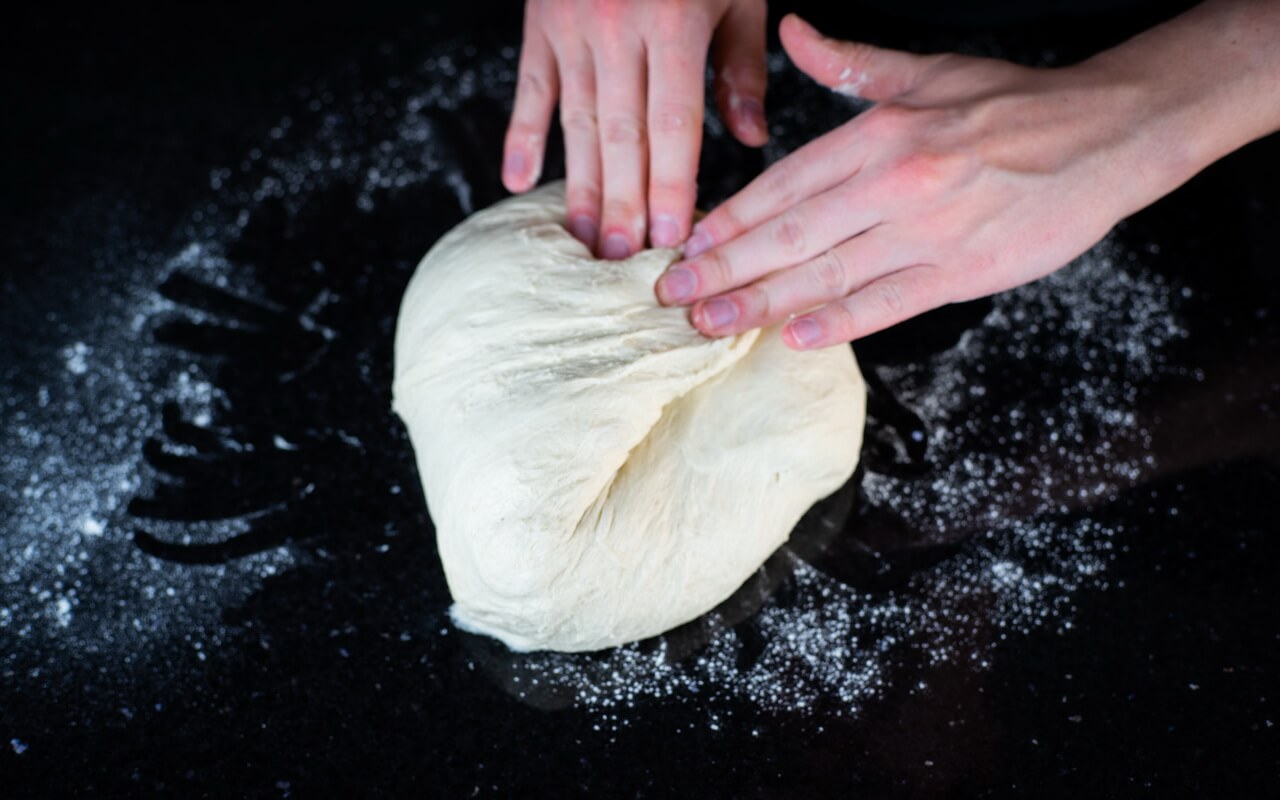
- Here is a small guide how stretching and folding is done:
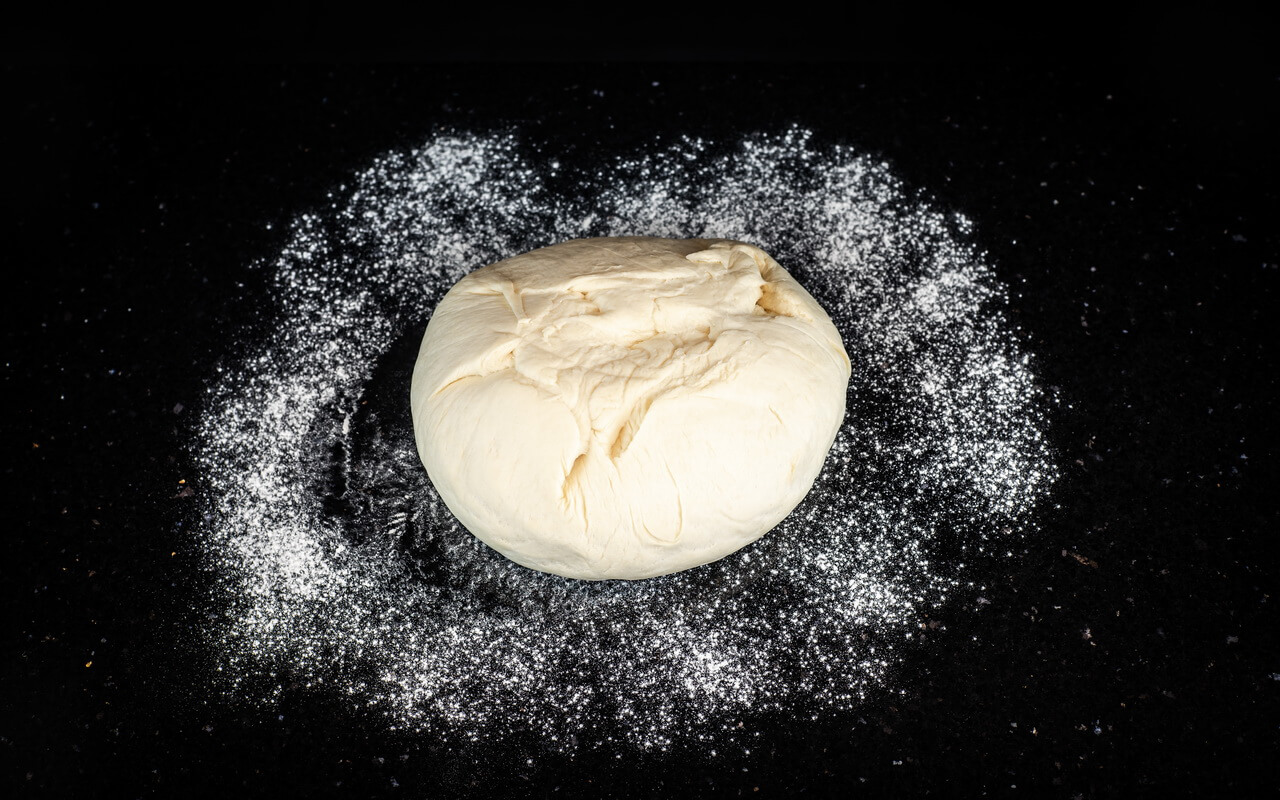
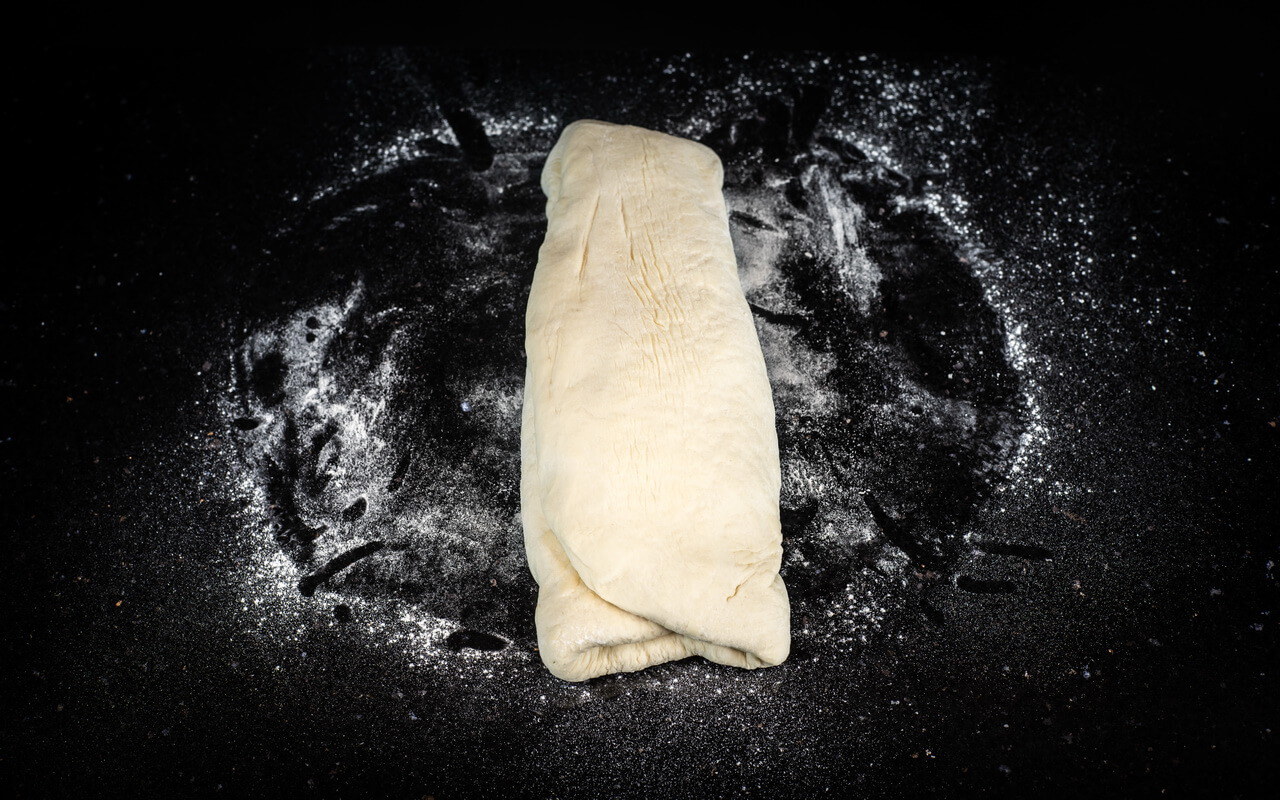
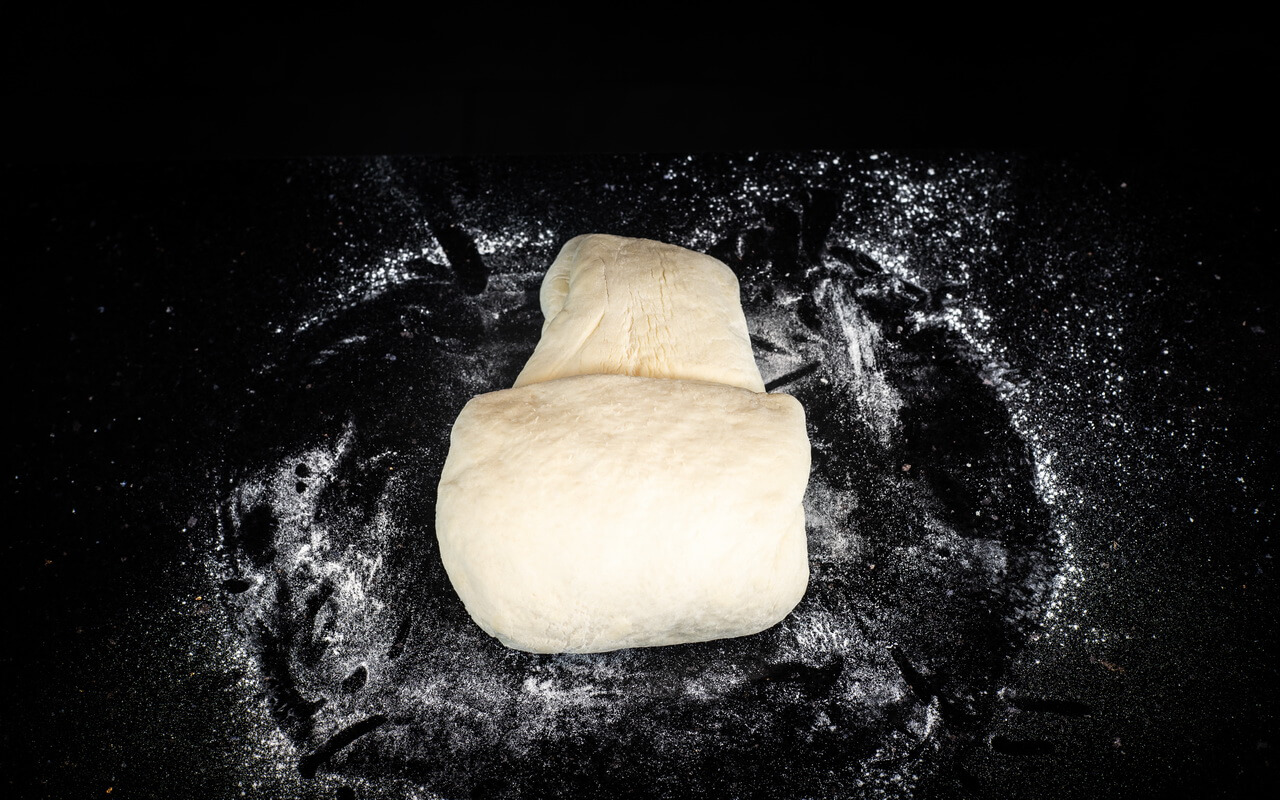
- Place the dough on a well-floured surface
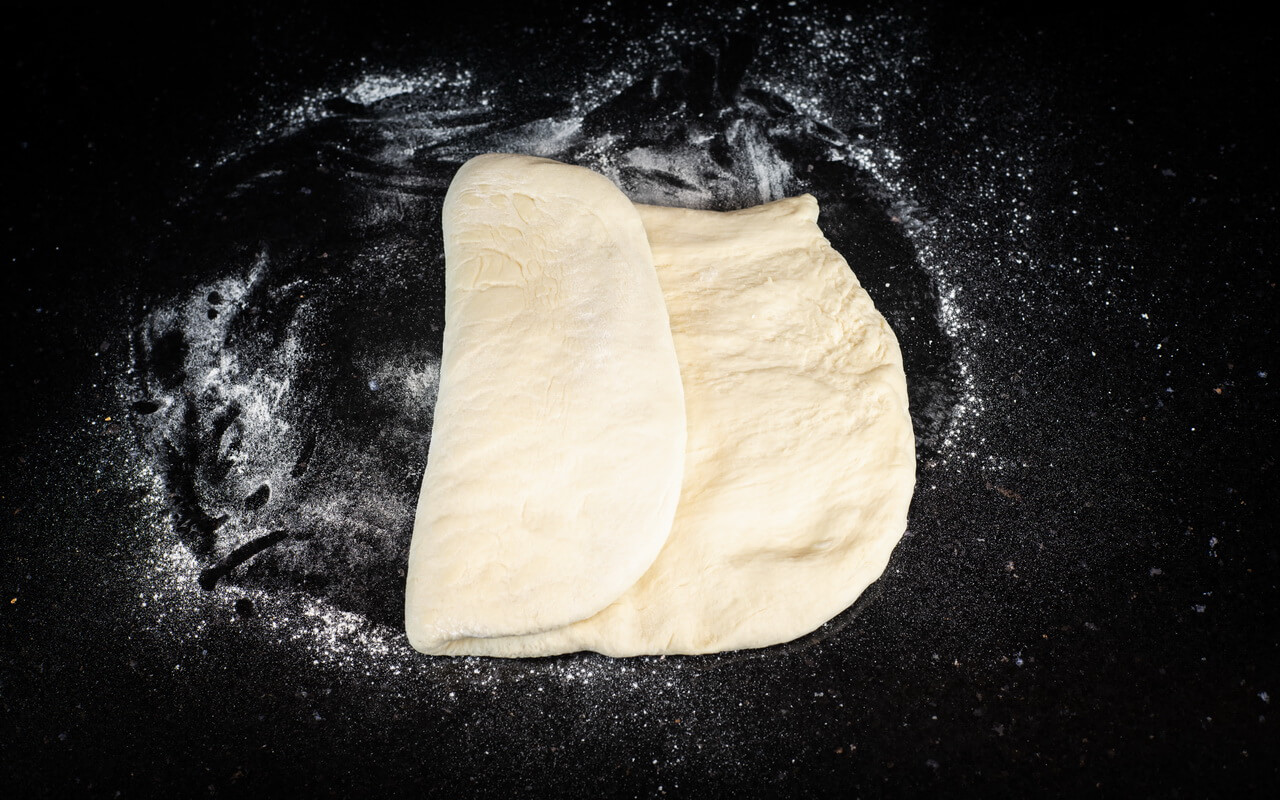
- Spread it out to a rectangle
- Fold it in thirds like a letter and dust the loose flour off of it after each fold
- Fold it up again as you did before, but this time from bottom to top and top to bottom and dust the loose flour off of it after each fold

- Stretching and folding encourages the gluten development in a dough by degassing and adding new oxygen to it which leads to a better structure
- With each stretch and fold the stretching and folding gets easier because of the better structure in the dough
- On the images from left to right you can see the dough after each stretch and fold
4. Shape
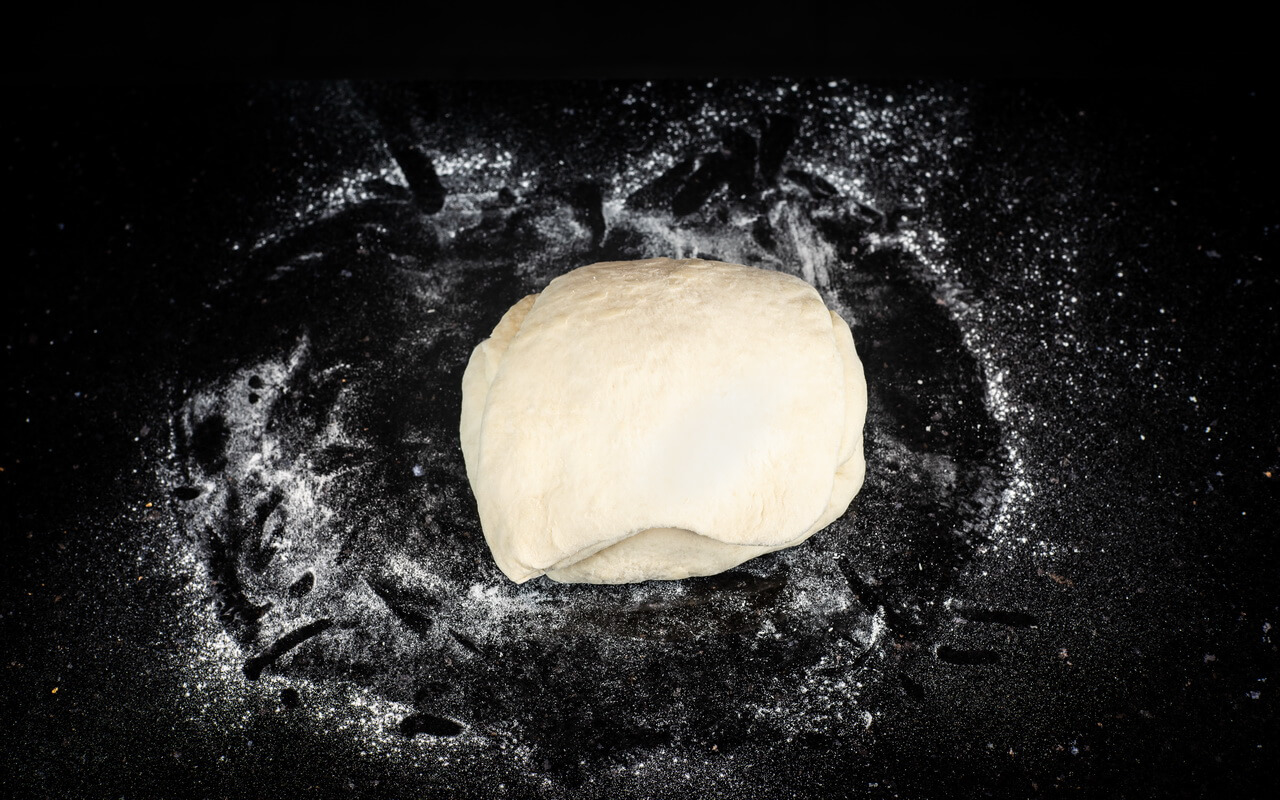
- We want to get our dough in the shape of a round ball
- One way to do this is the following:
- Place the dough on a very lightly floured surface

- Pull the edges from the sides in the air and then in the middle of the dough to create a smooth outer skin on all sides of the dough ball
- Place the dough ball seam-side down on a non floured surface
- Put both of your hands with the ball of your hand on the surface behind the dough ball
- Pull your hands just a bit towards you, very slowly, while keeping the ball of your hand on the surface
- Turn the dough ball 180° and do the same thing again
- Repeat these steps about 4 to 6 more times
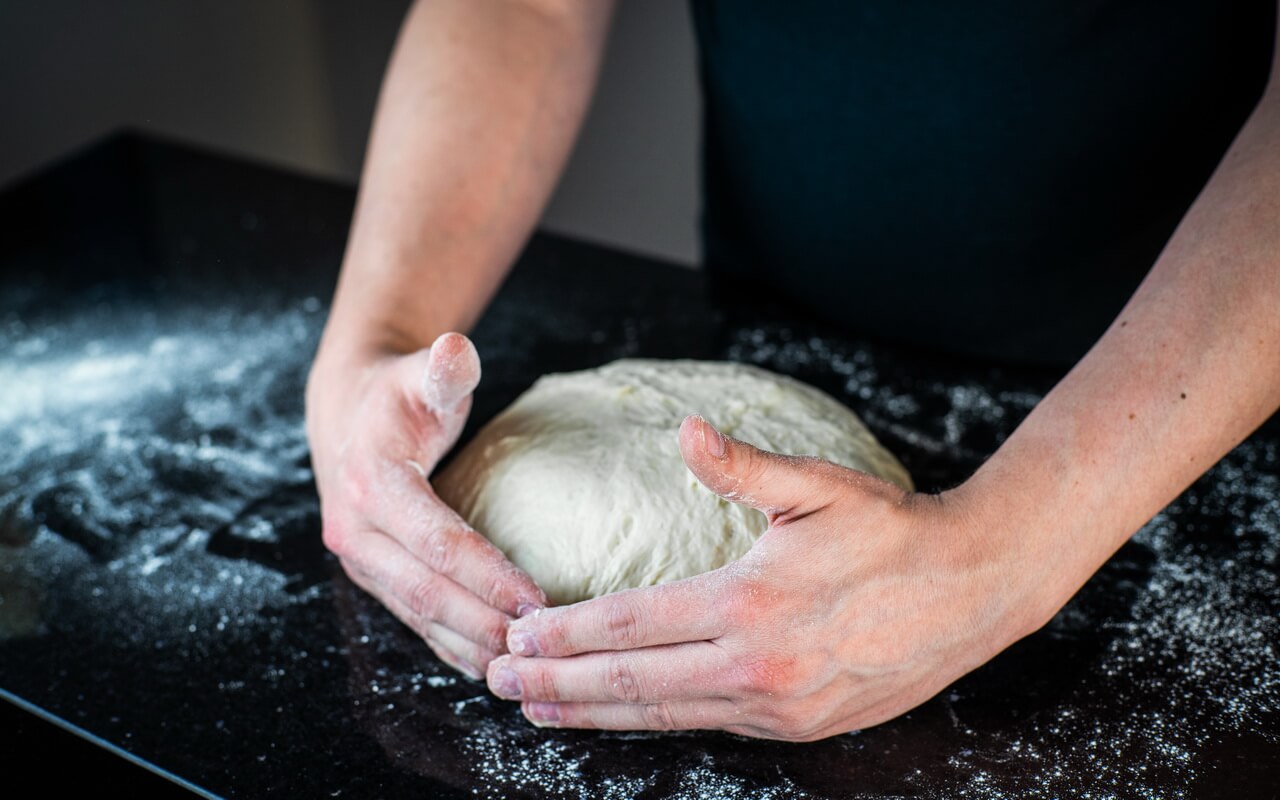


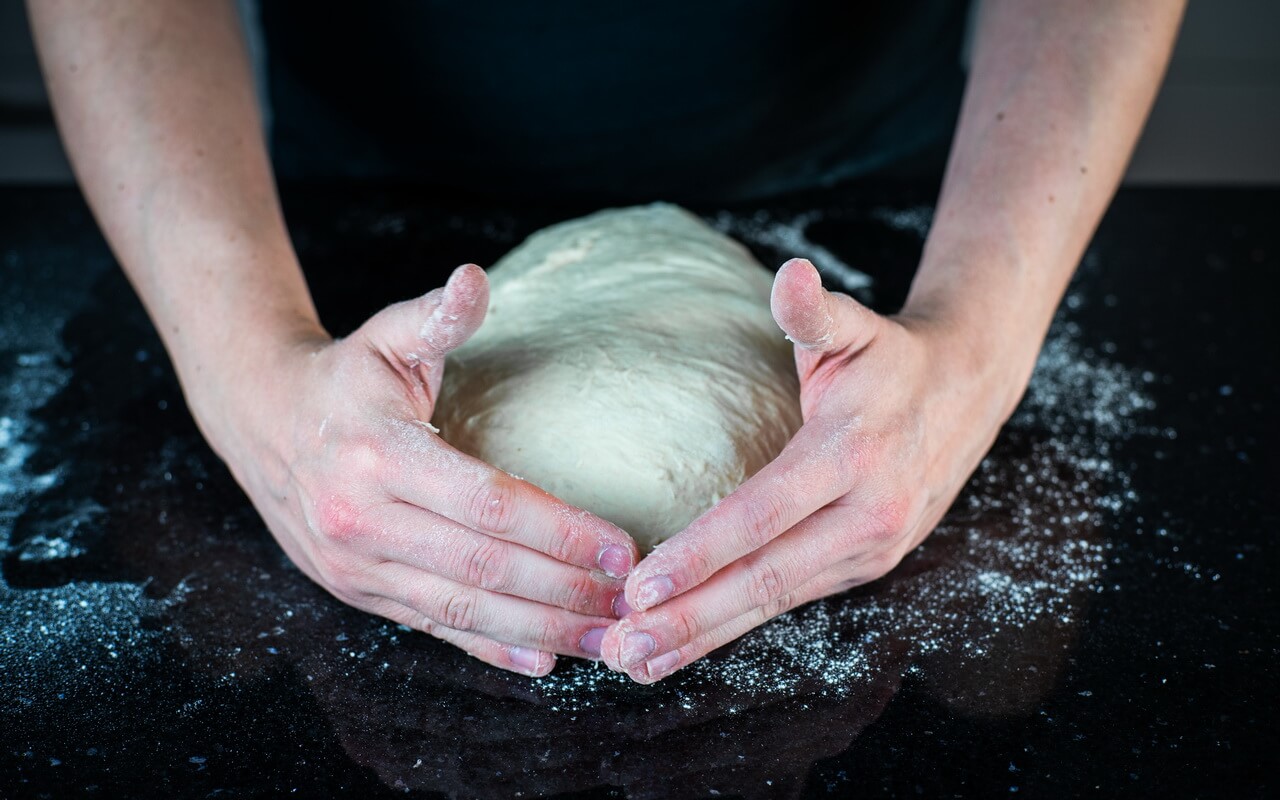

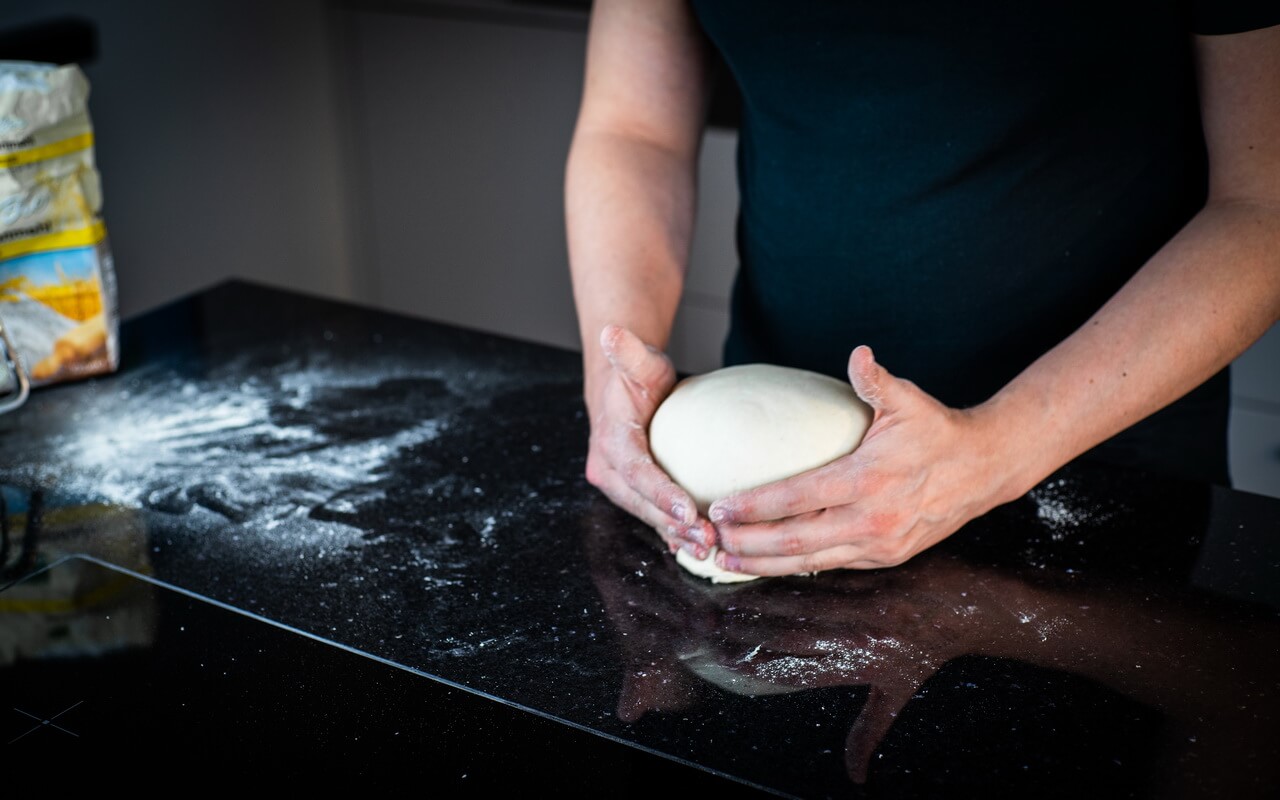
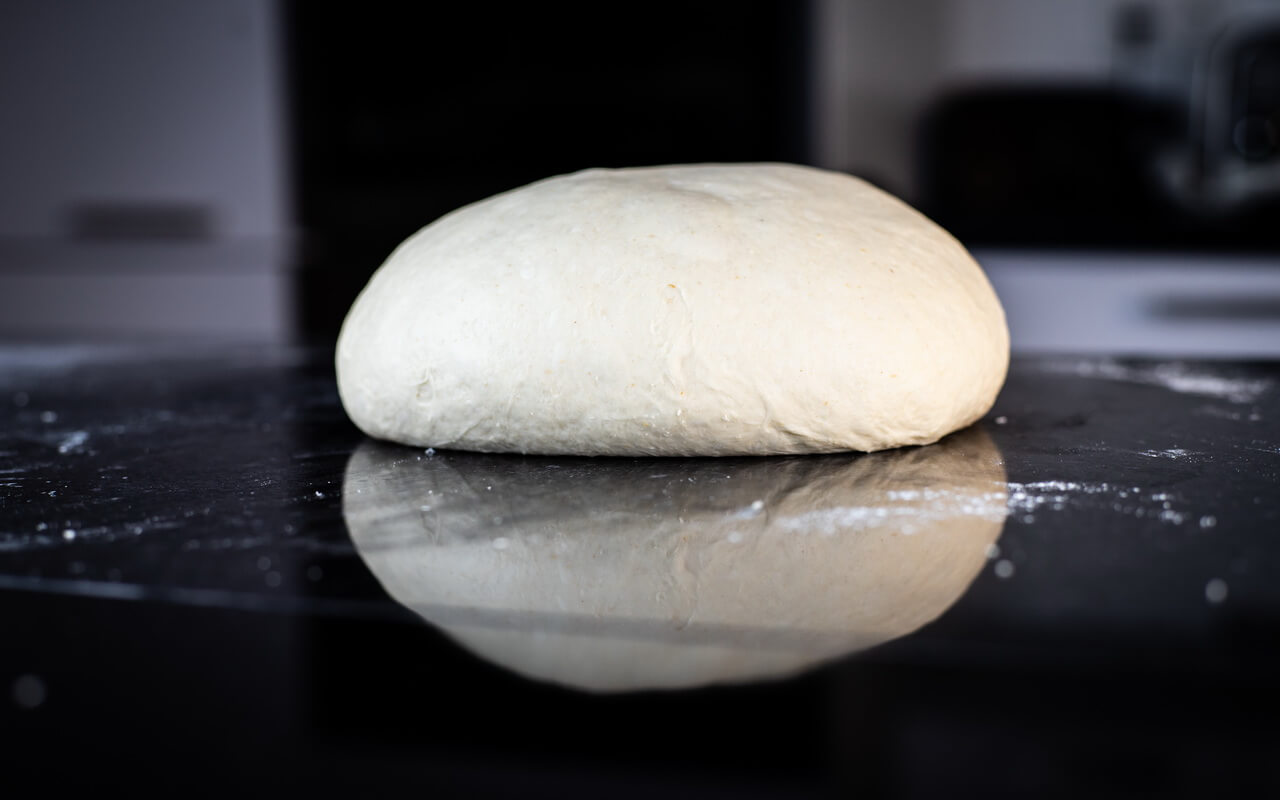
- At the end you should have a nice tight surface on top and the sides of the dough ball

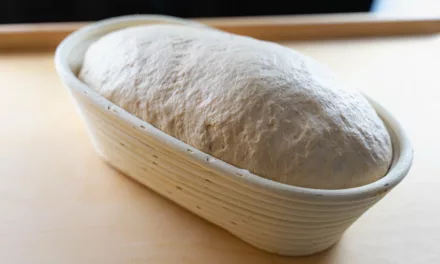
5. Proof
- Dust your proofing basket with a bit of all-purpose flour
- Put your previously shaped dough seam-side-up in the dusted proofing basket
- Add a bit of flour on top
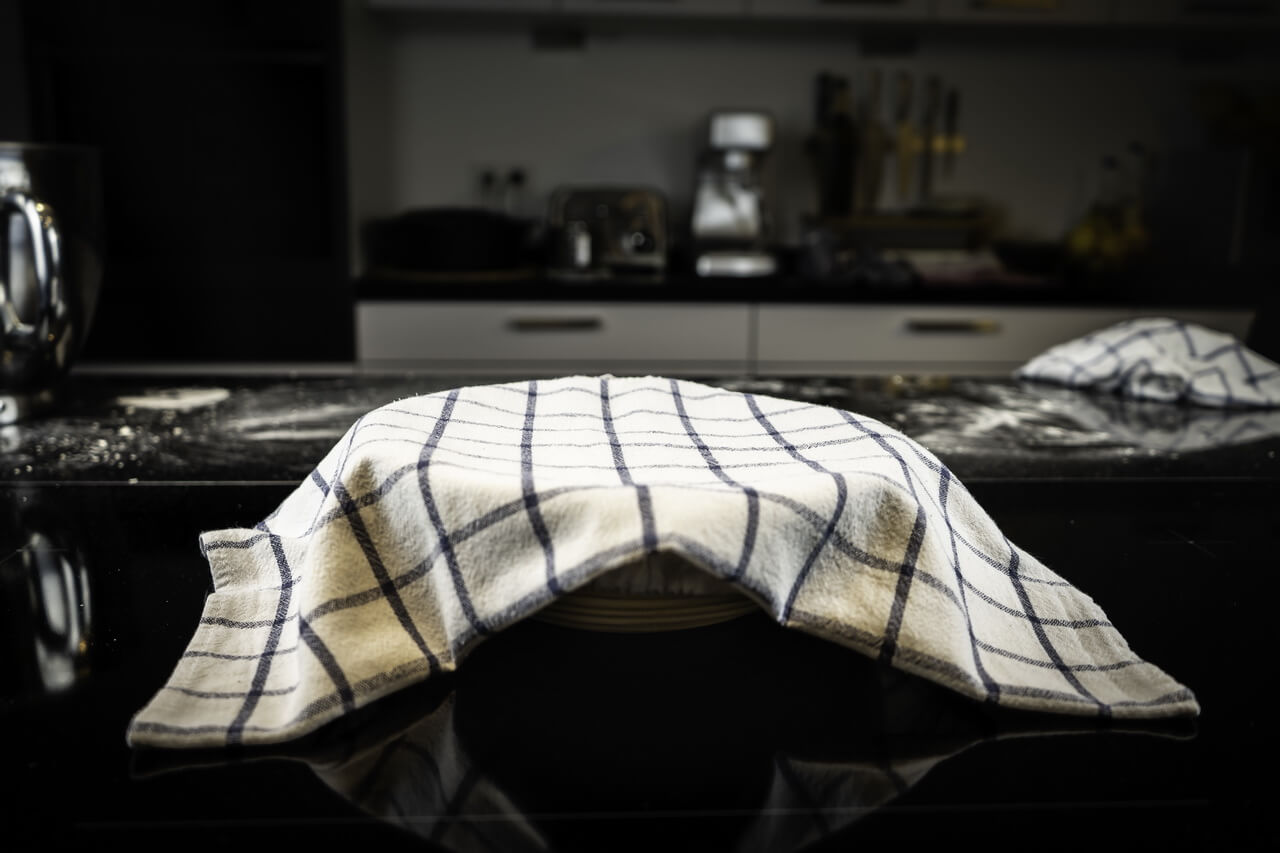
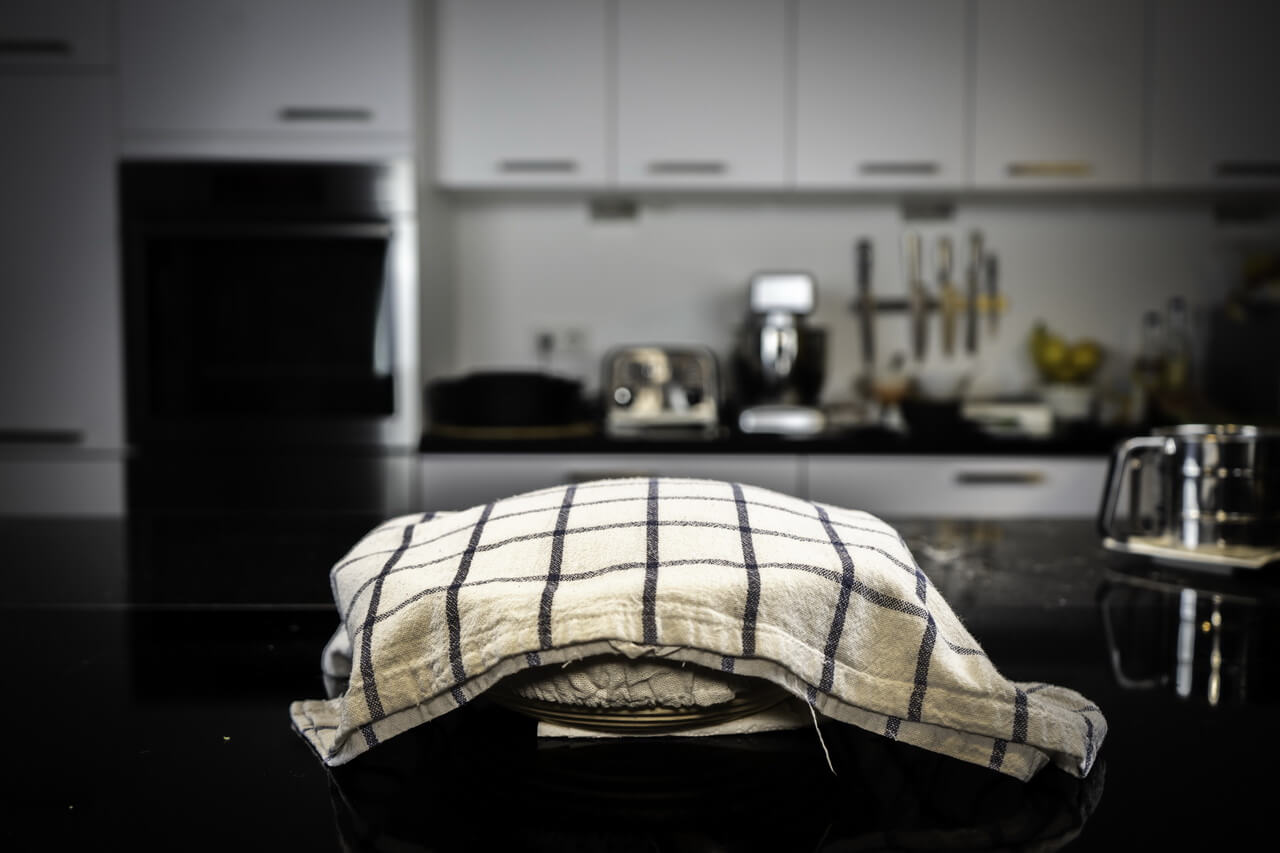
- Cover it with a towel
- Let it proof in the fridge at 5 to 8°C (41 to 46,4°F) for 12 to 24 hours
- Tip: If you don’t have a proofing basket, you can line a bowl with a towel instead to create a similar result
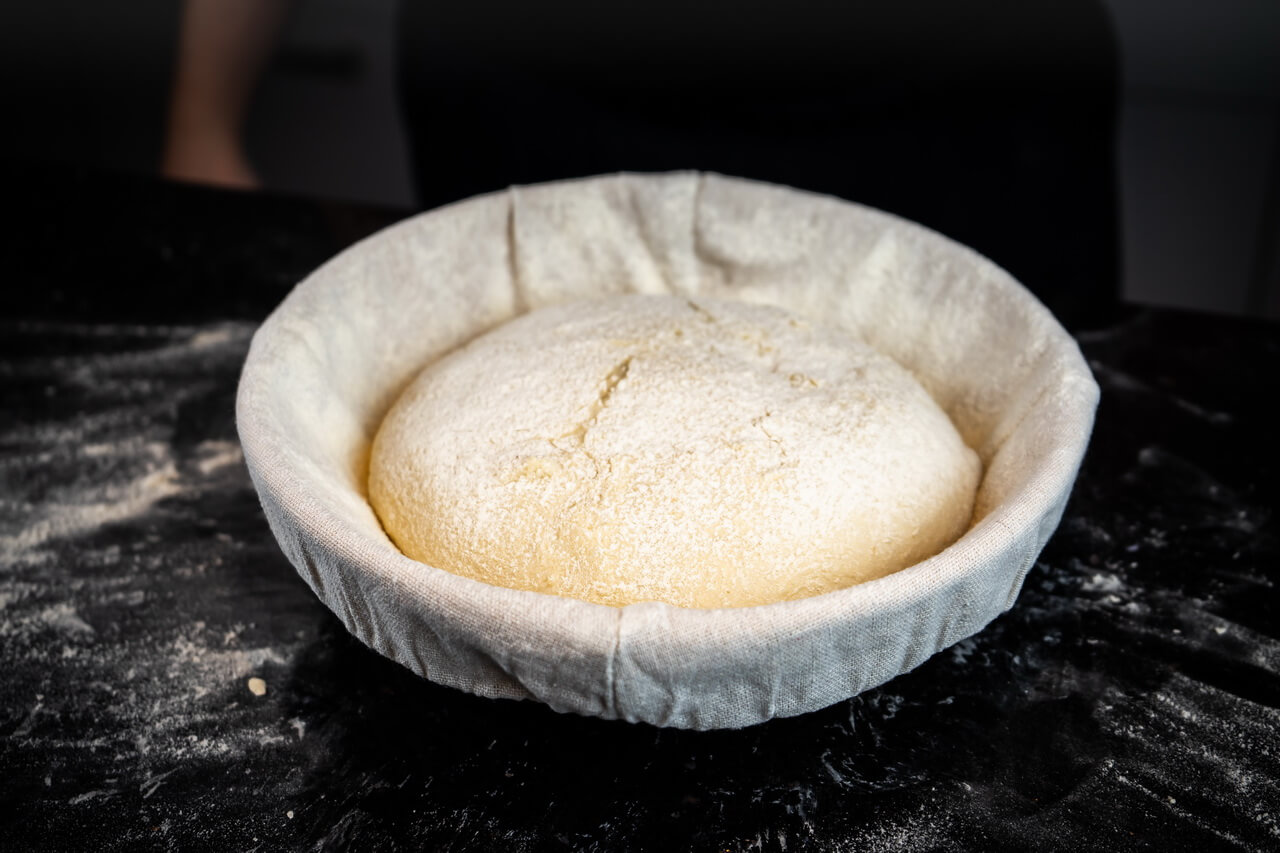
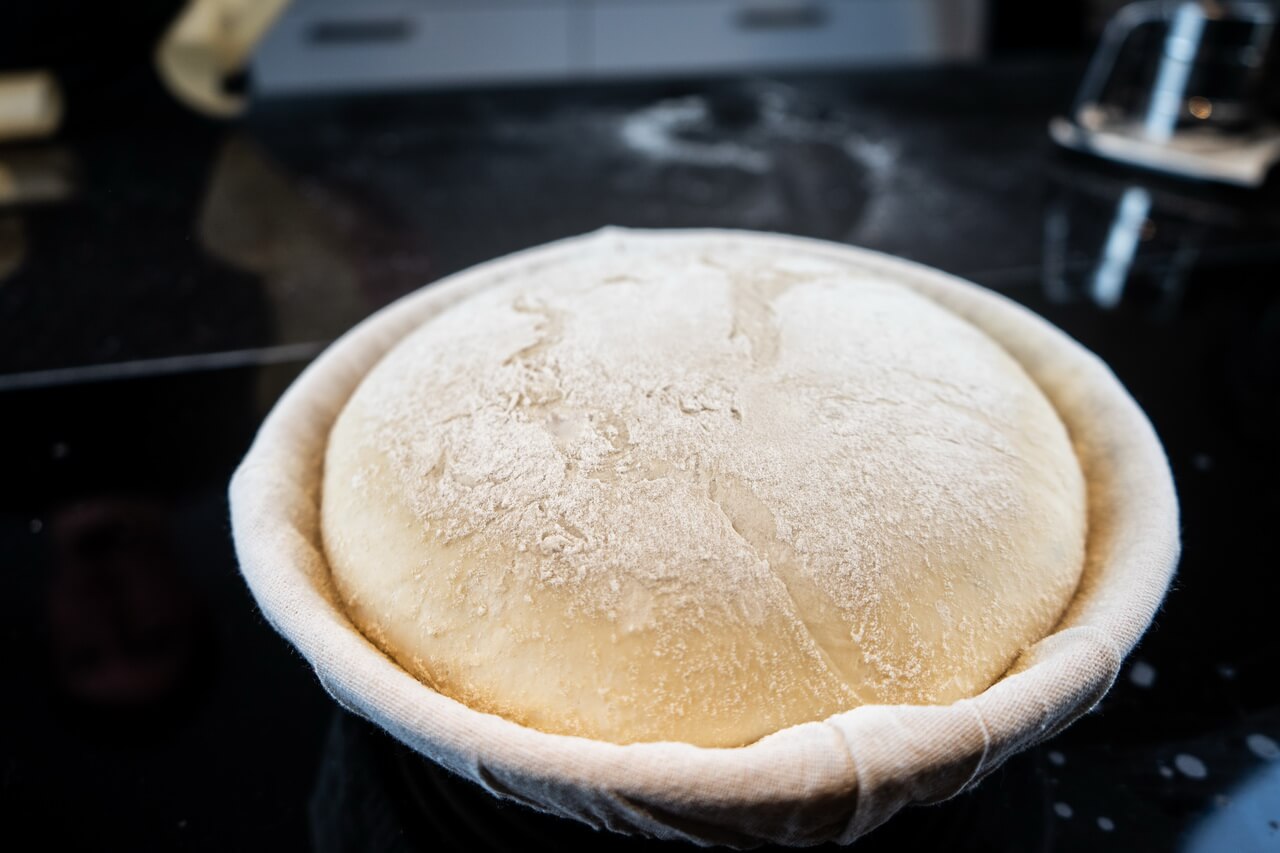
- With proofing overnight in the fridge your bread will get even more taste and have a better crumb as the fermentation can proceed at a slower pace and have more time to develop
- In the bottom images you can see the proofed dough after about 18 hours
6. Prepare Oven
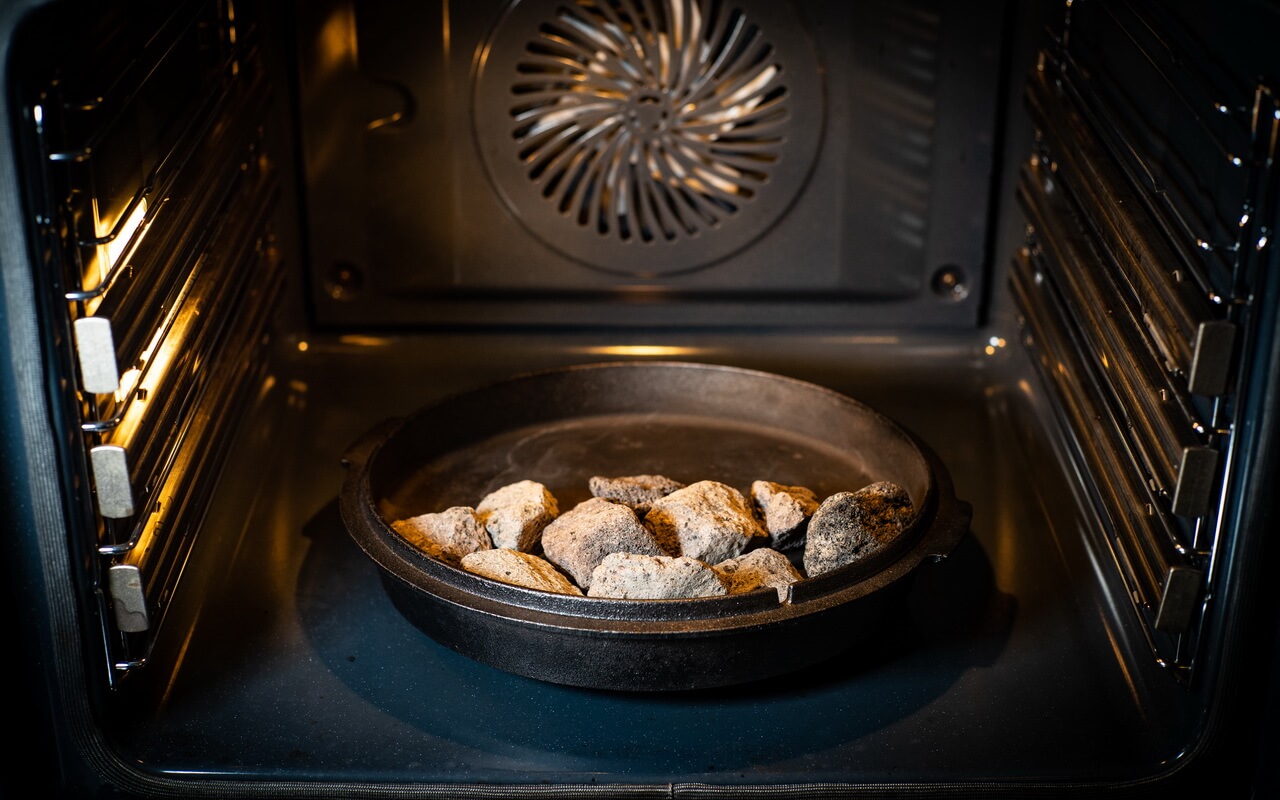
- If you have a cast iron skillet, lava stones and a baking stone / pizza stone do the following:
- Place the cast iron skillet filled with lava stones in the bottom of the oven
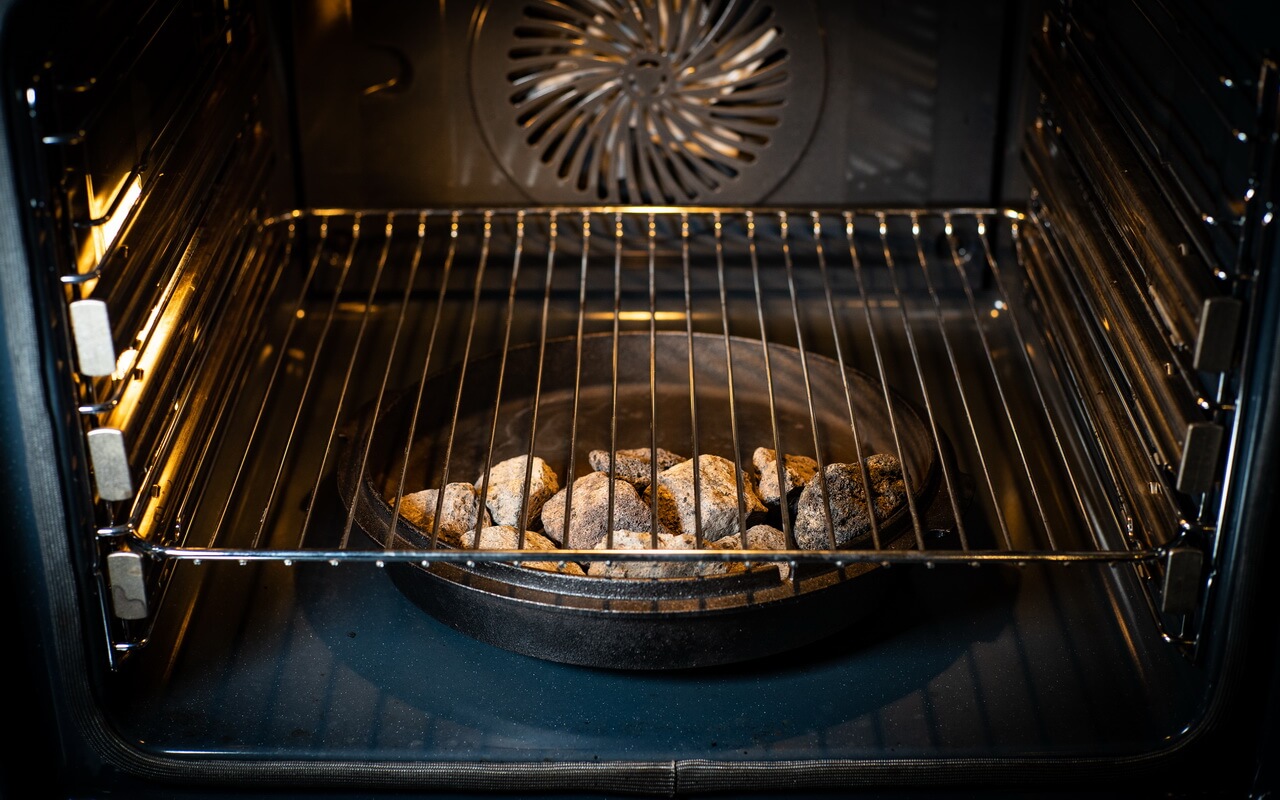
- Put a baking grill in the lower third
- Put the baking stone / pizza stone on top of it
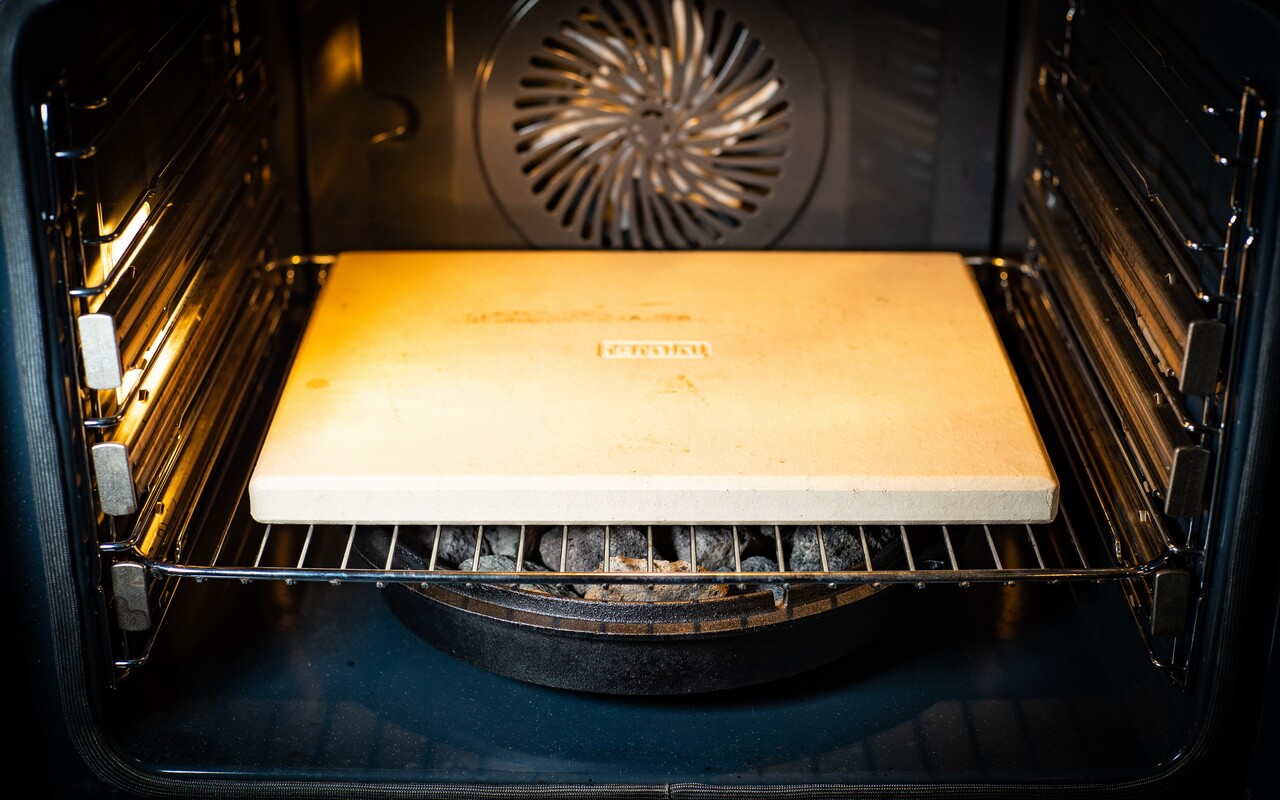
- We need to do this for creating a lot of steam in a short time
- The benefits of steam are improved oven spring so the volume gets bigger
- It keeps the dough smooth in the beginning of the very hot baking phase so it can rise properly
- Leads to a nicer shiny and more crispy crust
- Generally gives a more beautiful look
- If you don’t have the mentioned baking tools above just place a baking plate in the lower third of the oven
- Preheat oven to 250°C (482°F) for ~45 minutes with the upper and lower heat function (do this prior to taking out your dough from the fridge and scoring it)
- Most ovens need about 45 minutes to reach these temperatures and we need good oven spring so our dough can rise while baking
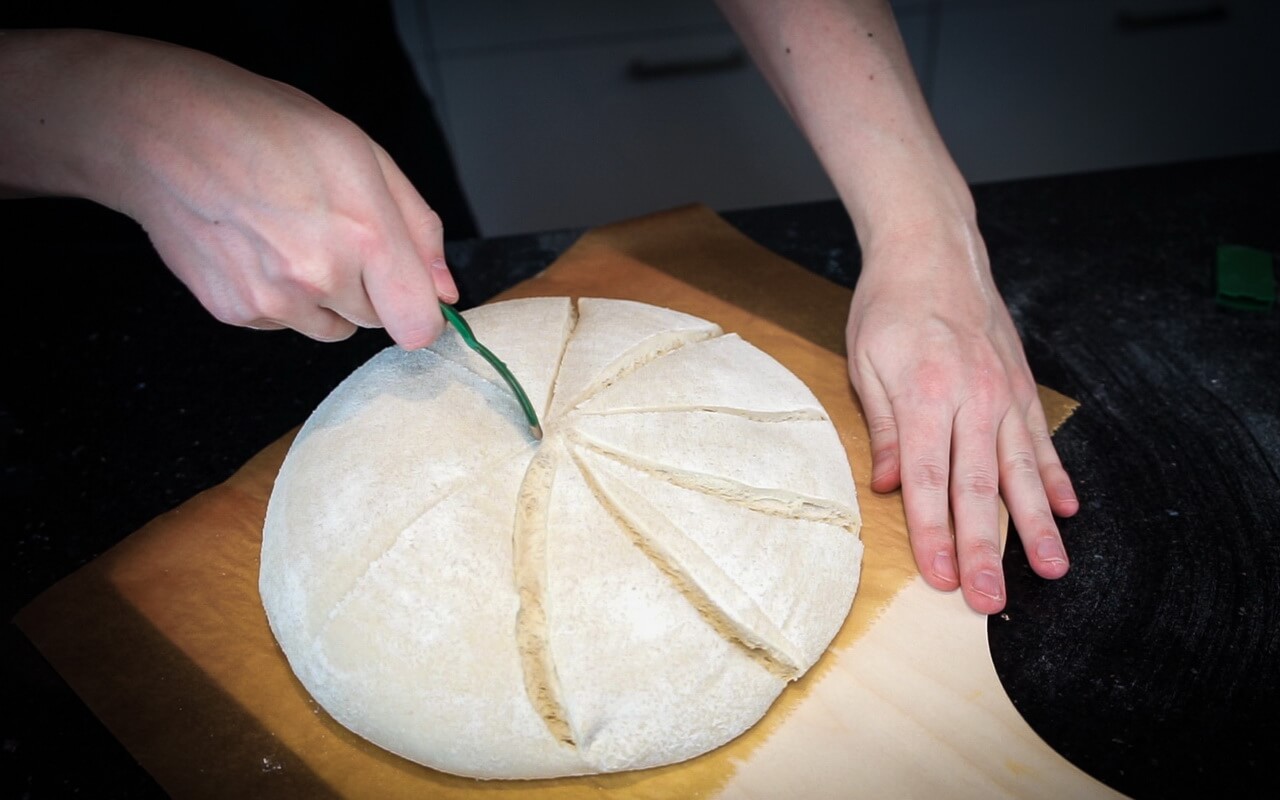
7. Score
- Cover a board (carving board / cutting board / pizza peel) with parchment paper
- Take your proofed dough out of the fridge and remove the towel
- Gently take your dough out of the proofing basket by flipping it upside down on board
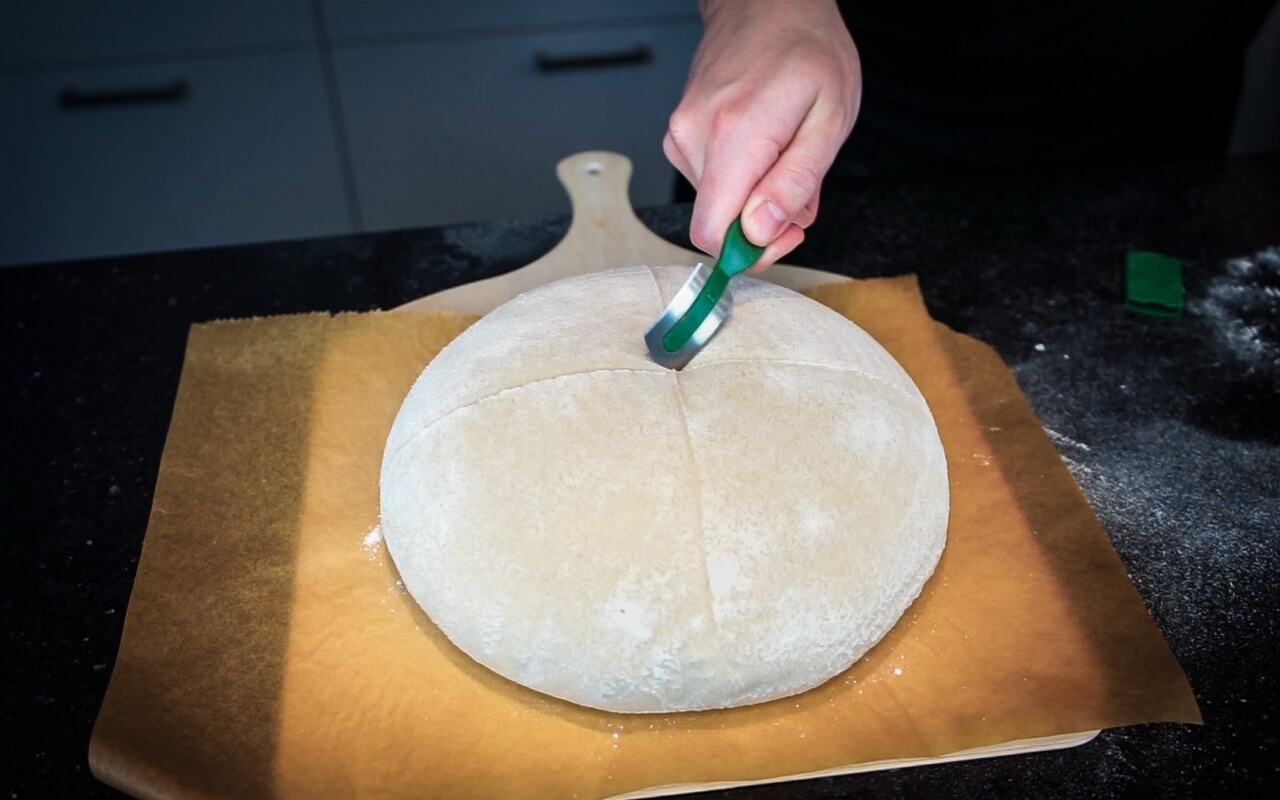
- Take your bread lame or a very sharp knife
- Make one or more cuts (about 2 to 3 cm deep) on top of the dough
- There are several ways to do it like for example one single long cut, 3 to 4 smaller cuts next to each other, a cross or whatever you like but don’t do too many!
- We just want to open up the dough in some places so the carbon dioxide gas can escape in the right places
- This whole phase should be done after your oven is fully heated up and you are ready to place the dough into the oven
8. Bake
- The oven should already be preheated to 250°C (482°F) with the upper and lower heat function
- Fill a pot or big cup with about 500 g hot water
- Put the loaf in the oven by sliding it down together with the parchment paper on the baking stone / pizza stone or baking plate
- Quickly pour the hot water on top of the lava stones in the cast iron skillet to create a lot of steam and immediately close the door – Be careful not burning yourself! Oven gloves are highly recommended!
- If you don’t have an iron skillet with lava stones pour the hot water in another ovenproof container
- Bake for 45 minutes
- After 10 minutes lower the temperature to 220°C (428°F), let the steam out by opening the oven door for ~45 seconds and close it again
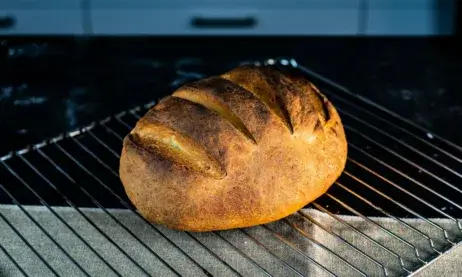
9. Cool
- After baking take your loaf out immediately
- Let your loaf cool for at least 1 to 2 hours on some kind of grid before you cut into it
Conclusion
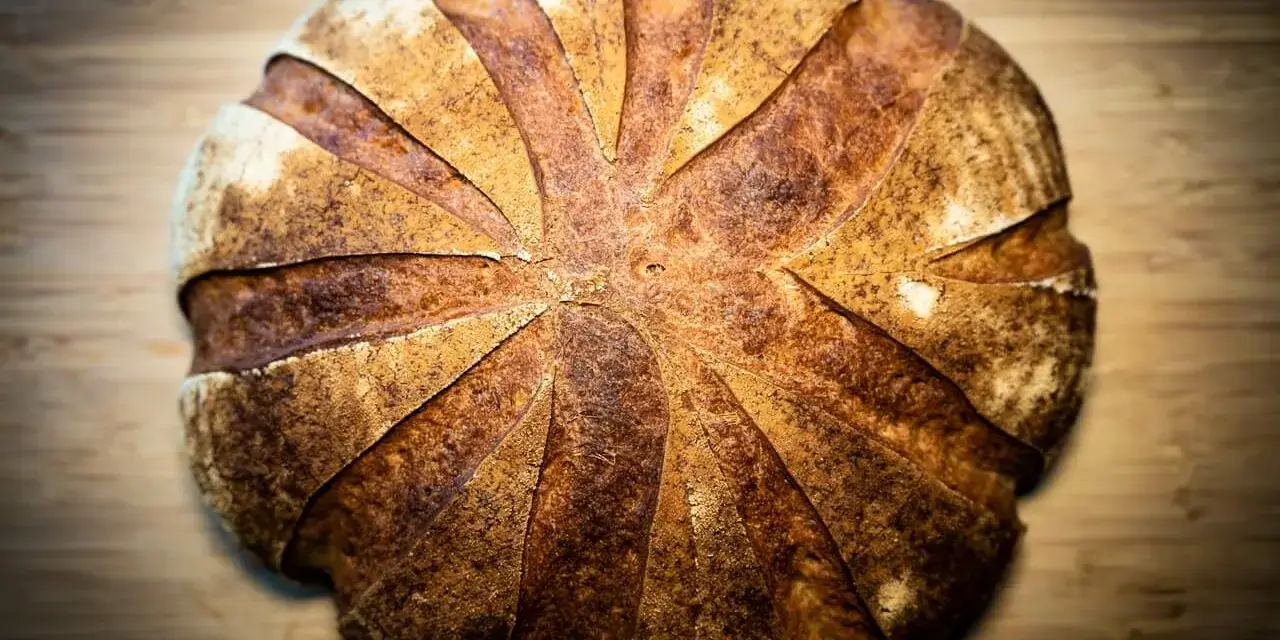
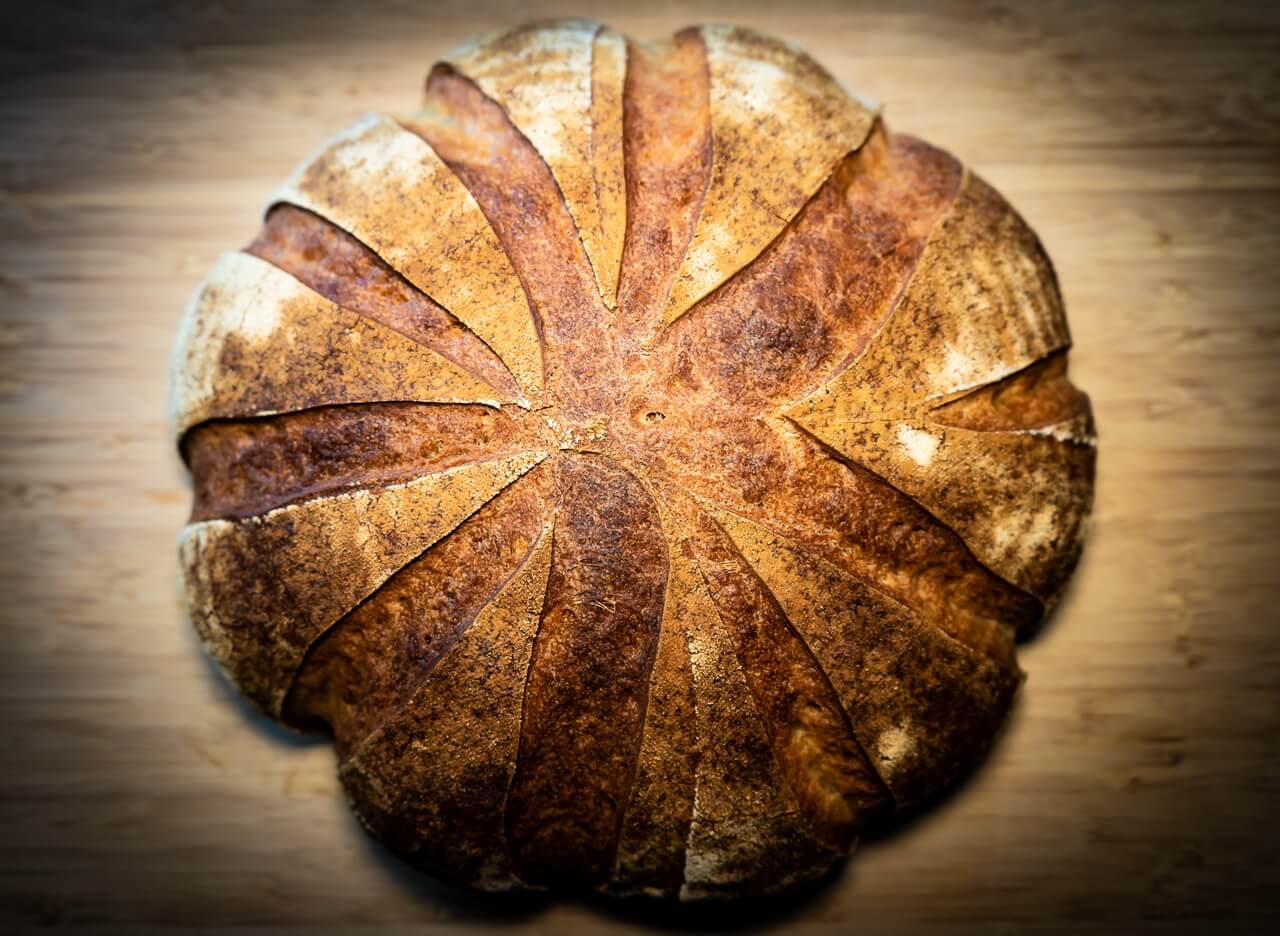
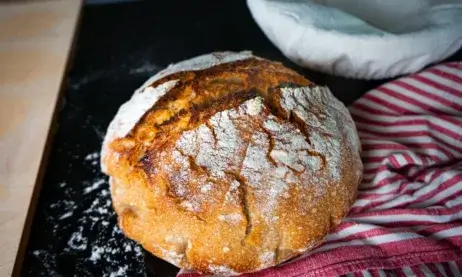
Crust
The crust has a strong flavour with light roast aromas. The structure can be described as firm and aromatic.
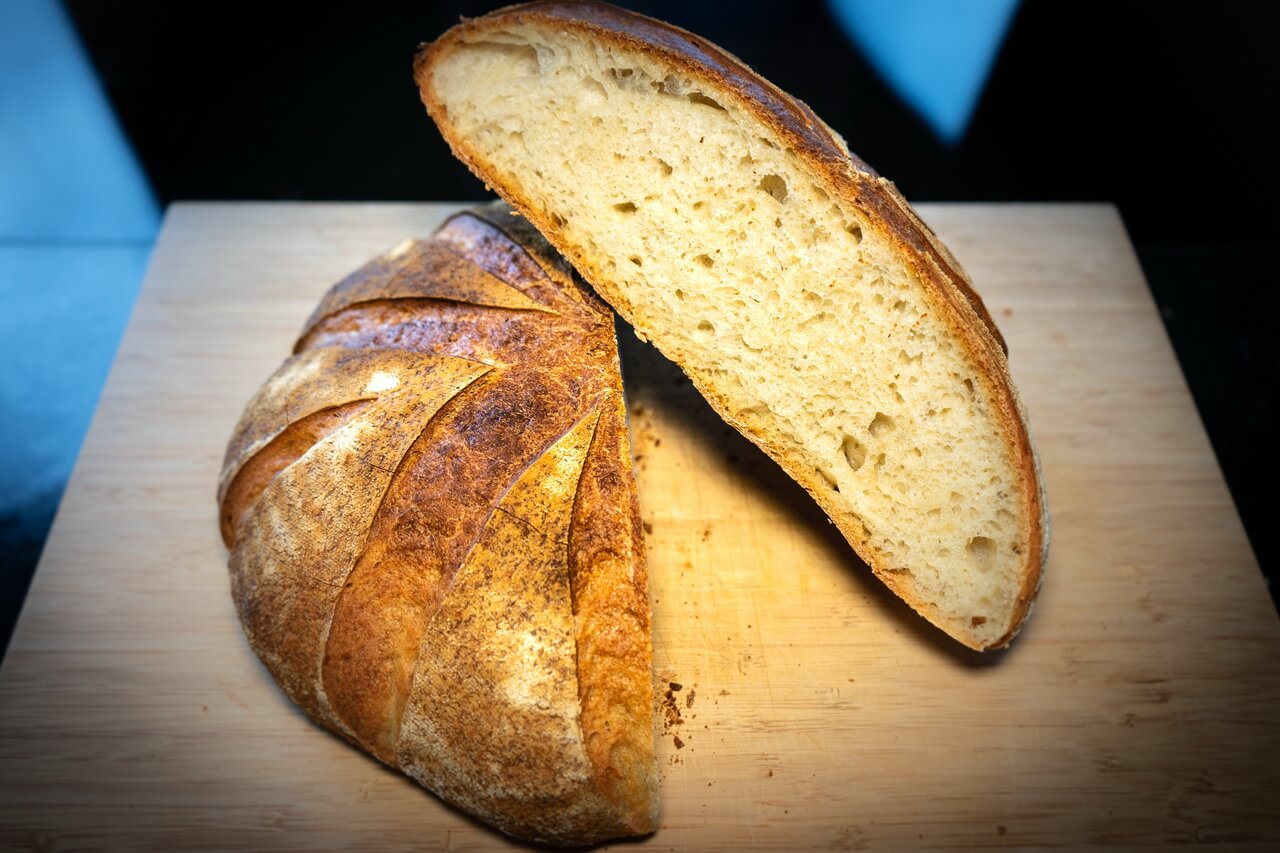
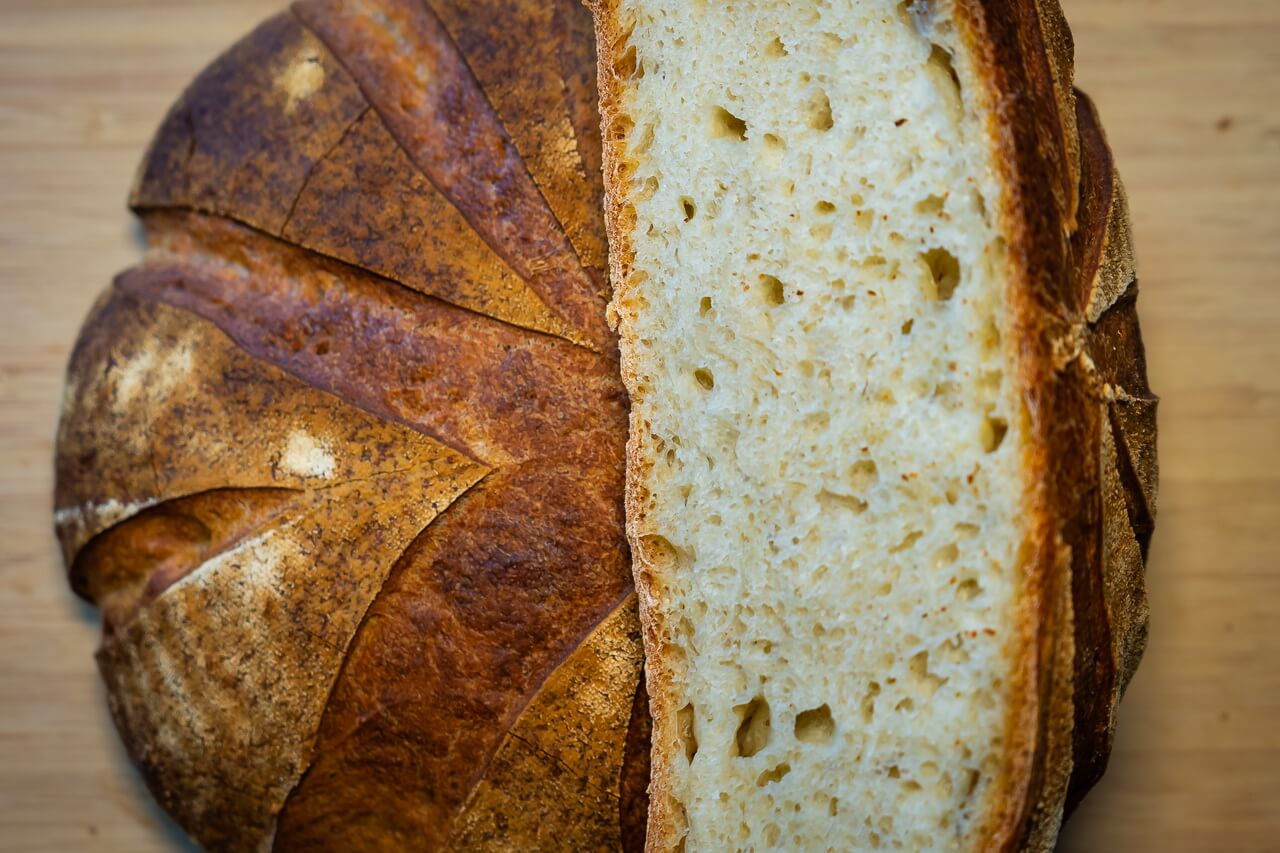
Crumb
The crumb is bright and tender without being sludgy. It reminds a bit of ciabatta but the pores are finer.
Taste
The combination between crumb and crust is very good and balanced as they are both supporting each others taste. The taste itself is comfortably light but still aromatic. As this is a sourdough bread, it has a slightly and pleasant salty / sour taste which is very characteristic for this kind of bread.
Goes good with
This bread goes good with almost everything. Even if it is “just” a sourdough bread for beginners, it is a real allrounder. It can be combined with so many things! No matter if you prefer sweet or salty, it just matches.
We combined this bread with marmalade and honey which gives a good contrast to the slight saltiness but it also goes good with something more hearty like ham, tomatoes or simply a good olive oil with some salt on top.
Gallery


