The temperatures are rising and summer is in full swing. These days not everyone is lucky enough to go on holiday or to live near the Mediterranean Sea. So we thought we could bring a little mediterranean feeling to you, straight into your kitchen with this sourdough bread with olive oil
It is the perfect summer bread you can enjoy on your balcony with a glass of wine on a mild summer night.
Things to know before you start
Time Schedule
| Steps | Work time | Waiting time |
| Mix | ~15 minutes | – |
| Bulk Fermentation, Stretch & Fold | ~10 minutes | 2,5 hours |
| Pre-shape | ~5 minutes | 20 minutes |
| Shape | ~5 minutes | – |
| Proof | – | 10 hours |
| Score | ~5 minutes | – |
| Bake | ~5 minutes | 45 minutes |
| Cool | – | 2 hours |
In a bit more than 16 hours you will have a beautiful sourdough bread with olive oil on the table.
Total ingredients
| Weight | Ingredient |
| 125 g | Mature sourdough starter – From whole wheat flour |
| 450 g | All-purpose flour |
| 10 g | Salt |
| 40 g | Olive oil |
| 1 g | Yeast – Fresh (optional) |
| 300 g | Water |
You will have a dough of about 926 g in total.
Make sure to have a mature sourdough starter that is active and healthy. If you think your starter is not, then you can add 1 g of fresh yeast to help with the rise.
Difficulty
Another simple recipe for a sourdough bread with about 70% hydration and therefore an easy to handle dough.
Feel free to check out our sourdough bread for beginners recipe that contains a lot of details for the different steps you will be executing here.
Baking tools
A round banneton proofing basket is needed in order to get the bread in a good round shape. We used a dutch oven for baking this sourdough bread, but of course you can also bake it without one. Checkout our other bread recipes to get an idea how to do that.
You can also have a look at our should have baking tools to find some more baking tools we are constantly using.
Steps
1. Mix
| Weight | Ingredient |
| 125 g | Mature sourdough starter – From whole wheat flour |
| 450 g | All-purpose flour |
| 10 g | Salt |
| 40 g | Olive oil |
| 1 g | Yeast – Fresh (optional) |
| 300 g | Water – 20°C (68°F) |
- Mix all of the mentioned ingredients in a stand mixer for 5 minutes on speed level one and 8 minutes on speed level two
- The dough should be smooth after mixing and not stick to the bowl a lot
2. Bulk Fermentation, Stretch & Fold
- Cover the dough and let it rest for a total of 2,5 hours at 20-22°C (68-71,6°F)
- During that time stretch & fold the dough every 30 minutes (3 times in total) and after the 3rd time, let it ferment further for 1 hour until 2,5 hours are reached in total
- After each stretch and fold put it back to the bowl and cover it again so it doesn’t dry out
3. Pre-shape
- Get the dough in shape by roughly rounding it
- Afterwards look for a dry spot on your surface and flour it
- Transfer the pre-shaped dough ball on the floured surface
- Cover it with a towel and let it rest for 20 minutes
- Tip: If you realize that the dough starts sticking to your hand or bench knife, just clean the bench knife of any dough and flour it a bit again
4. Shape
- Get the dough in the final shape by rounding it again
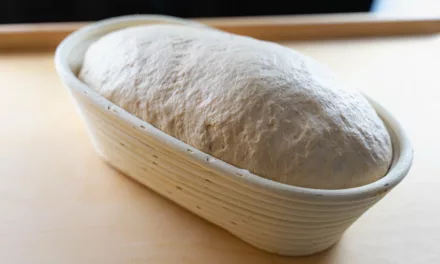
5. Proof
- Dust your proofing basket with all-purpose flour
- Put your previously shaped dough seam-side-up in the dusted proofing basket
- Add flour on top and cover it with a towel
- Let it proof for 10 to 14 hours in the fridge at 5°C (41°F)
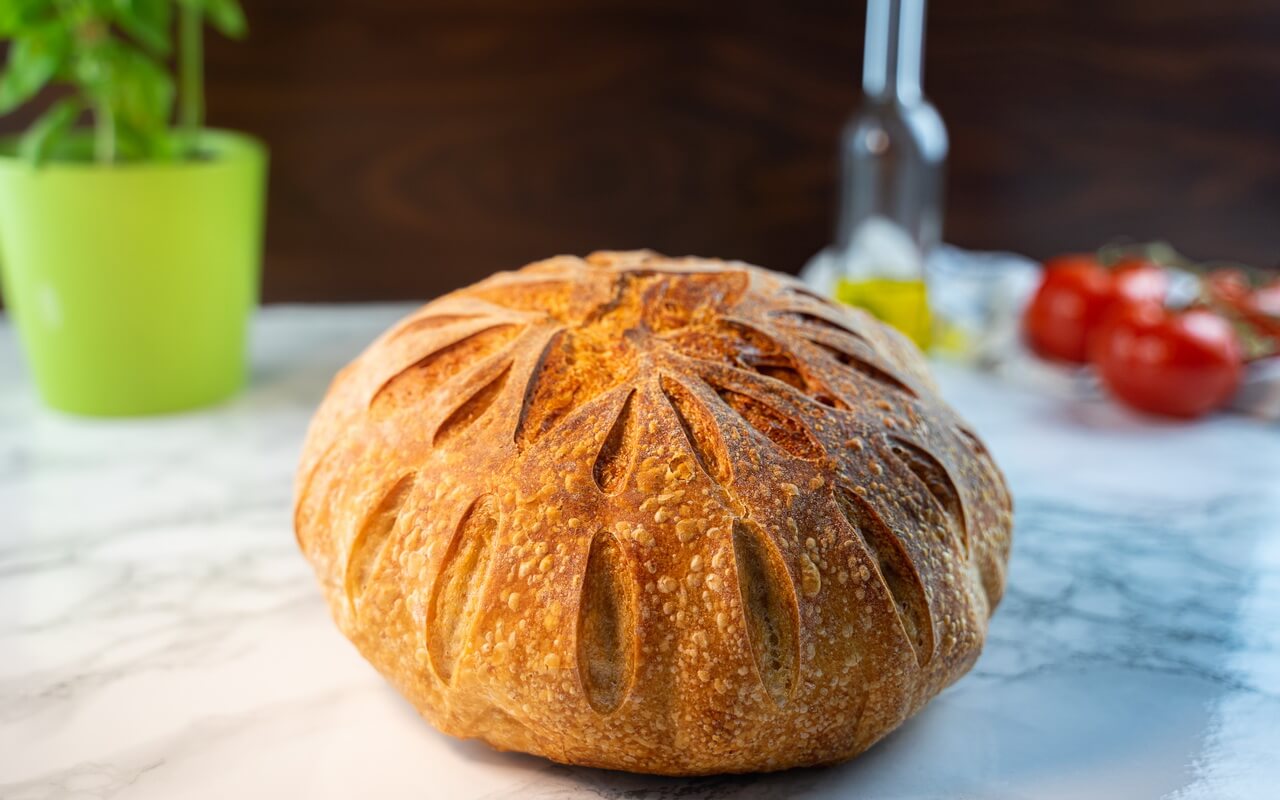
6. SCORE
- Cover a pizza peel with parchment paper
- Take your proofed dough out of the fridge
- Gently take your dough out of the proofing basket by flipping it upside down on the pizza peel
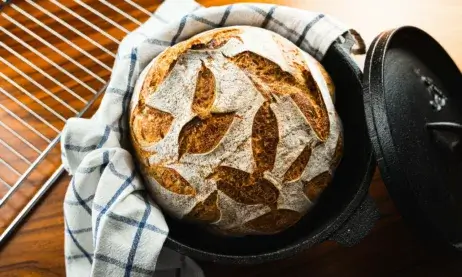
- Make several small cuts (about 2 cm deep), starting from the middle and going outwards, that don’t overlap on top of the loaf with a bread lame
7. Bake
- Place your dutch oven with the lid on top in the oven and preheat to 260°C (500°F) for ~45 minutes with the upper and lower heat function
- Remove the lid of the dutch oven (use oven mitts so you don’t burn your hands!), place the dough inside, seal it again with the lid and bake for 45 minutes
- After 20 minutes, lower the temperature to 220°C (428°F) and remove the lid from the dutch oven so you get a nice crust on top
8. Cool
- Let your sourdough bread with olive oil cool for 2 hours on some kind of grid
Conclusion
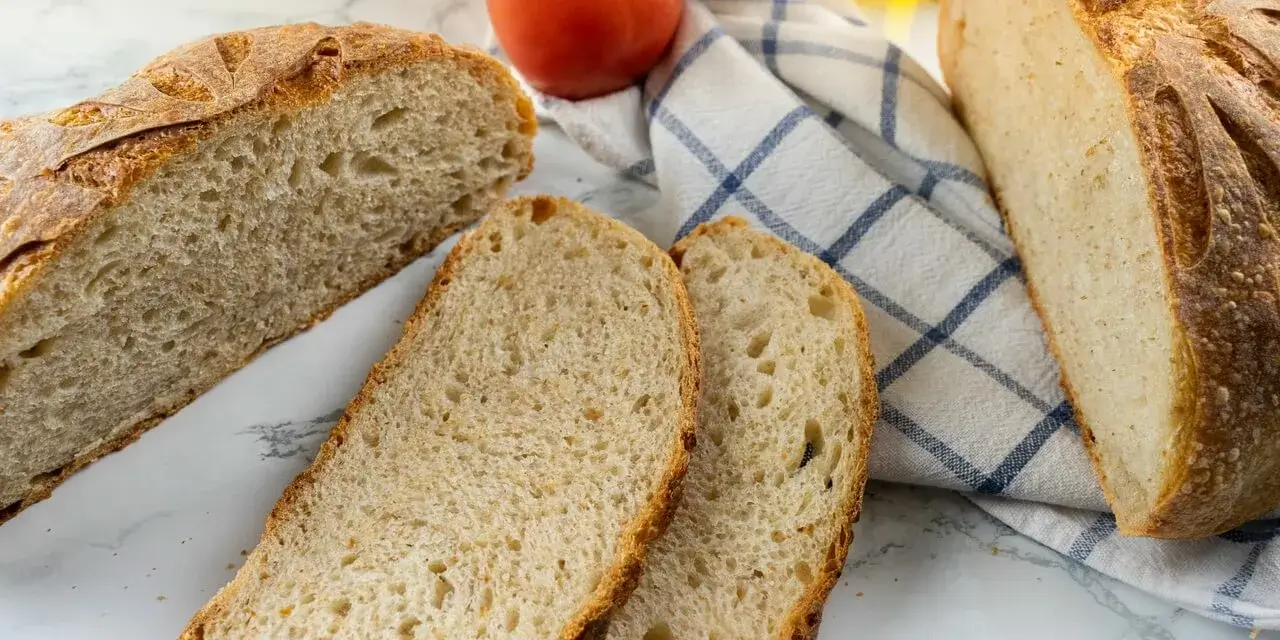
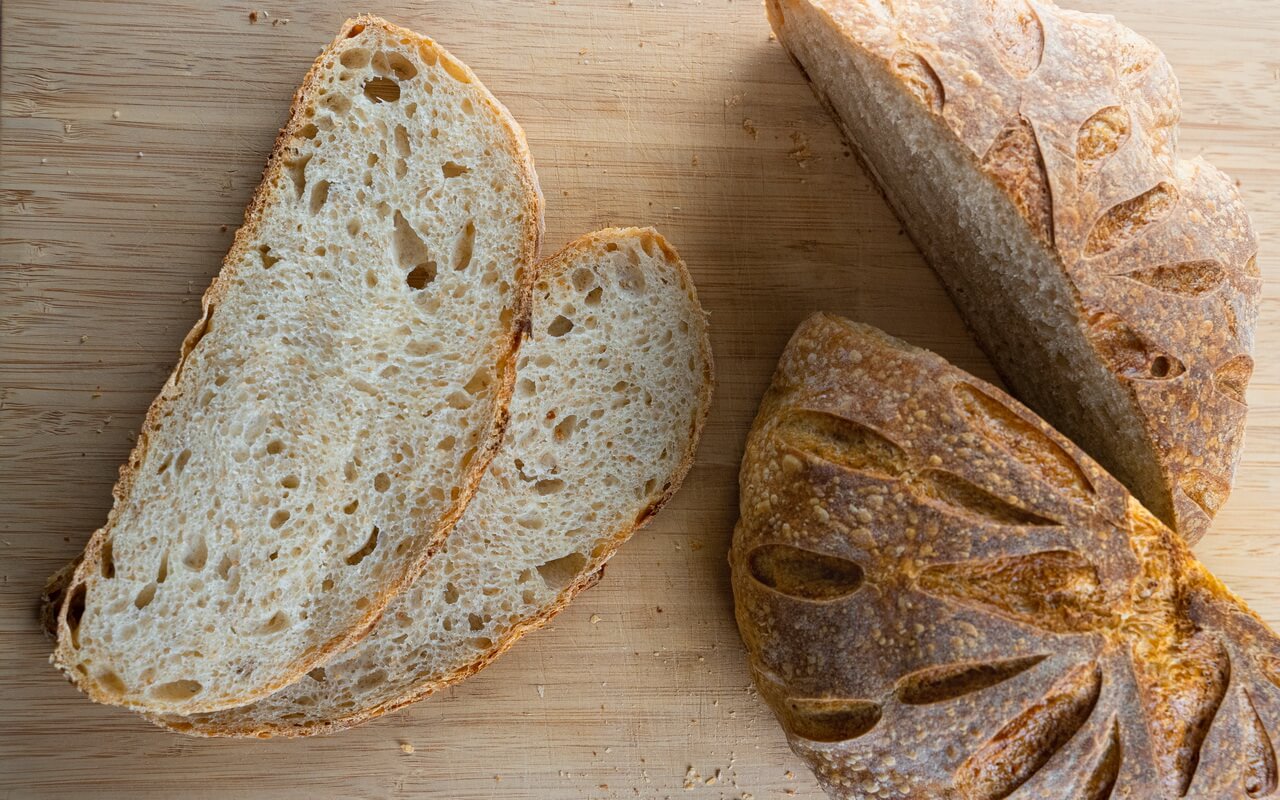
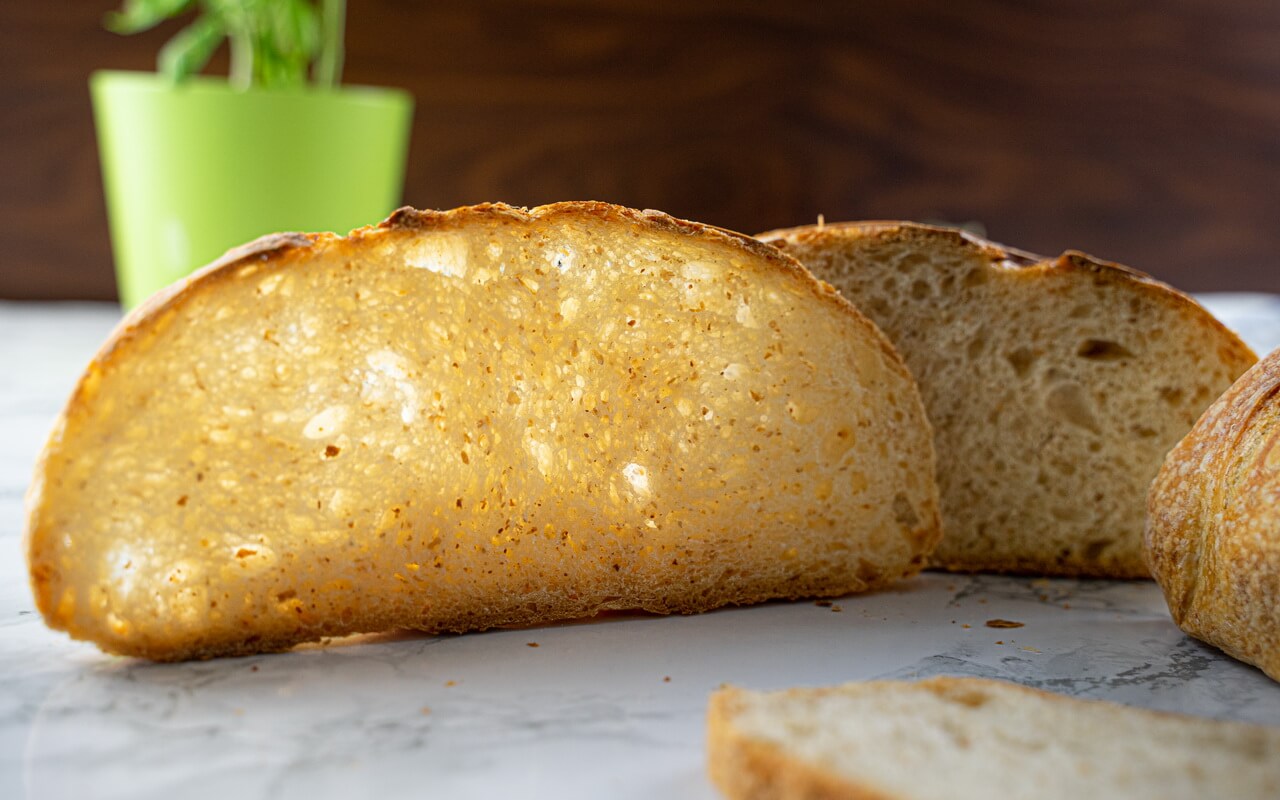
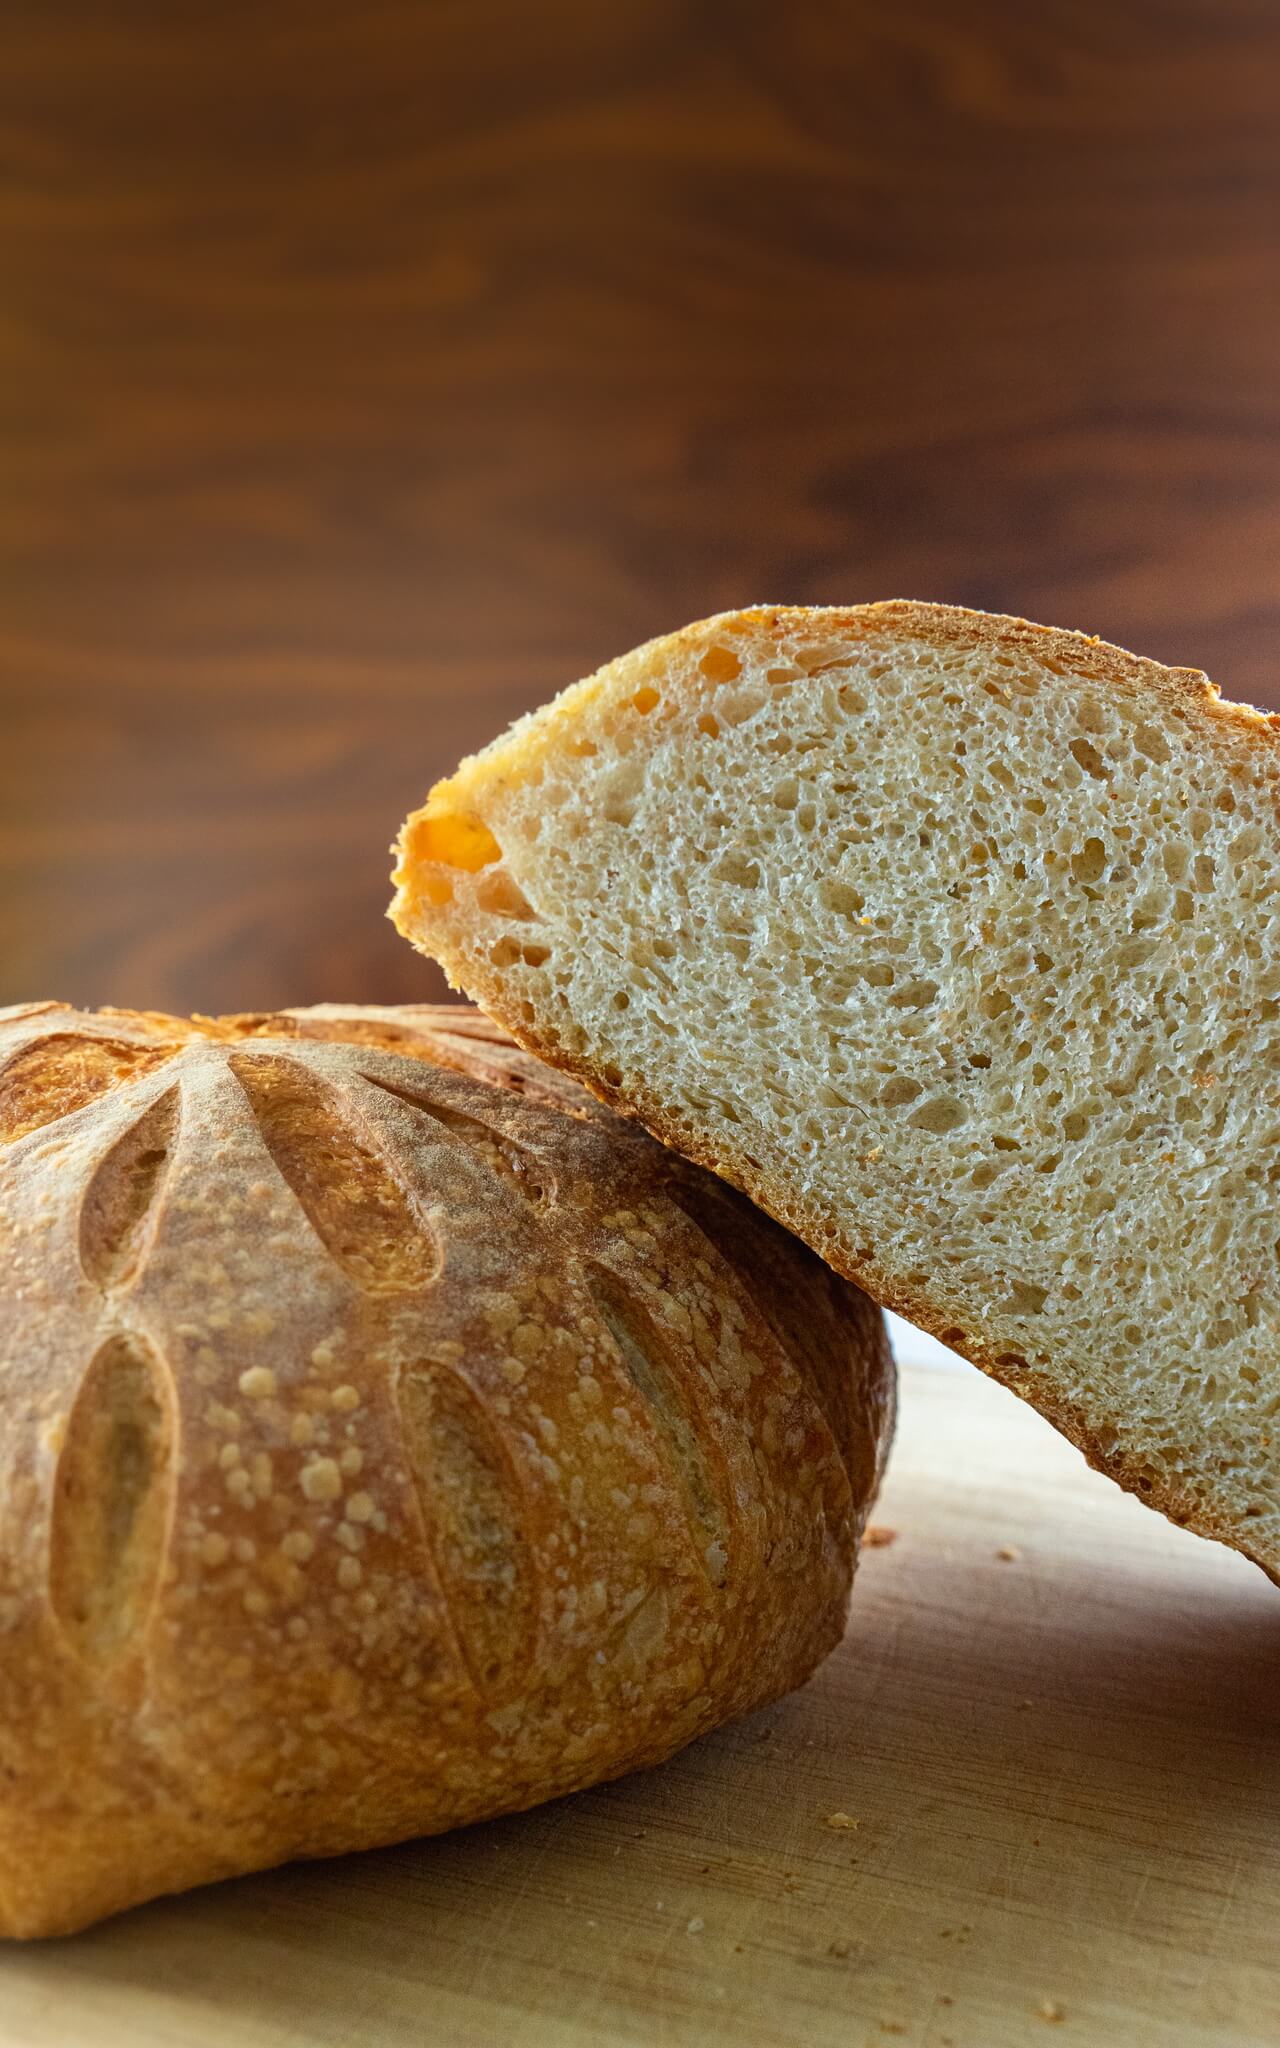
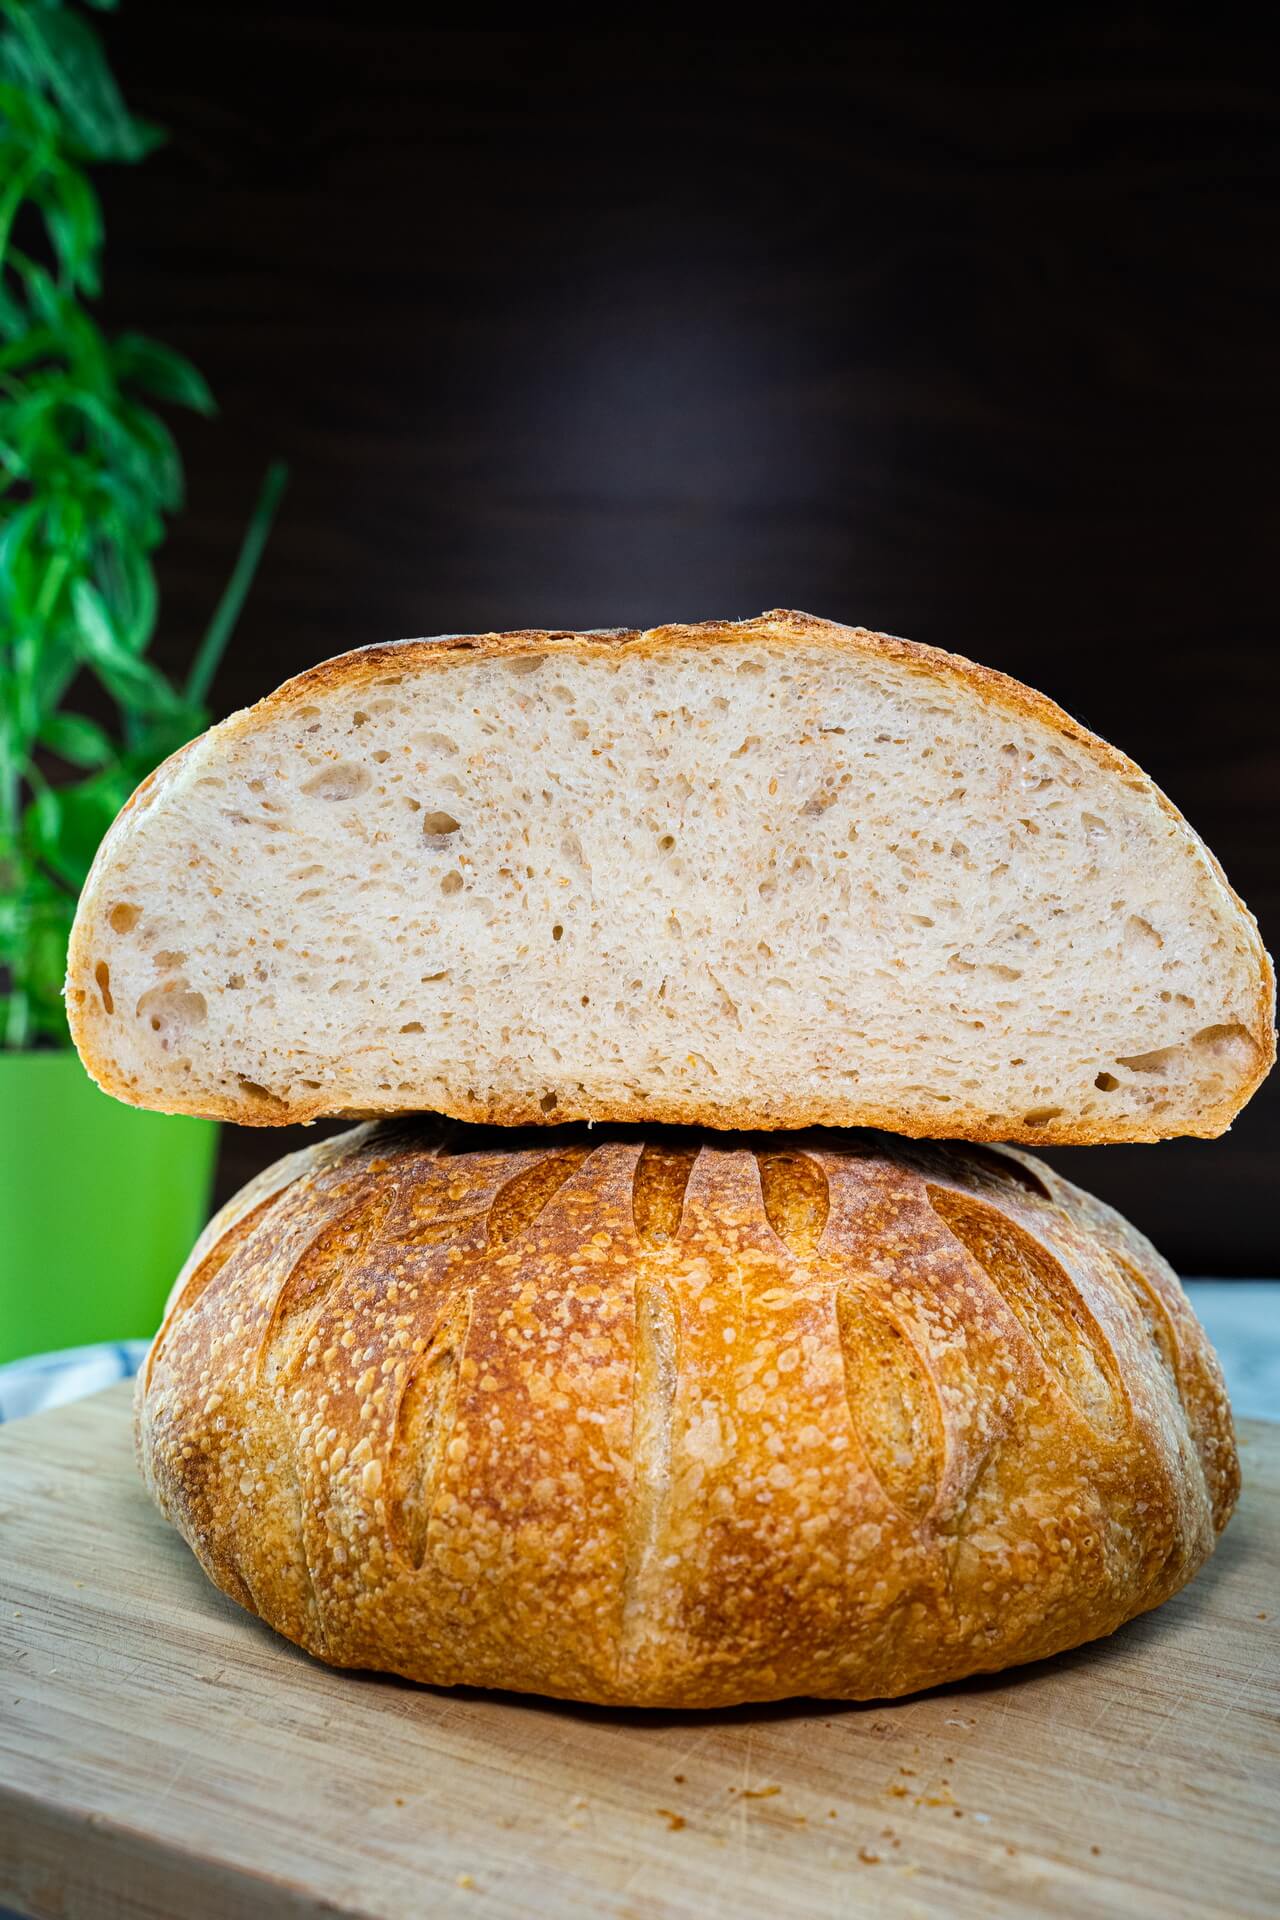
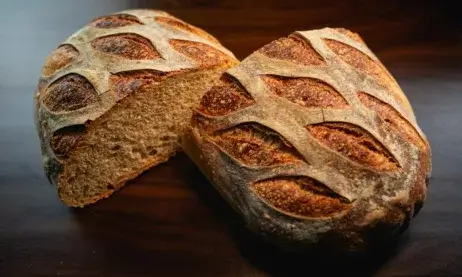
Crust
The crust of this lovely sourdough bread is nicely crunchy.
Crumb
The crumb is soft, solid and moist with even pores.
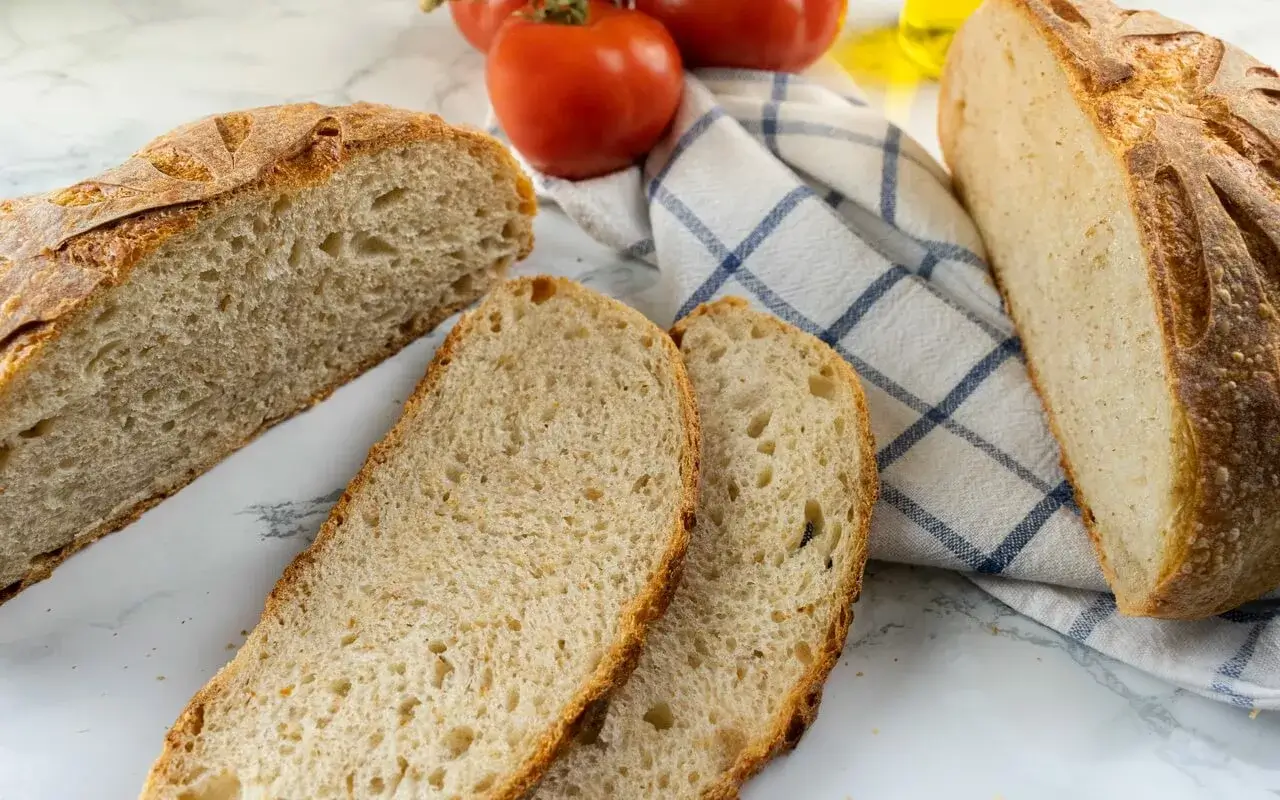
Taste
When taking a bite of this sourdough bread, you can clearly tell that it is made with olive oil. It has the typical sourdough taste that tickles a little below your ears when taking the first bite but the mild taste of the olive oil is reducing the sourness so the overall experience is mild.
Goes good with
Just because there is olive oil in the dough shouldn’t stop you from adding more of it on top! Tomatoes and basil are a good addition and complete the mediterranean feeling. A glass of wine will be perfect.
Gallery


