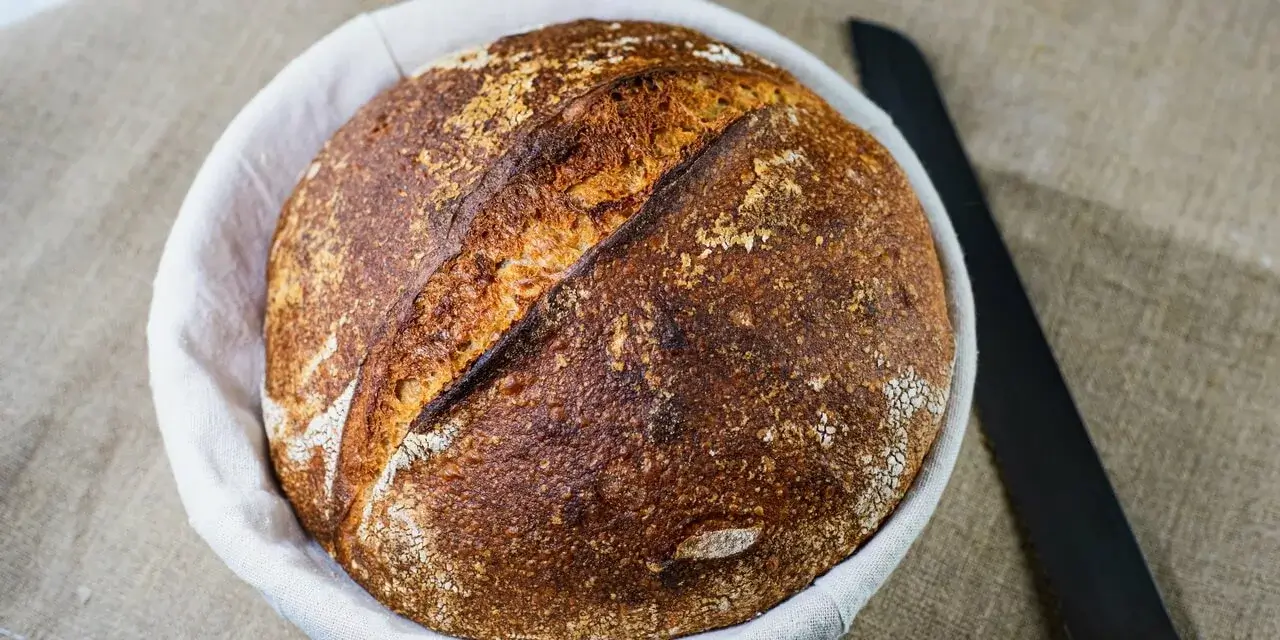
Now it’s time for some sourdough bread again. This time, we are sharing a sourdough bread with 80% hydration with you.
It is super delicious and full of flavour but more difficult to handle than our previously shared recipes for sourdough bread due to the higher hydration. It may require some practice but we are sure you will be able to handle it.
The result shows you the benefits of investing some time into a healthy sourdough starter. This recipe will show you that a great bread can be made by just using 3 common ingredients:
- Flour
- Water
- Salt
All the power comes from the sourdough starter which we took care of for around a year now.
Things to know before you start
Time Schedule
| Steps | Work time | Waiting time |
| Autolyse | ~5 minutes | 2 hours |
| Levain | ~10 minutes | 2 hours |
| Mix | ~10 minutes | – |
| Bulk Fermentation, Coil Fold | ~20 minutes | 3,5 hours |
| Pre-shape | ~5 minutes | 20 minutes |
| Shape | ~5 minutes | – |
| Proof | – | 12 hours |
| Score | ~5 minutes | – |
| Bake | ~5 minutes | 40 minutes |
| Cool | – | 2 hours |
This sourdough bread with 80% hydration will be ready in about 23 hours.
We recommend waiting a bit longer before you start eating the bread. Sourdough breads develop their full flavour 24 hours after baking.
Total ingredients
| Weight | Ingredient |
| 200 g | Mature sourdough starter – From first clear flour |
| 100 g | All-purpose flour |
| 260 g | First clear flour |
| 60 g | Rye flour |
| 12 g | Salt |
| 310 g | Water |
You will have a dough of about 942 g in total.
Make sure to have a mature sourdough starter that is very active and healthy, as no yeast is used at all in this recipe.
Difficulty
The difficulty for this sourdough bread is in the moderate category. This is because of the high hydration of about 80% which makes the dough pretty fluid and hard to handle, especially if you are not used to it.
Consider having a look at our recipe sourdough bread for beginners if you have never baked a sourdough bread before to get some general insight about making sourdough bread.
Baking tools
You will need a round banneton proofing basket that you can find in our should have baking tools and a non-reactive container of at least 25 x 25 x 7 cm (one made out of glass would be perfect). Also a bench knife is highly recommended for the shaping phase.
Steps
1. Autolyse
| Weight | Ingredient |
| 100 g | All-purpose flour |
| 100 g | Water – 26°C (78°F) |
- Mix the 2 ingredients together
- Store sealed for 2 hours at 20-22°C (68-71,6°F)
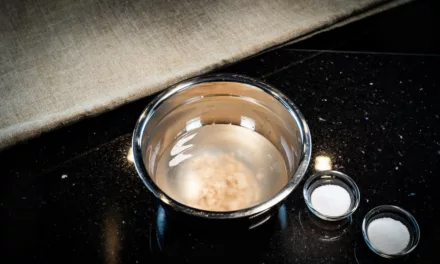
2. Levain
| Weight | Ingredient |
| – | Autolyse |
| 200 g | Mature sourdough starter – From first clear flour |
| 210 g | Water – 26°C (78°F) |
| 260 g | First clear flour |
| 60 g | Rye flour |
- Mix all of the mentioned ingredients together with a stand mixer for 4 minutes on speed level one and 5 minutes on speed level two
- Store sealed for 2 hours at 20-22°C (68-71,6°F)
3. Mix
| Weight | Ingredient |
| – | Levain |
| 12 g | Salt |
- Add the salt to the levain and mix together with a stand mixer for 2 minutes on speed level one and 3 minutes on speed level two
- The dough could still be relatively fluid and will stick to the bowl at the end of the mixing
4. Bulk Fermentation, Coil Fold
- Transfer your dough into a non-reactive container of at least 25 x 25 x 7 cm that you can seal (one made out of glass would be perfect)
- If your container has no lid, just use clingfilm
- Cover the dough and let it rest for a total of 3,5 hours at 20-22°C (68-71,6°F)
- During that time coil fold the dough every 30 minutes (4 times in total) and after the 4th time let it ferment further for 1 more hour until 3,5 hours in total are reached
- As this is a pretty fluid dough we are going to use the coil fold technique:
- Remove the lid from your container
- Wet both of your hands in water
- Grab beneath the dough with both hands not directly in the middle but a bit more towards you
- Pull it up into the air until the bottom part of the dough doesn’t stick to the container anymore (be careful so it doesn’t tear apart) and let the bottom part fold underneath the middle part
- Do the same with the top half of the dough
- Turn the container 90°C
- Repeat step 4 and 5
- If there are any bigger bubbles on top of the dough, just pinch them with your fingers
- Seal the container again
- You can check some pictures about that technique here
5. Pre-shape
- As the dough has a high hydration the shaping could be tricky so just try your best
- Here is a small guide how you pre-shape wet dough:
- Flip your container upside down and get the dough carefully out on a slightly wet surface
- Wet the bench knife and one of your hands with water
- Carefully spread the dough out to a rectangle
- Fold it in thirds like a letter by going each time under the dough with the bench knife and flipping 1/3 of the dough to the inside
- Rotate it 90 degrees and fold it up again as you did before
- Form a tight round ball by going under the dough with the bench knife from the side and then pulling it towards you – Repeat this step 4 to 6 more times
- Look for a dry spot on your surface and flour it
- Transfer the pre-shaped dough ball on the floured surface by going under the dough ball with the bench knife and your hand
- Add a bit of flour on top and around it
- Cover it with a towel and let it rest for 20 minutes
- Tip: If you realize that the dough starts sticking to your hand or bench knife, just clean the bench knife of any dough and wet it again a bit
6. Shape
- Now it is time for the final shape:
- Make sure that your hands and bench knife are dry this time
- Dust the bench knife and one of your hand with a bit of flour
- Get the flour around your pre-shaped dough ball from all sides under it by using the bench knife
- Like in the previous pre-shape phase form a tight round ball by going under the dough with the bench knife from the side and then pulling it towards you – Repeat this step 3 to 4 more times but be careful to not rip the surface that is forming on top
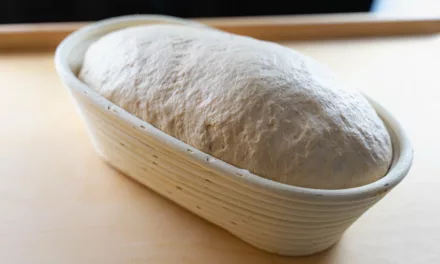
7. Proof
- Dust your proofing basket with a good amount of all-purpose flour
- Put your previously shaped dough seam-side-up in the dusted proofing basket with the help of the bench knife
- Add flour on top and cover it with a towel
- Let it proof for 12 hours in the fridge at 5°C (41°F)
8. SCORE
- Cover a pizza peel with parchment paper
- Take your proofed dough out of the fridge
- Gently take your dough out of the proofing basket by flipping it upside down on the pizza peel
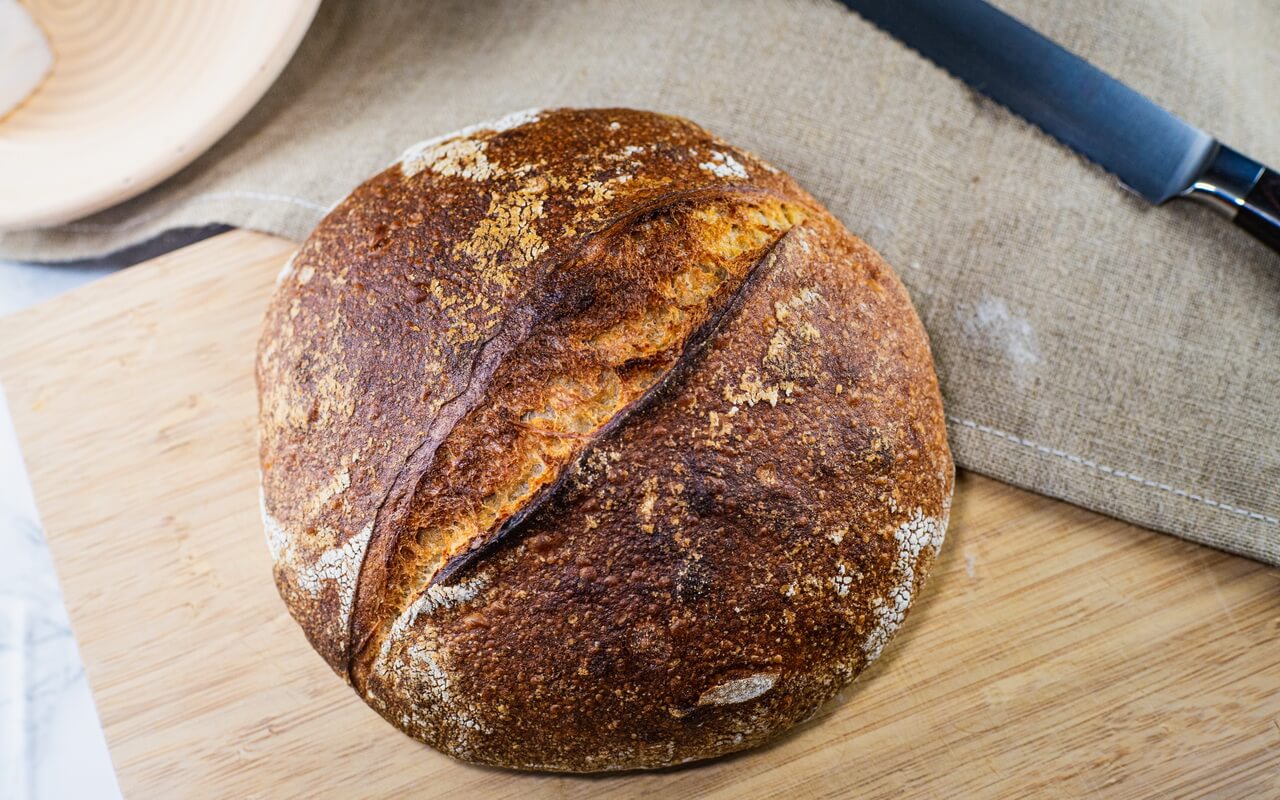
- Make one lengthwise cut (about 2-3 cm deep) on top of the dough with a bread lame
9. Bake
- Preheat oven to 260°C (500°F) for ~45 minutes with the upper and lower heat function
- Put the loaf in the oven, create steam and bake for 40 minutes
- After 10 minutes lower the temperature to 230°C (446°F), let the steam out by opening the oven door for ~45 seconds and close it again
10. Cool
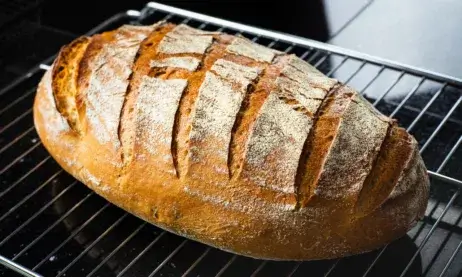
- Let your sourdough loaf cool for 2 hours on some kind of grid
- As mentioned in the beginning, you should wait a total of about 24 hours before you cut into the loaf for the very best taste
Conclusion
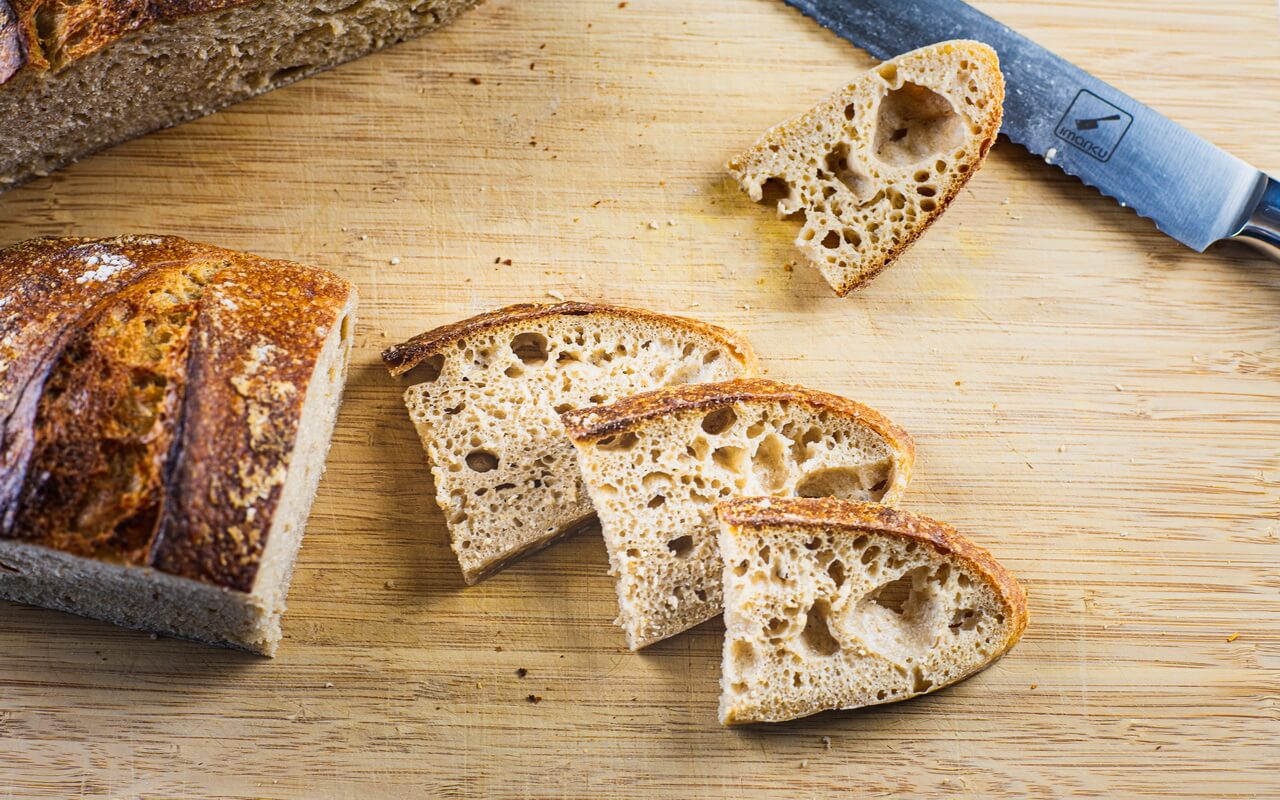
Crust
The crust is nicely crunchy.
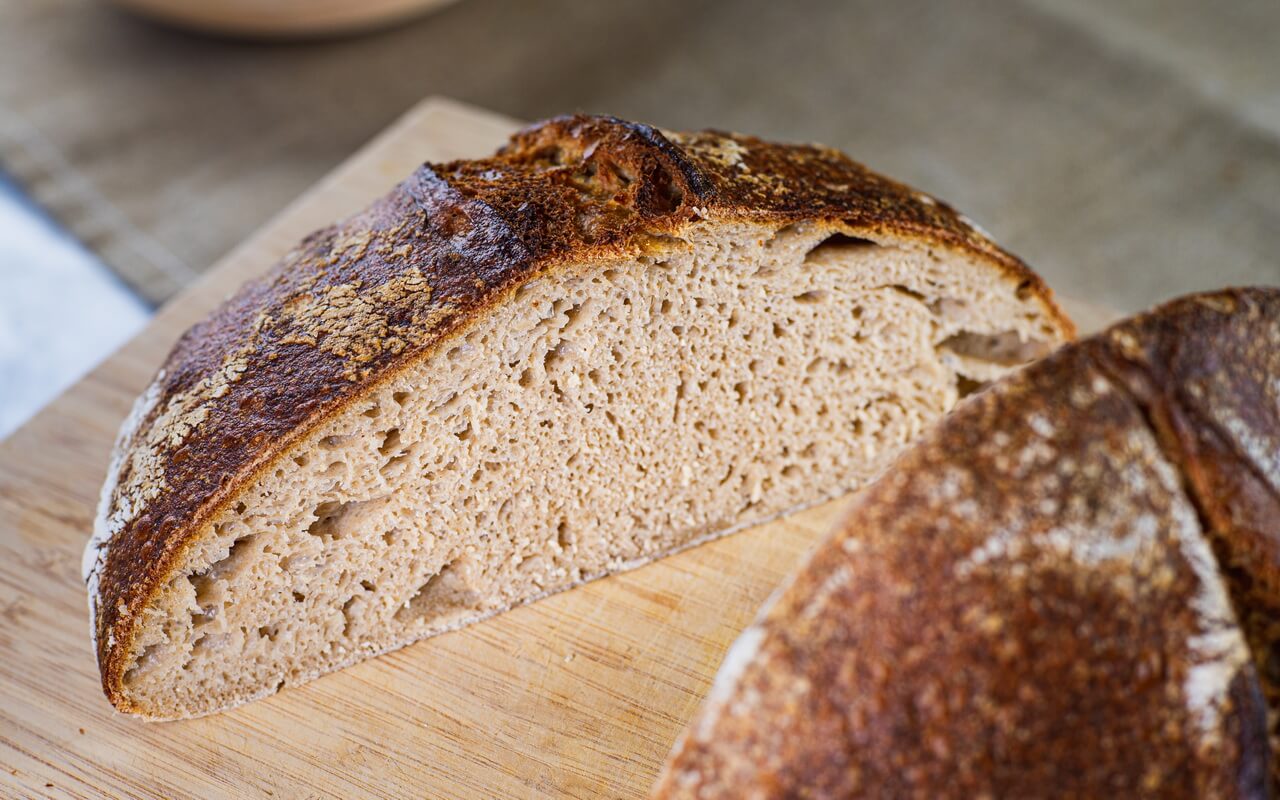
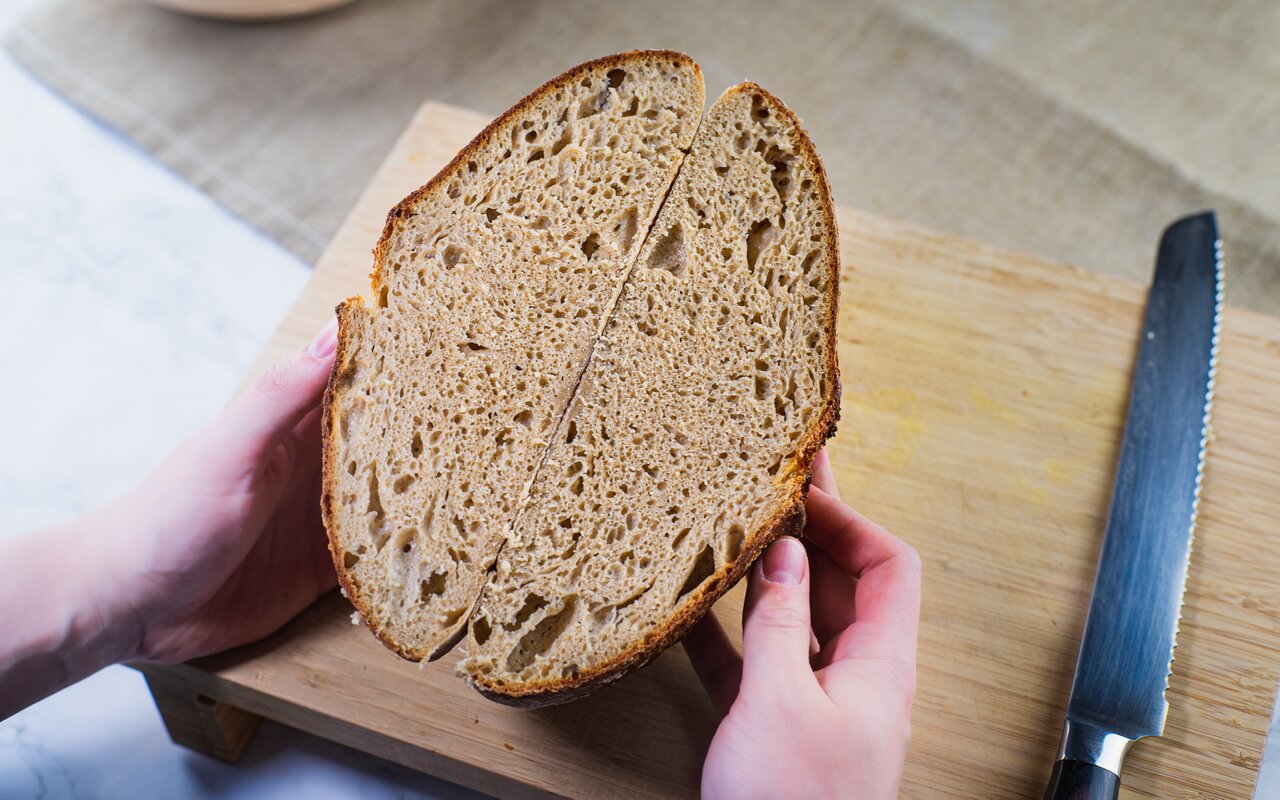
Crumb
As you may have expected for this bread, the crumb is very moist and soft but still firm.
Taste
Kind of usual for sourdough breads, this one also has a sourd, full and hearty flavour.
Goes good with
Whatever you prefer on a hearty bread – whether it’s sweet or not!
Gallery

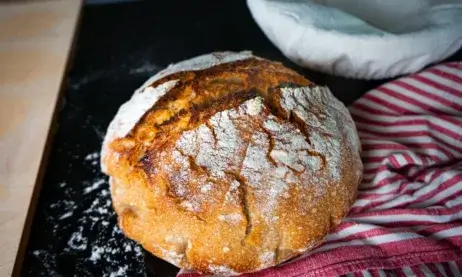
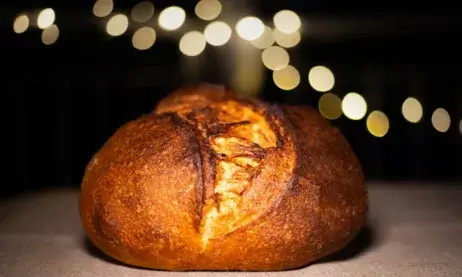
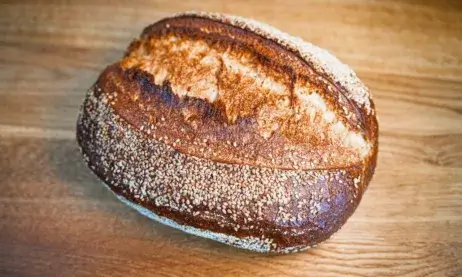

