With the Easter holidays coming closer, we were looking for something traditional to bake.
Holidays are always a good time to come together with your family and loved ones. Having something good to eat is mostly a great part of the celebrations.
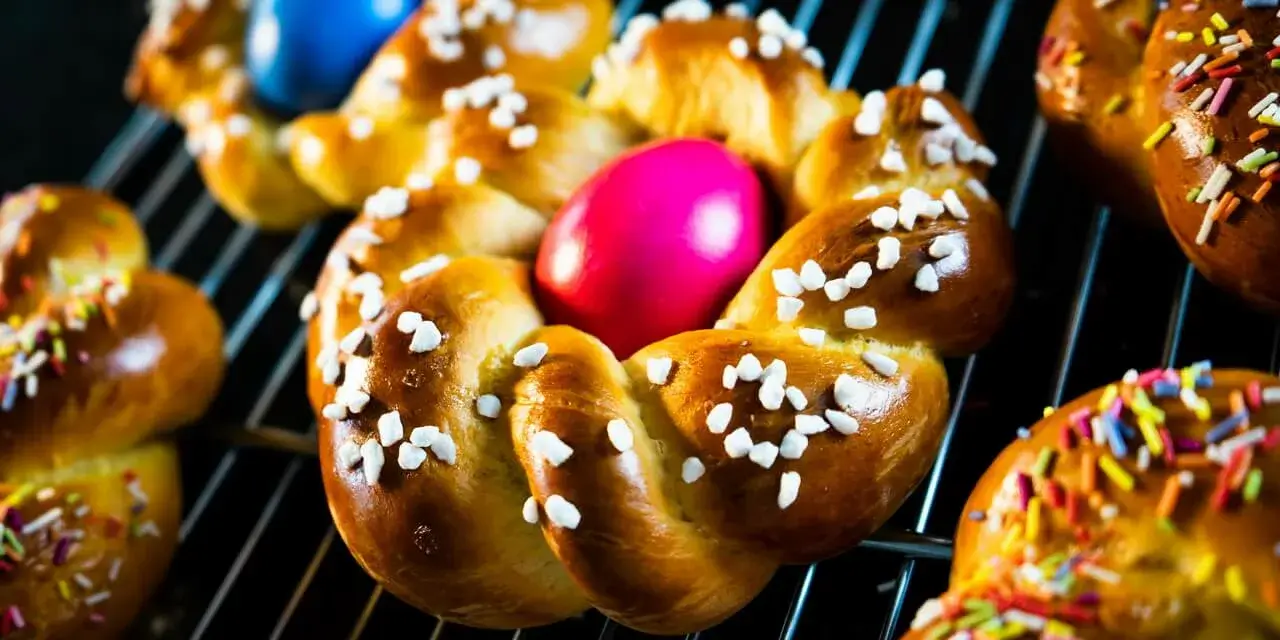
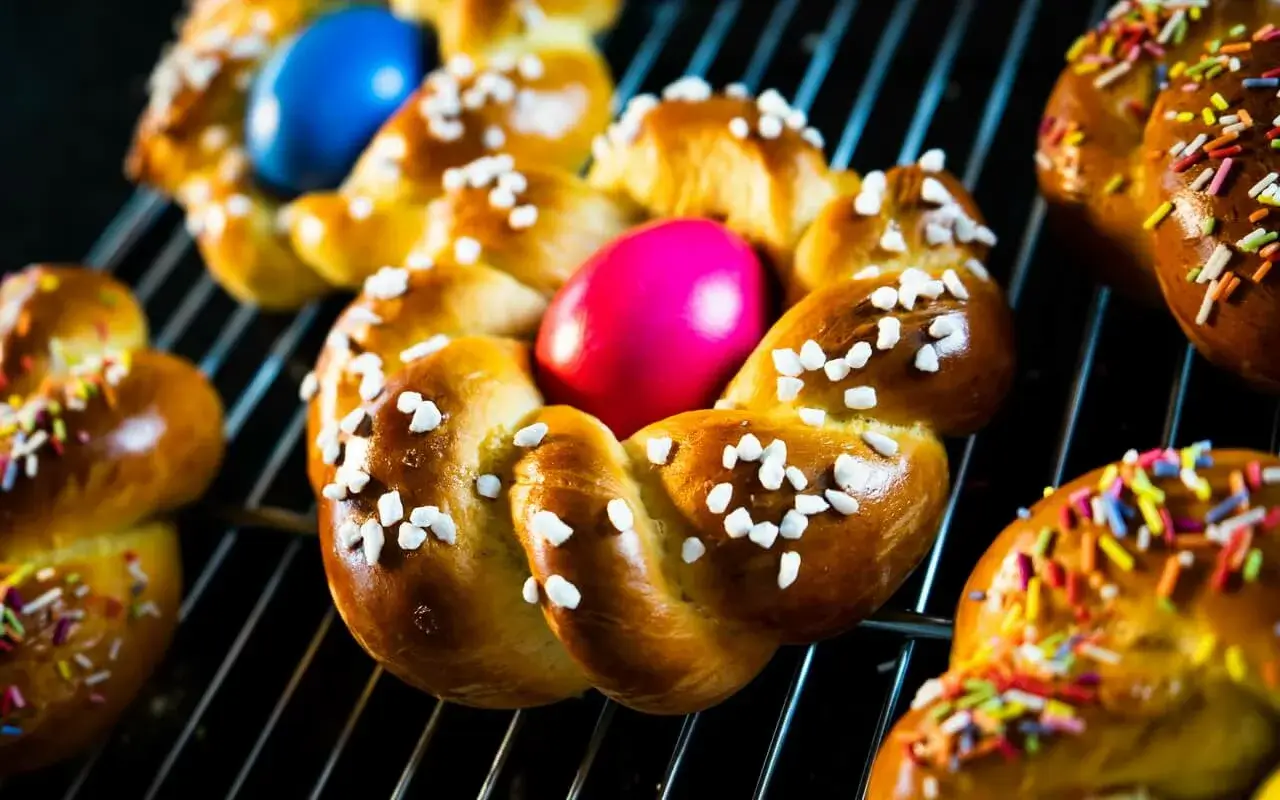
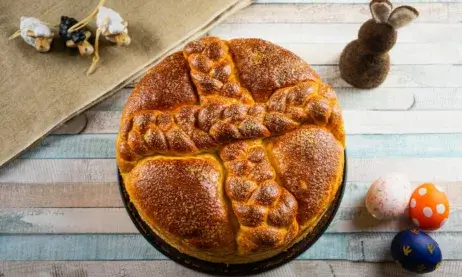
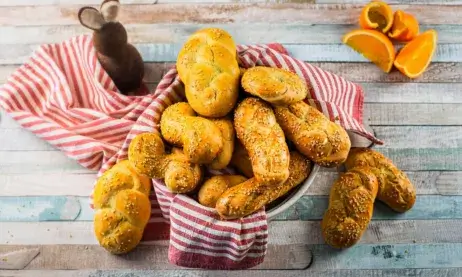
When we found the recipe for the traditional Pane Di Pasqua – Italian Easter bread, we were delighted that this bread looks like a dessert but can also be combined with hard-boiled eggs and cold cuts for example.
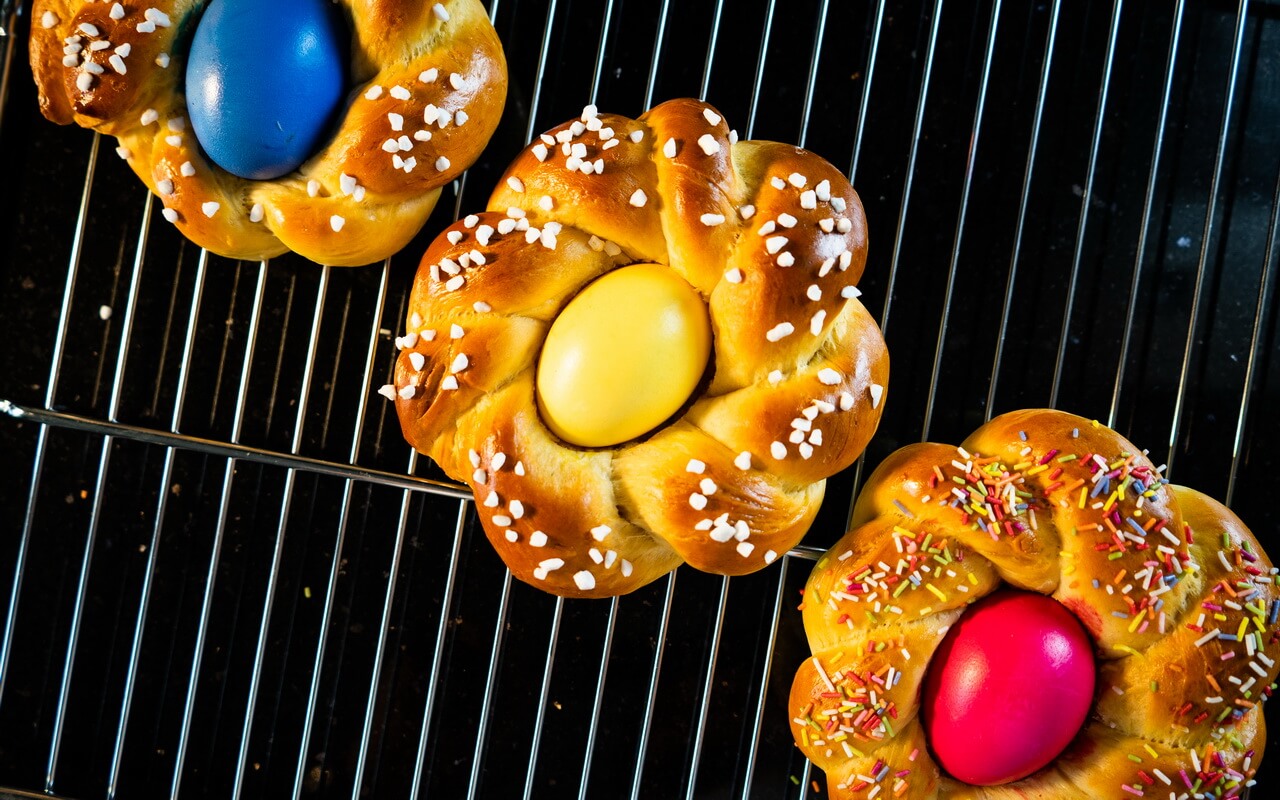
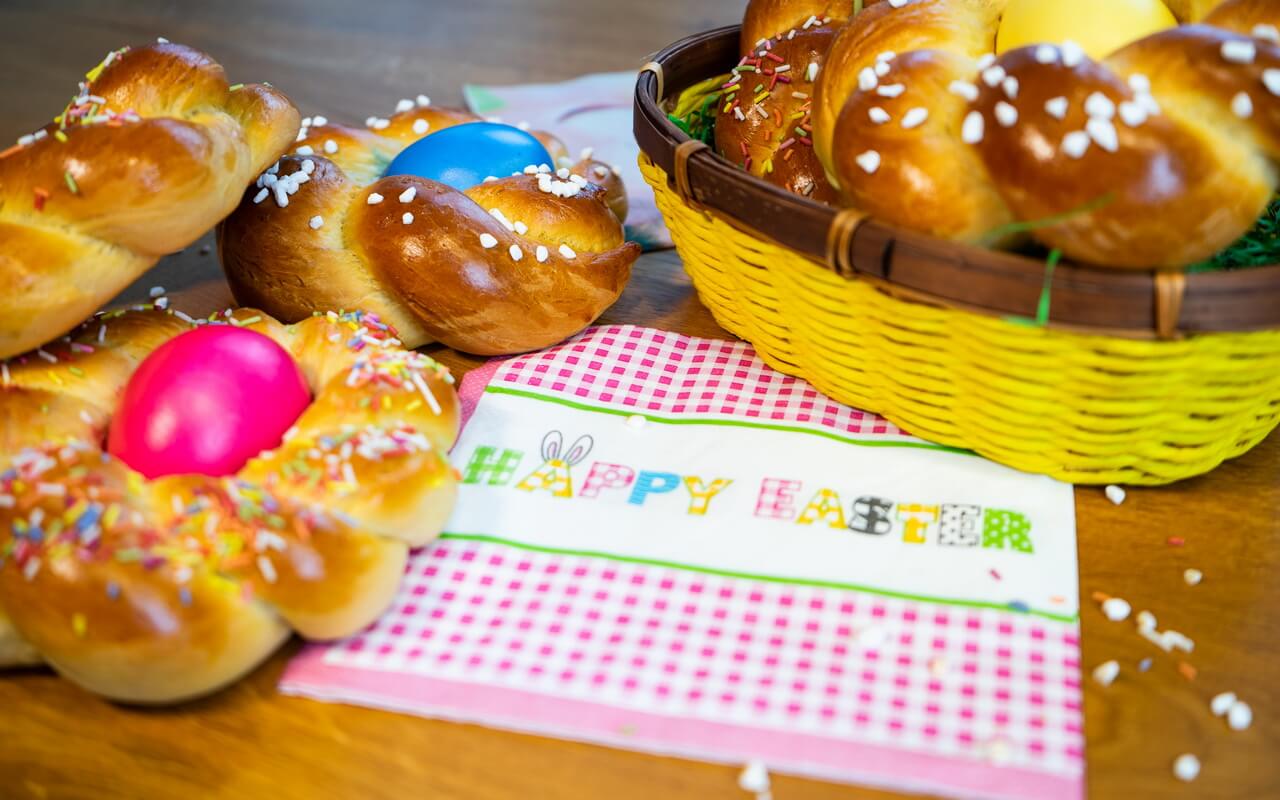
Plus: They look like cute little nests so you can also use them as decorations for your Easter table.
Things to know before you start
Time Schedule
| Steps | Work time | Waiting time |
| Mix | ~15 minutes | 10 minutes |
| Bulk Fermentation | ~5 minutes | 90 minutes |
| Shape | ~25 minutes | – |
| Proof | – | 30 minutes |
| Coloring Eggs | ~5 minutes | 10 minutes |
| Decorate | ~15 minutes | – |
| Bake | ~5 minutes | 24 minutes |
| Cool | – | 15-30 minutes |
These Italian Easter breads will be on the table in under 4 hours.
Total ingredients
| Weight | Ingredient |
| 500 g | All-purpose flour |
| 50 g | Sugar |
| 3 g | Salt |
| 21 g | Yeast – Fresh |
| 160 g | Milk |
| 60 g | Butter |
| 9x | Eggs |
| 1 package | Egg dyes |
| 1 package | Candy sprinkles |
| 1 package | Coarse sugar |
| ~10 g | Canola or sunflower oil |
All these ingredients will yield 6 pieces. You can easily double the ingredients, if you want to make more Italian Easter breads.
Difficulty
A relatively simple recipe after you get the hang of how to braid the dough into Pane Di Pasqua.
Baking tools
You should be good to go with some of our should have baking tools.
Steps
1. Mix
| Weight | Ingredient |
| 160 g | Milk – 44°C (111,2°F) |
| 3 g | Salt |
| 50 g | Sugar |
| 21 g | Yeast – Fresh |
- Heat the milk to 44°C (111,2°F)
- Add salt, sugar and crumbled yeast to the milk to dissolve
- Tip: I use a microwave to heat the milk up
| Weight | Ingredient |
| 460 g | All-purpose flour |
| 2x | Eggs |
| – | Dissolved salt, sugar, yeast and water mixture |
| 60 g | Butter |
- Mix all of the mentioned ingredients together in a stand mixer for 3 minutes on speed one
- Add the butter and mix further for 2 minutes
- If the dough is still sticky, add another 40 g of all-purpose flour and mix for 2 minutes
- Take the dough out on a lightly floured surface and knead by hand for about 2 minutes
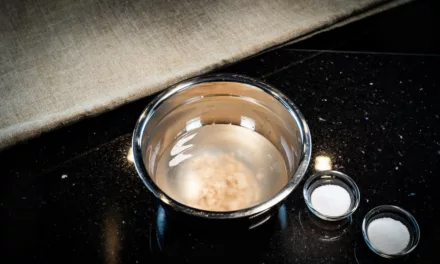
2. Bulk Fermentation
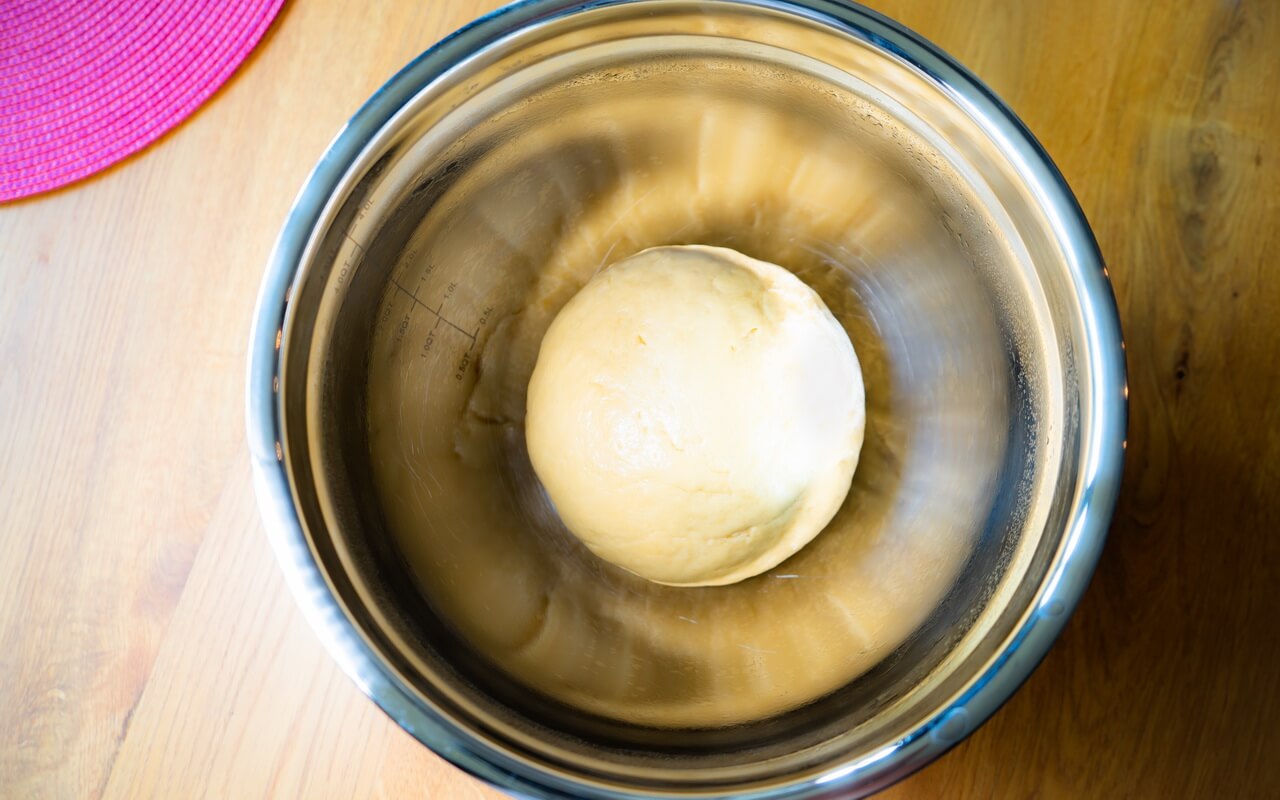
- Take a big bowl and grease it with oil until all sides are covered
- Put the dough inside and roll it a bit around until it is coated with oil everywhere
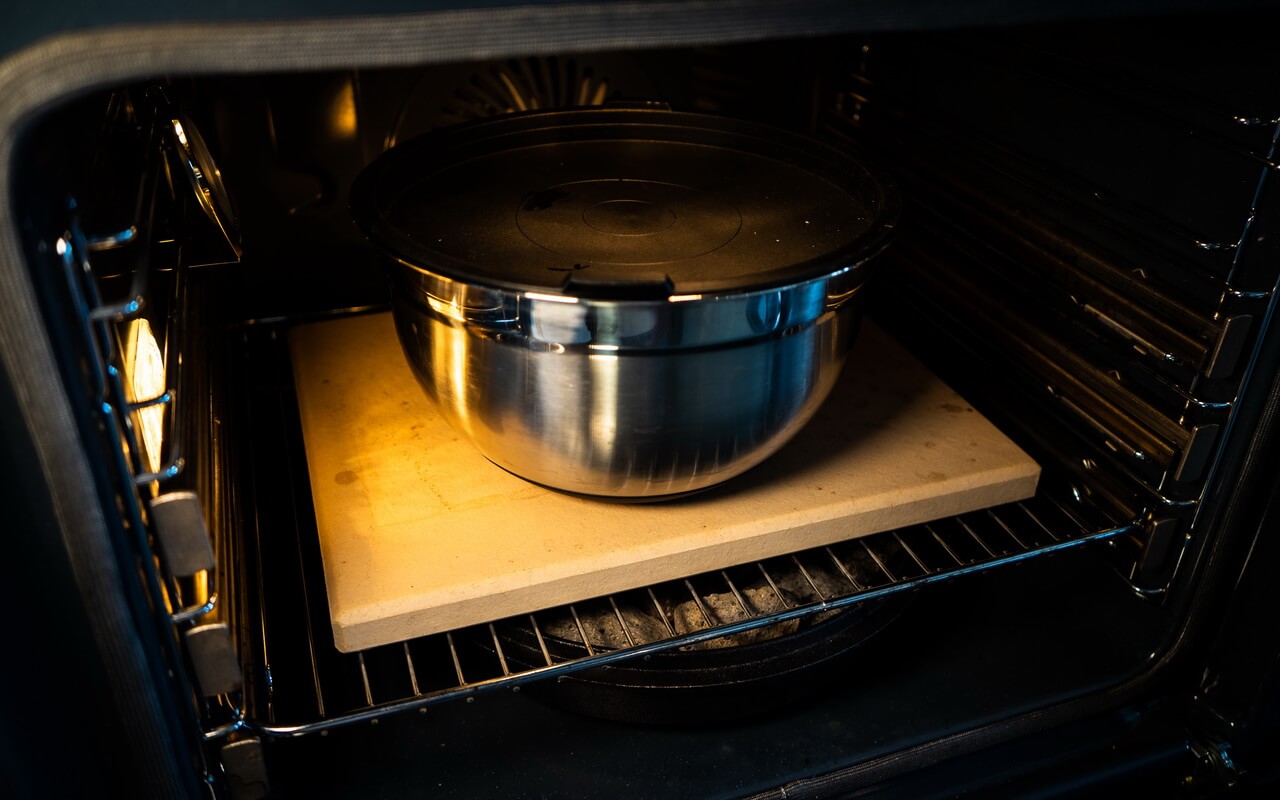
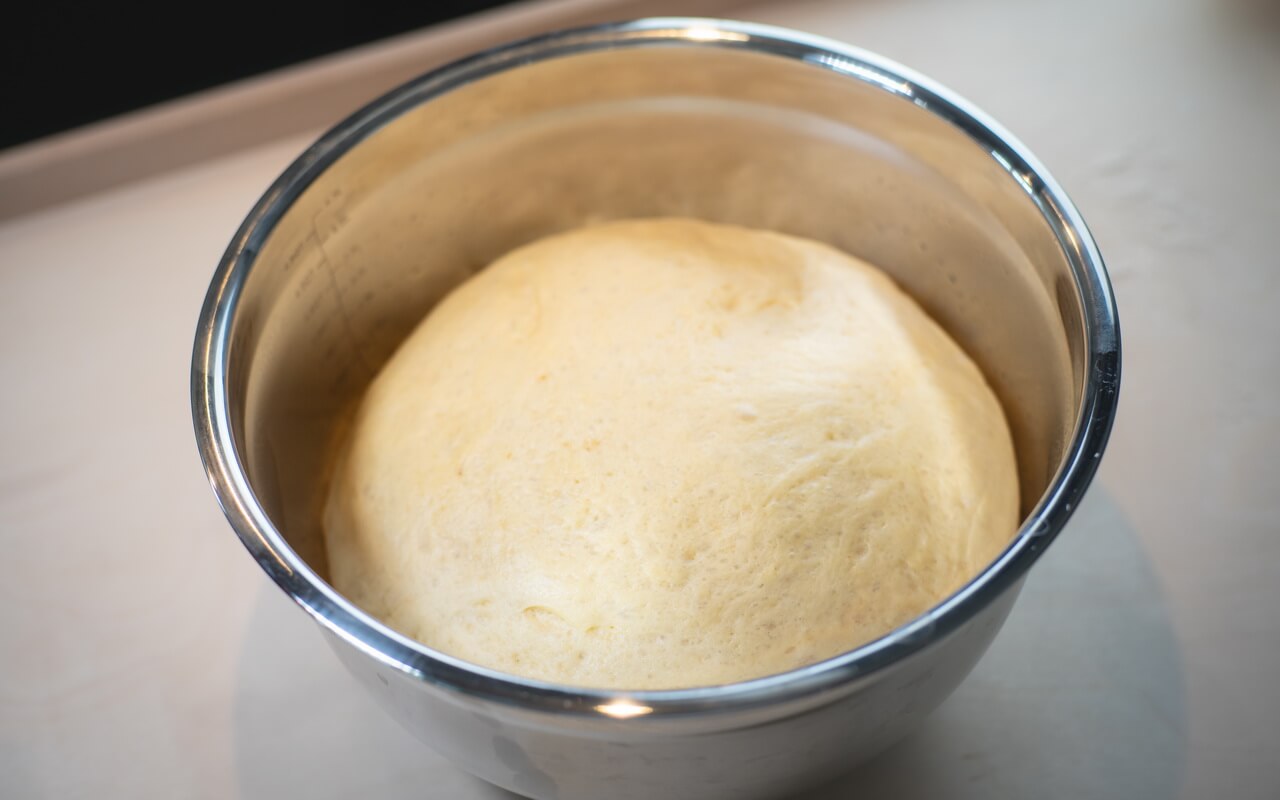
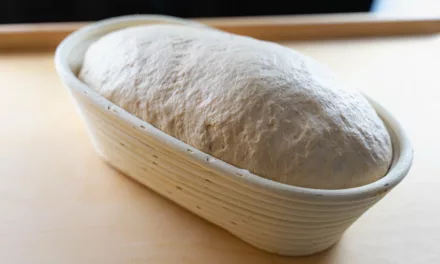
- Cover the bowl and let it rest for a total of 90 minutes at 20-22°C (68-71,6°F)
- As we are using a high amount of fresh yeast, the dough will rise significantly as you can see in the pictures
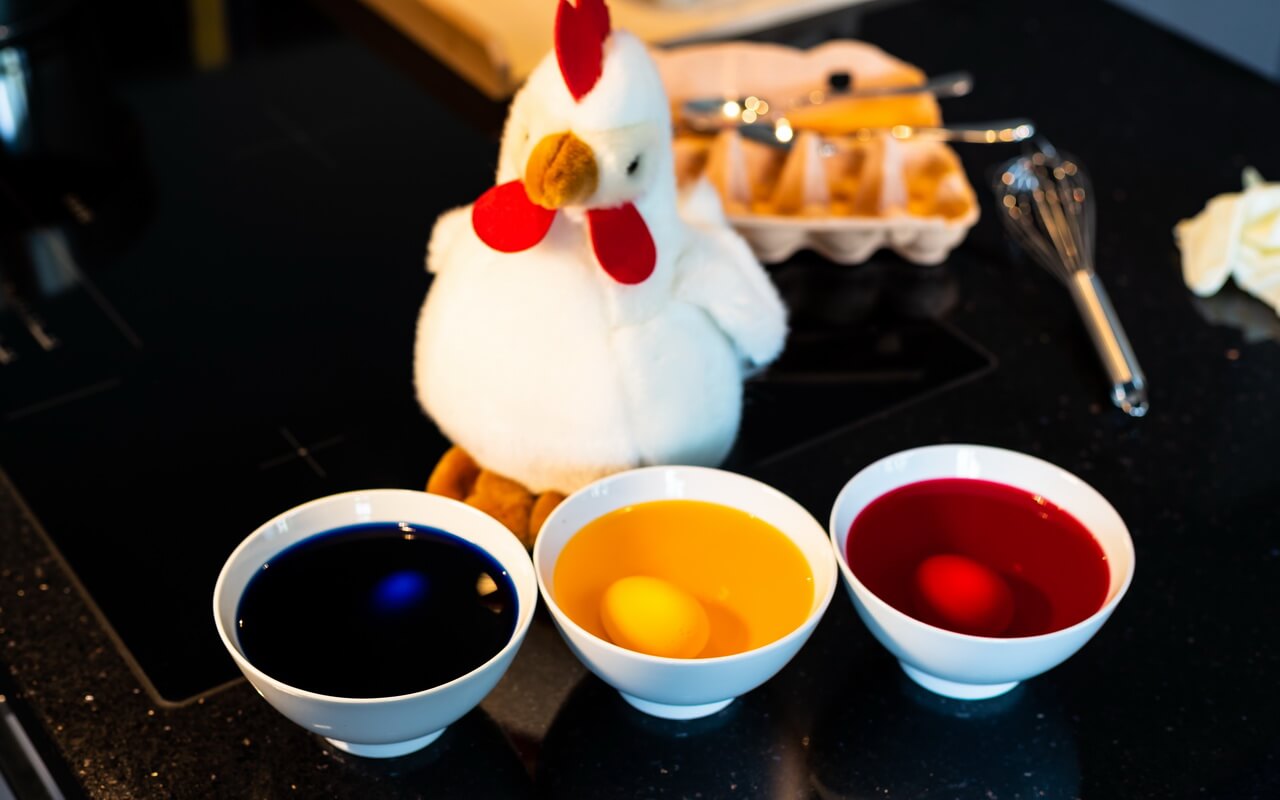
3. Coloring Eggs
- While the dough is fermenting you can start coloring your raw eggs
- The eggs really have to be raw as they are going to be baked in the oven together with the Pane Di Pasqua
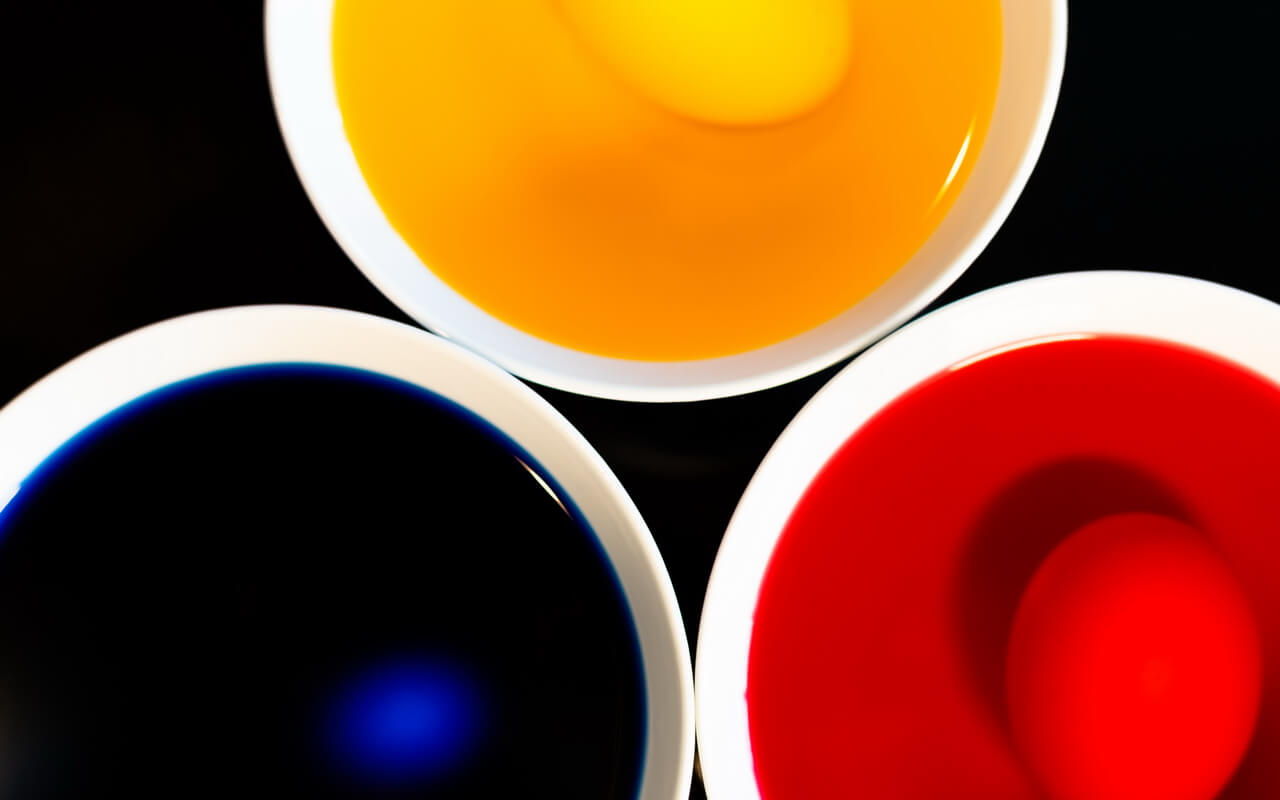
- Color them like it is instructed on the package of your bought egg dyes
- It is important that the egg dyes are food compatible as some of the colour will stain on the bread
- We for example had little color pills that had to be dissolved in hot water with a bit vinegar
- After the pills dissolved we added the raw eggs for 5 minutes, took them out and let them dry fully
- At the end we rubbed them with butter for a shinier color
- And of course our chicken had an eye on the whole process to make sure we don’t make any mistakes 😉
4. Shape
- Before you begin with the shaping, lay out your pizza peel with parchment paper as we are going to put the shaped dough wreath on it
- Punch down the dough to deflate it a bit
- Take the dough out on a not floured surface and knead it for 1 minute
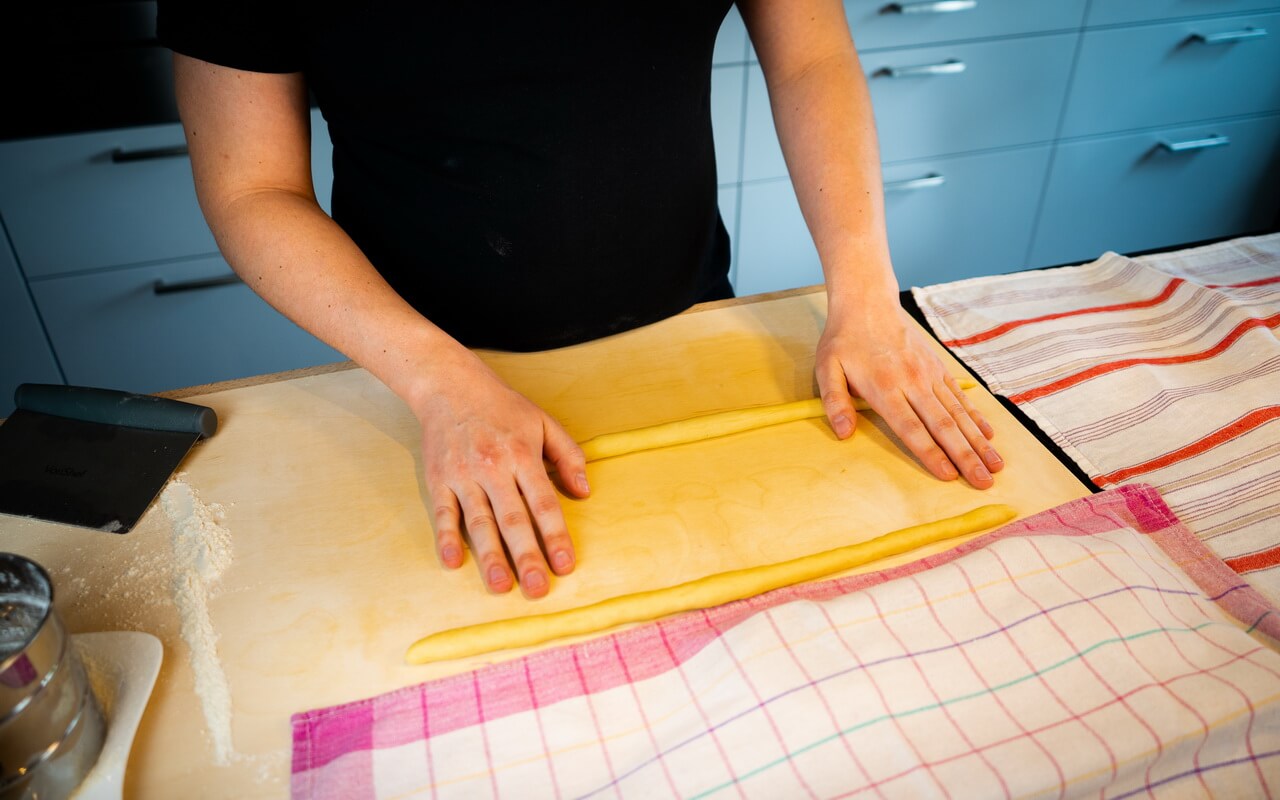
- Here is a short guide on how to braid the dough to get it into the shape of a wrath:
- Divide the dough into 12 small dough balls of the same weight
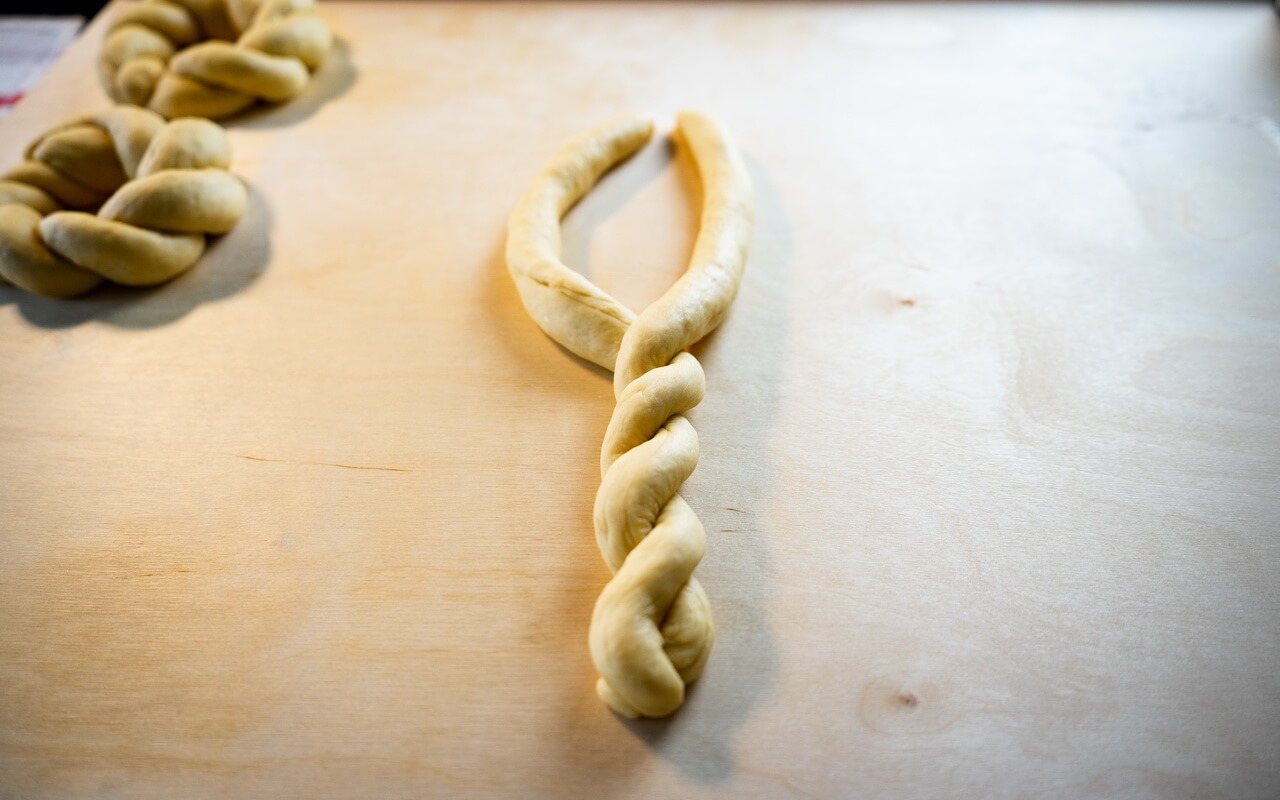
- Take two dough balls and roll each one to a cord of 35 to 40 cm
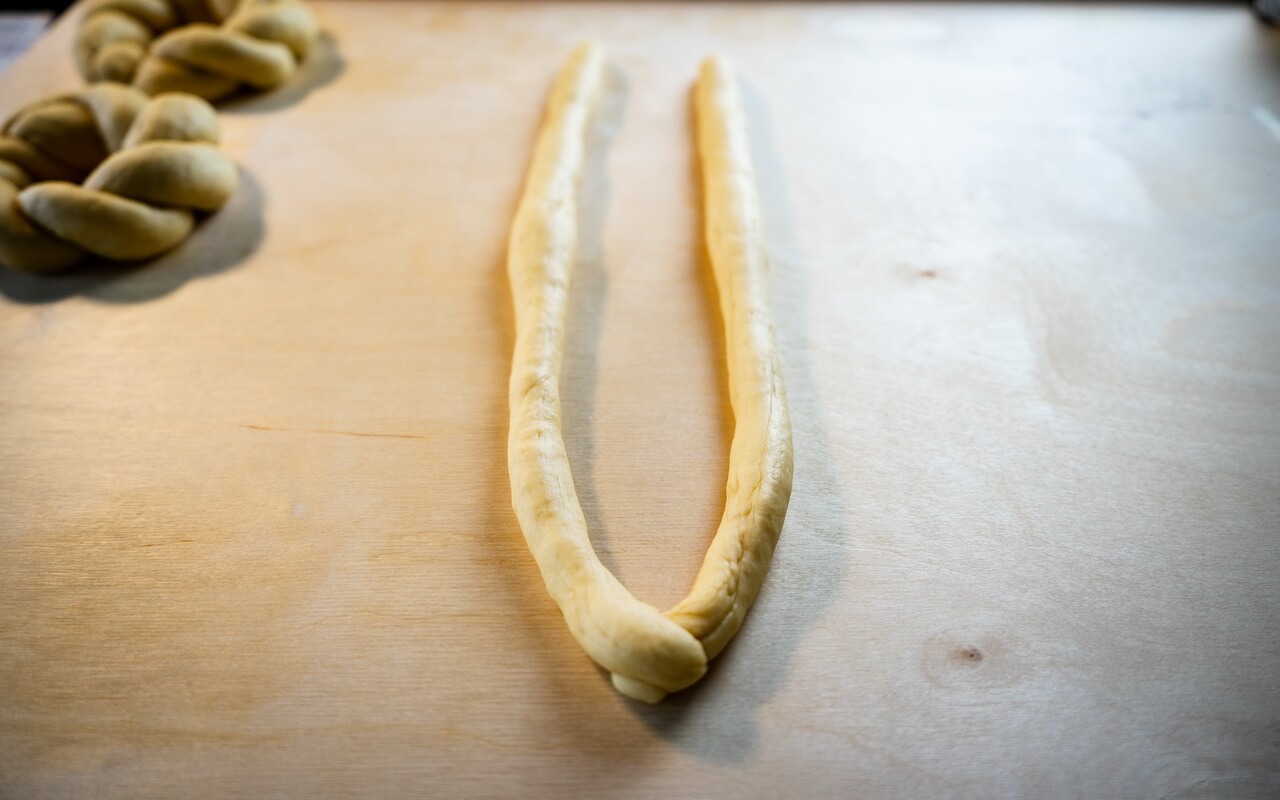
- Place both cords vertically from you next to each other
- Take the end of one cord, put it over the end of the other cord and press it together just a little bit
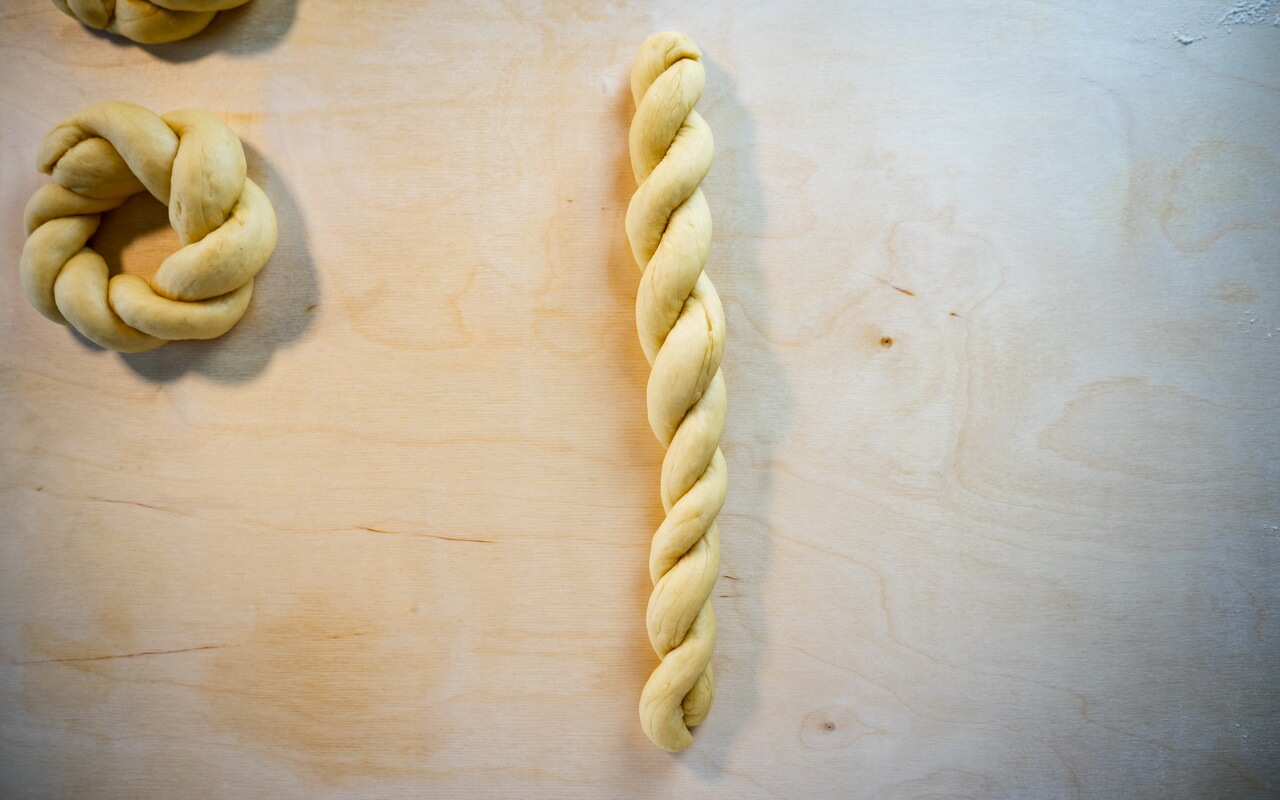
- Braid the cords together by putting the left one over the right one again and again until you reach the end
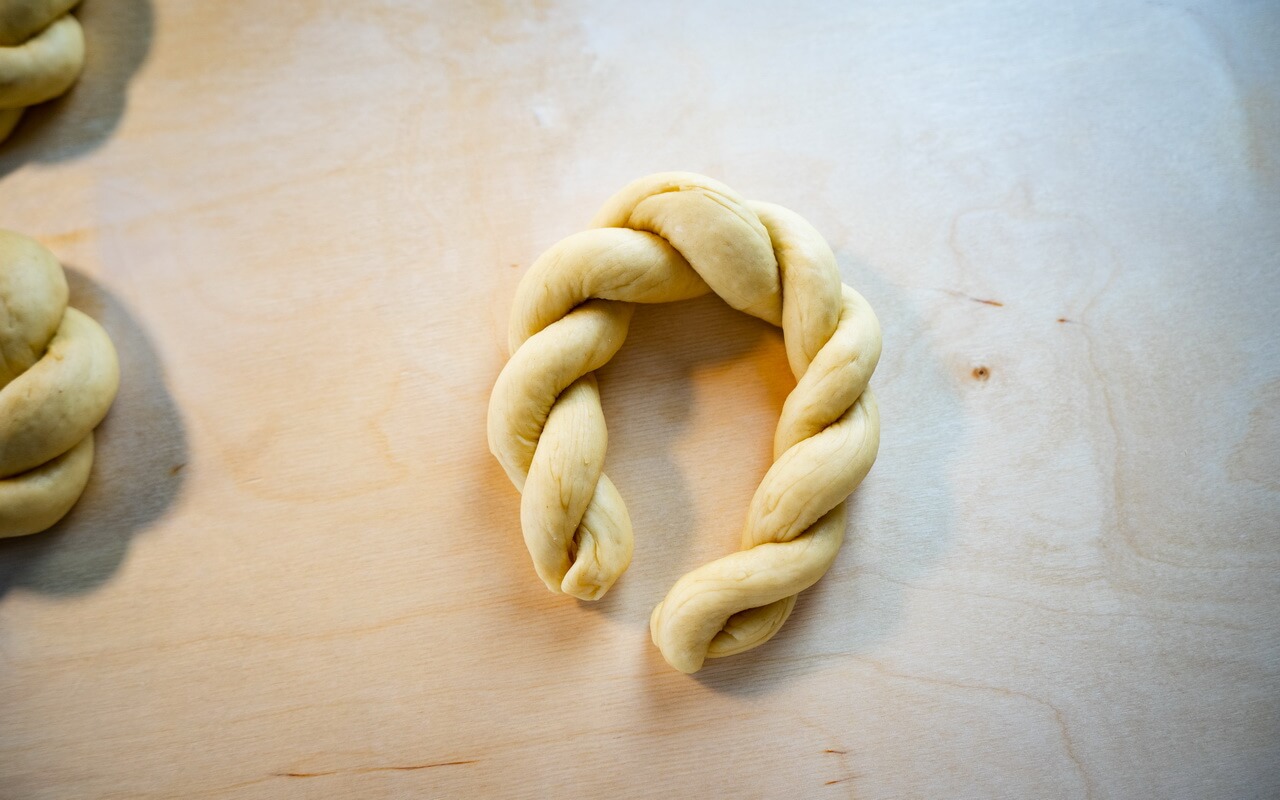
- Loop the braided cords into a circle, interlace the ends and tuck them under
- Transfer the now shaped wreath on the pizza peel
- Repeat the process for the other 10 dough balls
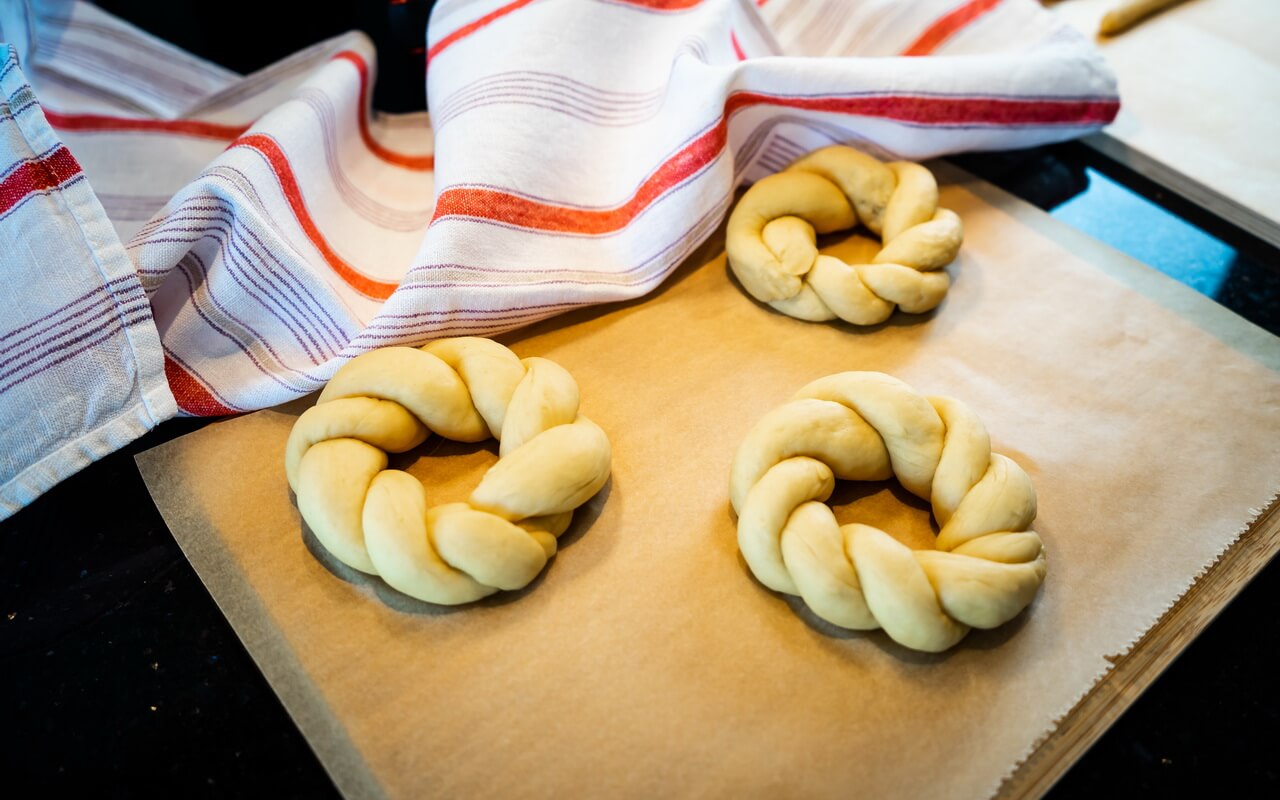
- Info: My pizza peel and baking stone is only big enough to hold 3 of these Italian Easter breads so I had to use a second pizza peel and bake in 2 batches
5. Proof
- You should have already placed your shaped wreaths on the pizza peel layed out
- Cover them with a kitchen towel
- Let them proof for 30 minutes
- Tip: As the proofing time is only 30 minutes you should now start preheating your oven
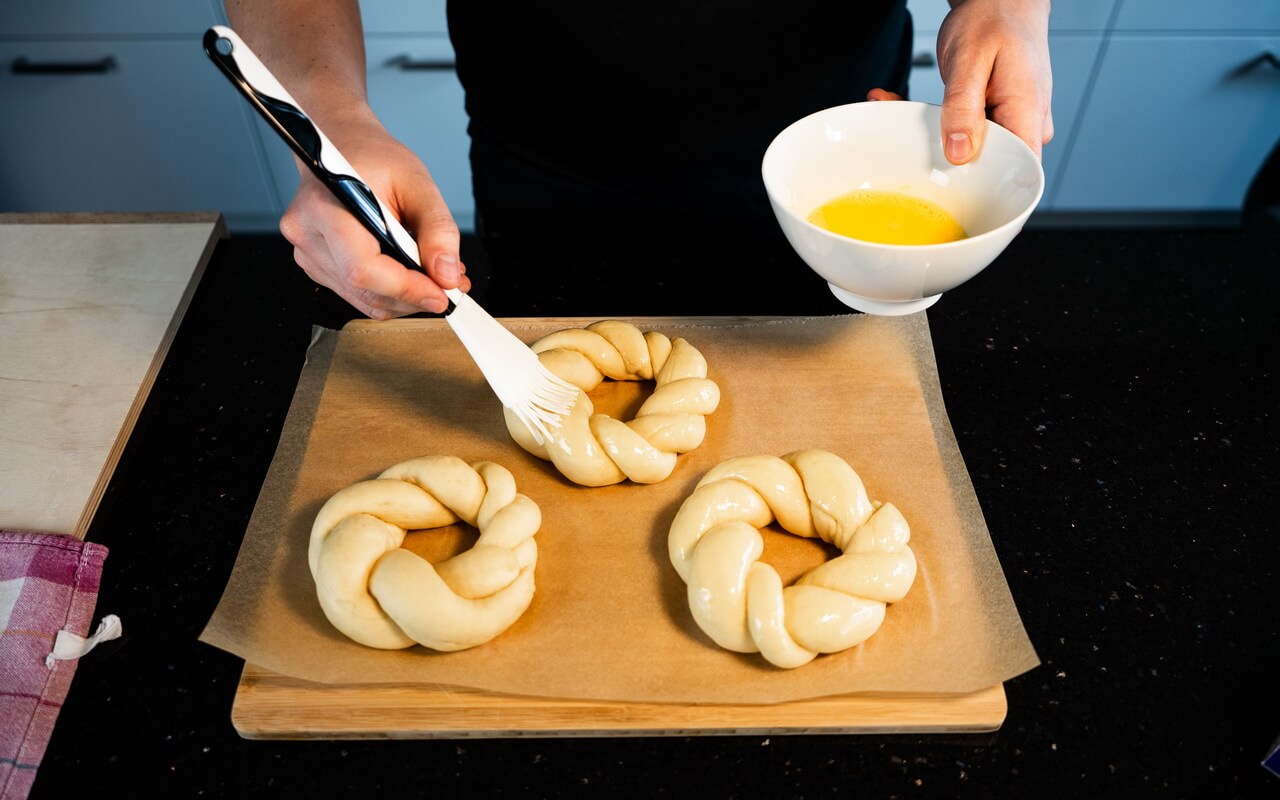
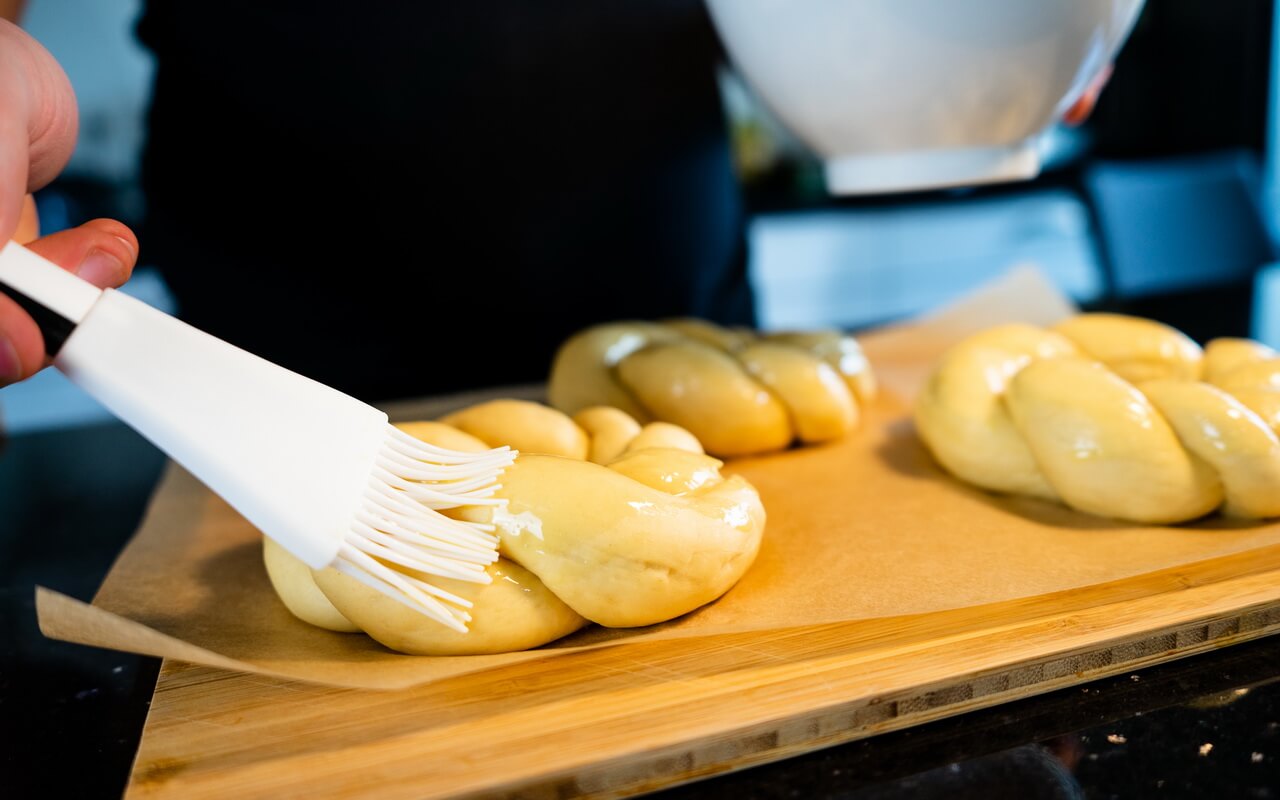
6. Decorate
- Create an egg wash by beating one egg and 15 g of water together in a bowl
- Carefully brush the egg wash on top and sides of the wreaths so almost nothing drips on the parchment paper
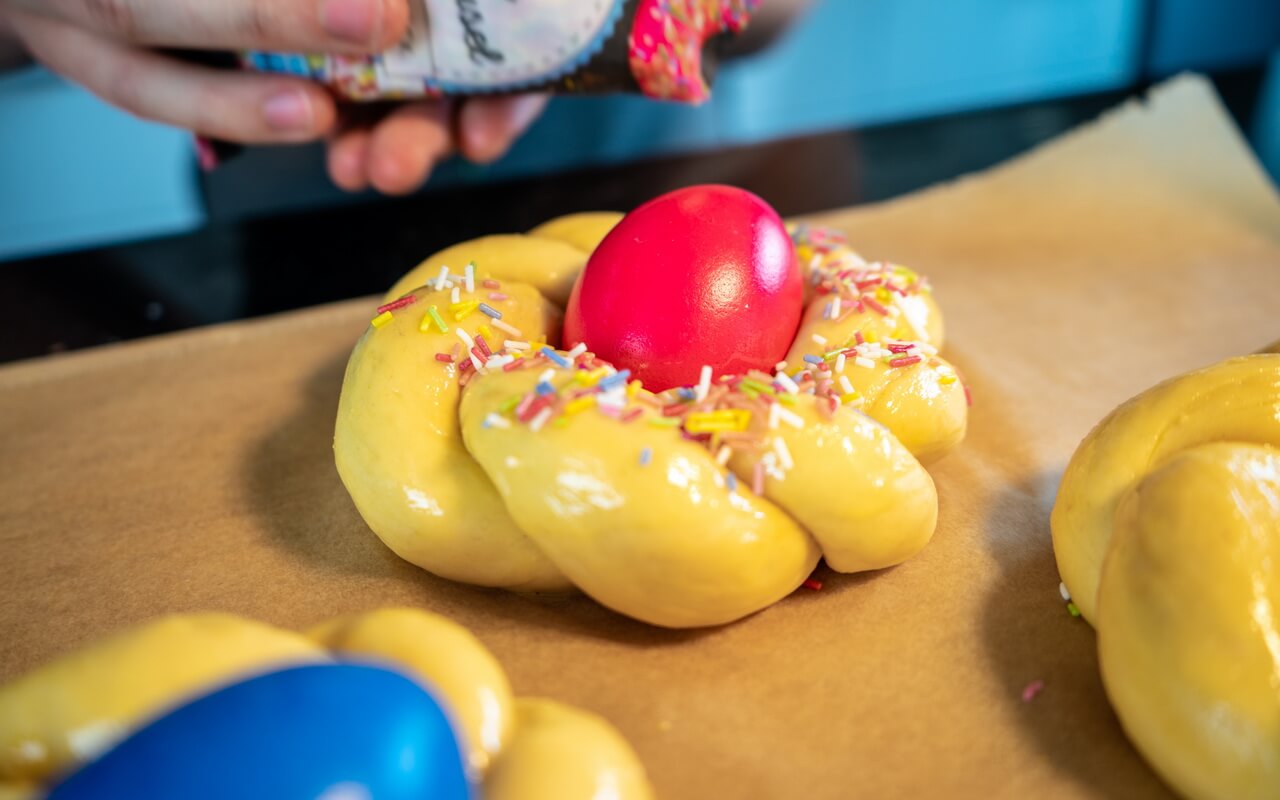
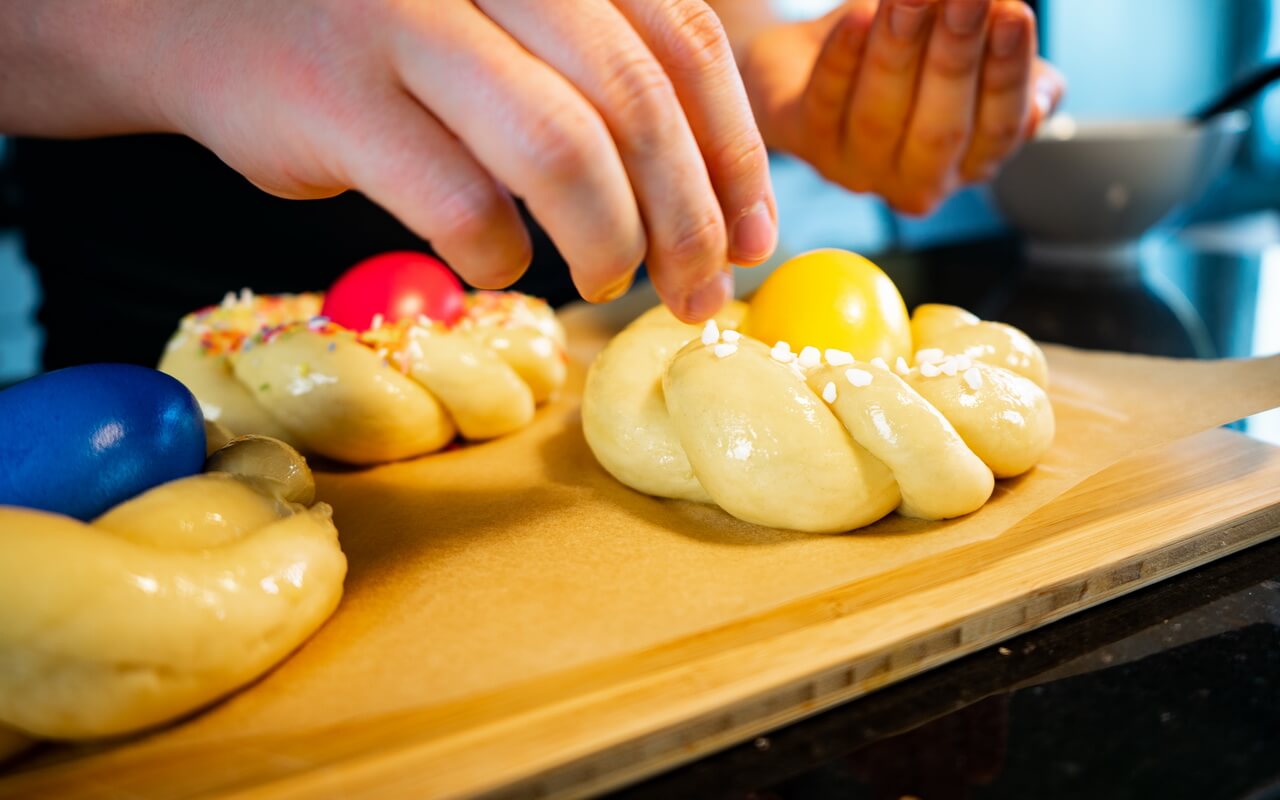
- Now it is time to get a bit creative
- Decorate the loafs with candy sprinkles and coarse sugar as you like
- Put one of the colored eggs in the middle of each loaf
7. Bake
- Preheat oven to 175°C (347°F) for ~20 minutes with the upper and lower heat function
- Put the loafs in the oven and bake for 24 minutes
- After baking take your finished Pane Di Pasqua out immediately
8. Cool
- Let your Italian Easter breads cool for 15 to 30 minutes on some kind of grid
Conclusion
Taste
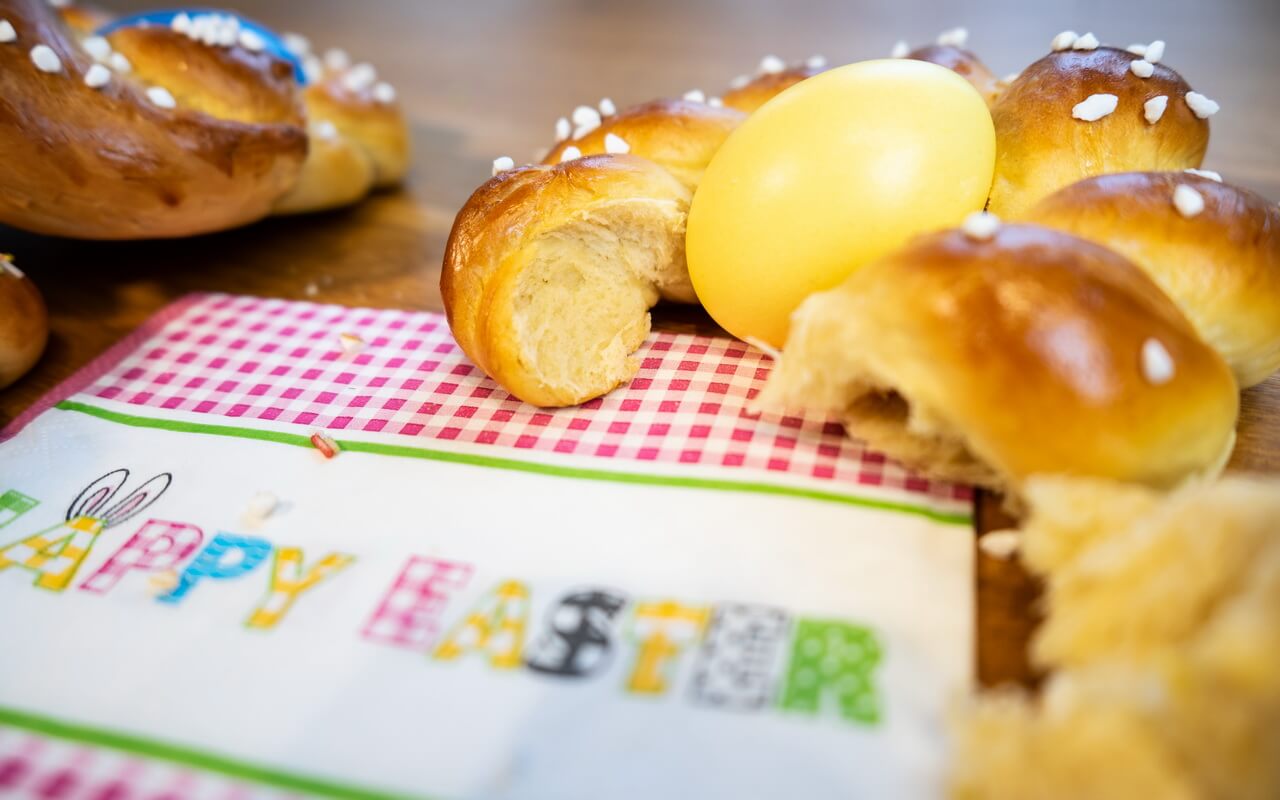
These lovely Easter nests (or Italian Easter bread how it’s officially called) are very soft, fluffy and only lightly sweet. This allows you to eat them with the hard-boiled egg, cold cuts or sweet things like honey or marmalade. The taste reminds of a plated yeast bun, only lighter.
Pane Di Pasqua taste best straight out of the oven when they are still warm. They are delicious on the next day too but we recommend you enjoy them on the first day as the flavour is the strongest then. We decorated ours with coarse sugar and candy sprinkles. Also, the dyed and hard-boiled eggs don’t only look pretty, they also fit to the Italian Easter bread pretty well.
Enjoy and share those lovely little nests with your loved ones on the Easter holidays – we promise they will enjoy them!
Credits
This recipe was inspired by Pane Di Pasqua.
Gallery


