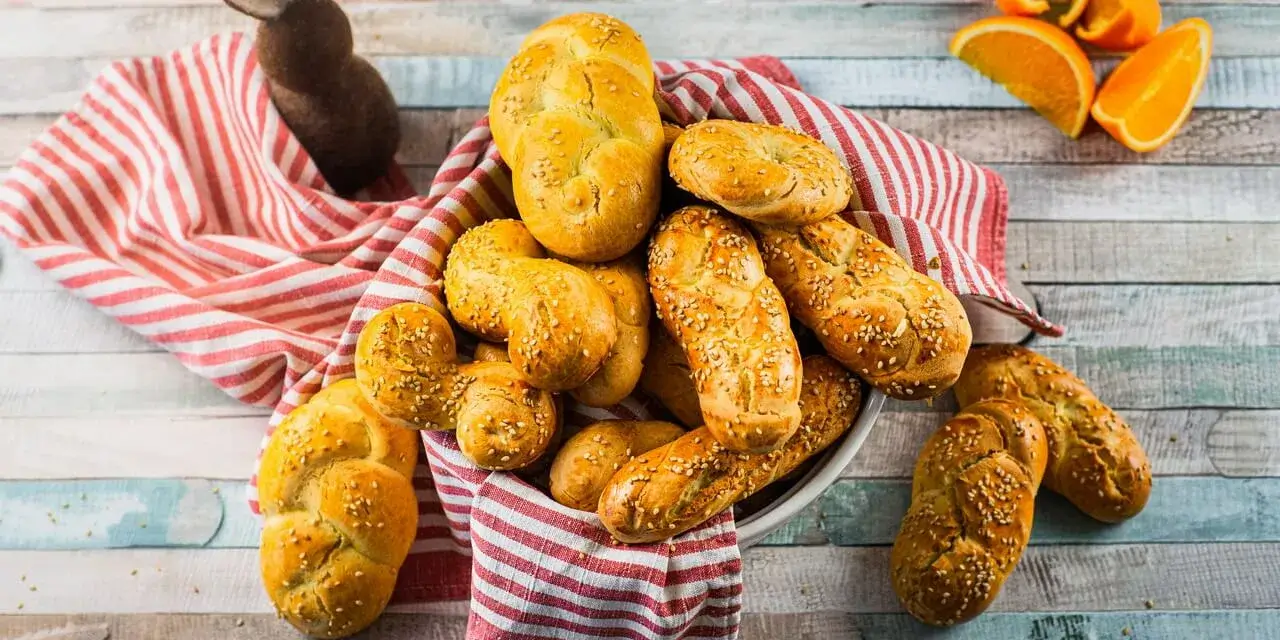
With the Easter days ahead we set out on a journey to find something new and traditional for the celebrations. That’s when we came across Koulourakia – traditional Greek Easter cookies that are mostly associated with the Easter time but nowadays are also baked for all kind of celebrations.
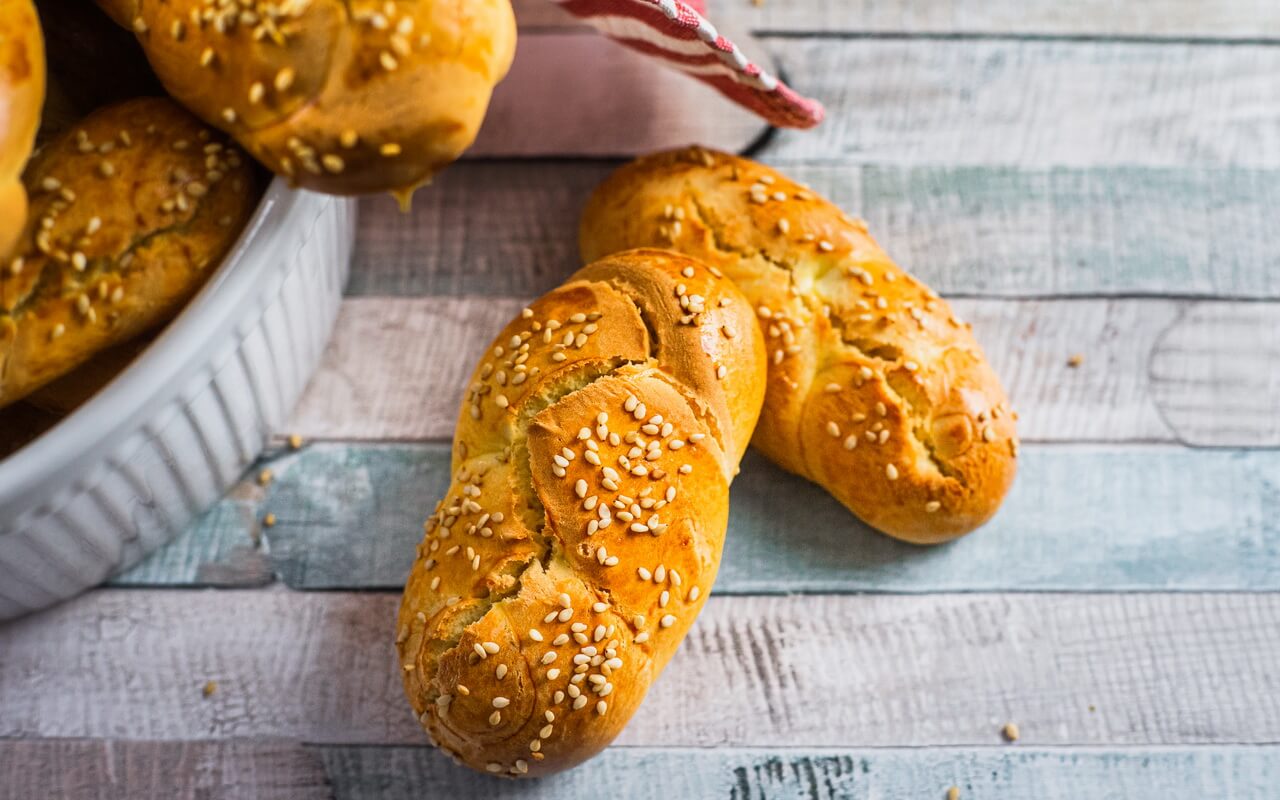
Their traditional shape reminds of a snake as the Greeks worshiped the snakes for their healing powers. As the shape is not that easy to do, you often see them in a braided shape nowadays (or in any other shape you prefer).
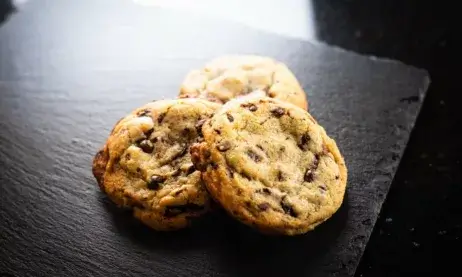
They are perfectly delicious but cannot be compared to all the soft cookies that are in everyone’s mouth these days. So in case you look for some different cookies: here you go!
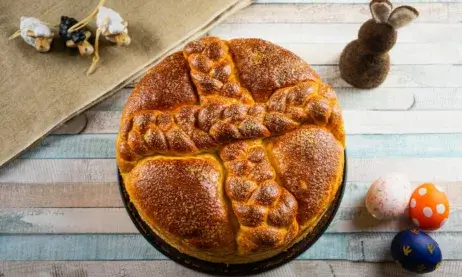
As you know, we like to try recipes from different cultures. It is fun to explore all kind of traditions and play around with different tastes. For example last year we baked the Italian Easter bread – Pane Di Pasqua.
Things to know before you start
Time Schedule
| Steps | Work time | Waiting time |
| Prepare orange | ~5 minutes | – |
| Mix | ~20 minutes | – |
| Rest | – | 20 minutes |
| Shape (2x) | ~15 minutes | – |
| Coat (2x) | ~10 minutes | – |
| Bake (2x) | – | 15-20 minutes |
| Cool | – | 15 minutes |
In under 2,5 hours you will be welcomed by the orangey smell of Koulourakia – traditional Greek Easter cookies.
Info: The work and waiting times for the shape, coat and bake steps are per baking plate full of cookies. You will have dough for 2 full baking plates. So while one batch of cookies is baking in the oven, you can already prepare the next one.
Total ingredients
| Weight | Ingredient |
| 1x | Orange (untreated) |
| 150 g | White sugar |
| 120 g | Butter |
| 4x | Eggs |
| 6 g | Vanilla extract |
| 60 g | Milk |
| 550 g | All-purpose flour |
| 7 g | Baking powder |
| 5 g | Water |
| ~15 g | Sesame seeds |
You will have a dough of about 1.150 g that will be suited for at least 2 baking plates.
It totally depends on what shape you are going to choose for your Koulourakia and how big you are going to make them. So it could be that you will have about 20 or even 30 Greek Easter cookies.
Difficulty
The cookies are simple to make. Only the shaping part could be a bit tricky depending on what shapes you are going to make, but we got a short guide for the most difficult one.
Baking tools
Nothing special is needed besides a stand mixer or hand mixer, a bowl, a baking plate and parchment paper. A cookie scoop can come in handy for portioning the dough, but it is not necessary.
Besides that you can have a look at our should have baking tools for more helpers in your kitchen.
Steps
1. Prepare Orange
| Weight | Ingredient |
| 1x | Orange (untreated) |
- Rinse the orange under hot water and dry it off
- Grate the zest of one orange and put aside
- Squeeze out the juice and also put aside
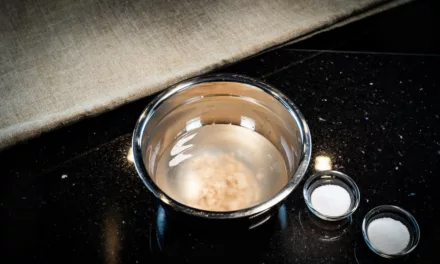
2. Mix
| Weight | Ingredient |
| 1x | Orange zest |
| 150 g | White sugar |
| 120 g | Butter (softened) |
| 3x | Eggs |
| 6 g | Vanilla extract |
| 60 g | Milk |
| 60 g | Orange juice |
- We used a stand mixer with a paddle attachment to mix the dough, but you can also use a hand mixer
- Mix the previously grated orange zest with the sugar
- Add the butter and mix together until light and fluffy
- This can take up to 5 minutes
- Make sure to scrape down the sides of the bowl from time to time
- Add 2 eggs, one at a time, and mix well after each addition
- Separate the 3rd egg, only add the egg yolk and also mix well (the egg white is not needed for anything)
- Pour in the milk, the previously squeezed orange juice and vanilla extract and mix for about 30 seconds
| Weight | Ingredient |
| 550 g | All-purpose flour |
| 7 g | Baking powder |
- In a second bowl, sift together the all-purpose flour and baking powder
- Add it step by step to the mixture and mix on low speed until fully incorporated
- The dough should be soft but not sticky
- If it is too sticky, add about 15 g all-purpose flour and mix a bit longer
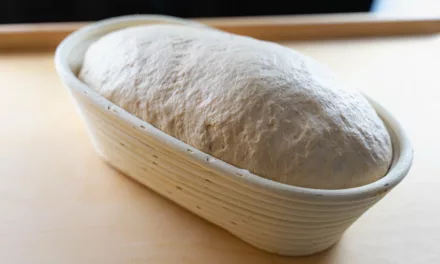
3. Rest
- Store the dough sealed in the fridge at 4-6°C (39,2-42,8°F) for 20 minutes
4. Shape
- Take 2 baking plates and cover them with parchment paper as we are going to place the shaped cookies directly on it
- Depending on how sticky the dough is, you will need a bit of all-purpose flour for dusting the counter and dough
- Use a cookie scoop or tablespoon to portion the dough
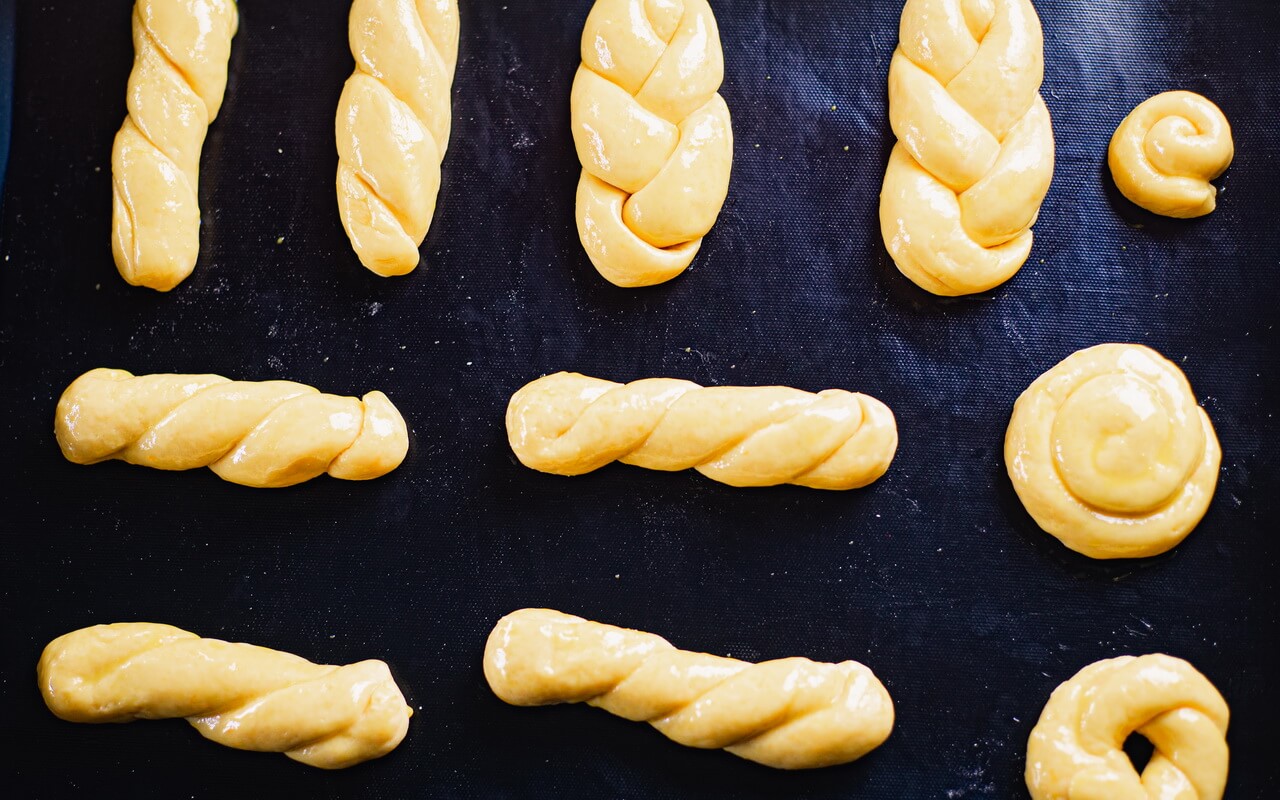
- Take one portion and shape the dough into braids, pinwheels, twists or letters
- The most common shape is the braided one
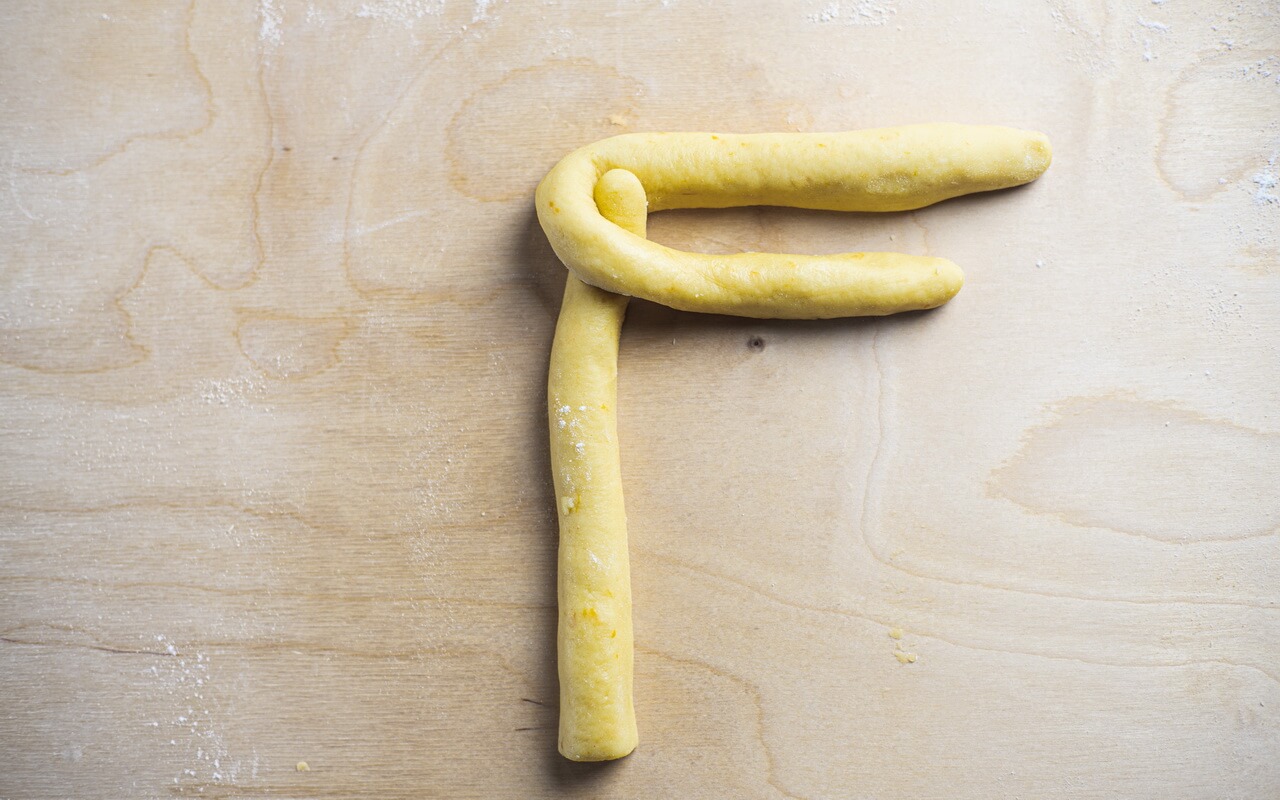
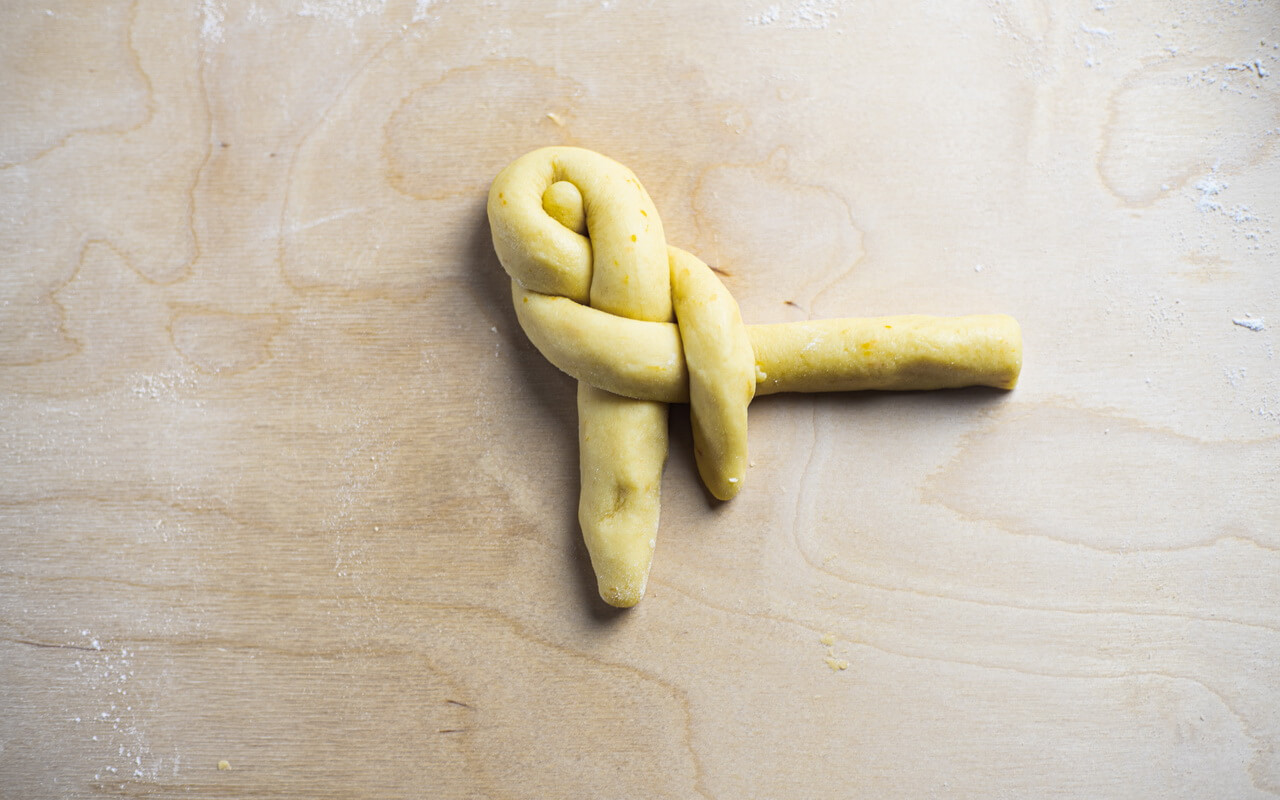
- Here is a short guide how you can make these ones:
- Take 2 dough portions and shape into 2 dough balls
- Roll each one to a cord of 20 cm
- Form a “T” by placing one cord horizontally and the other one vertically in the middle of the horizontally placed one with the end overlapping it
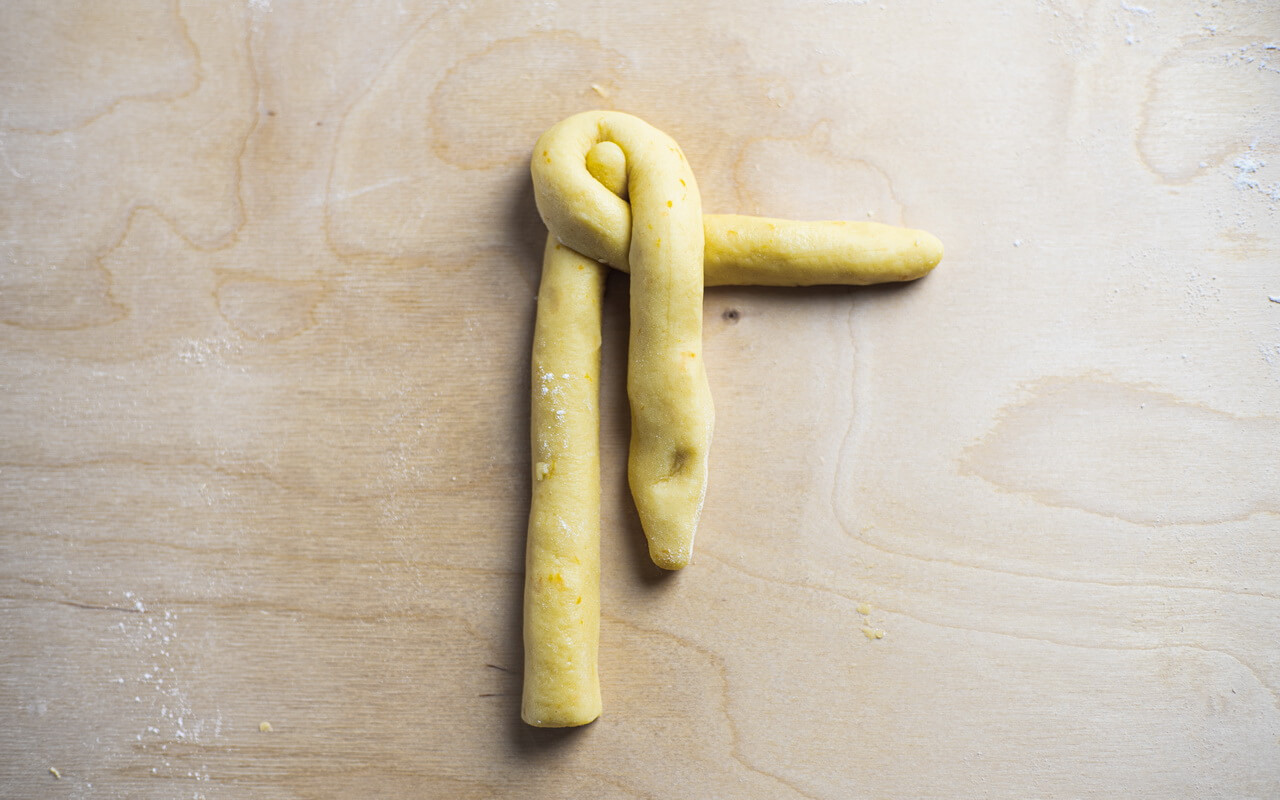
- Pick the top left of the horizontal cord, overlap it over the vertical cord and and place it in parallel to the horizontal cord
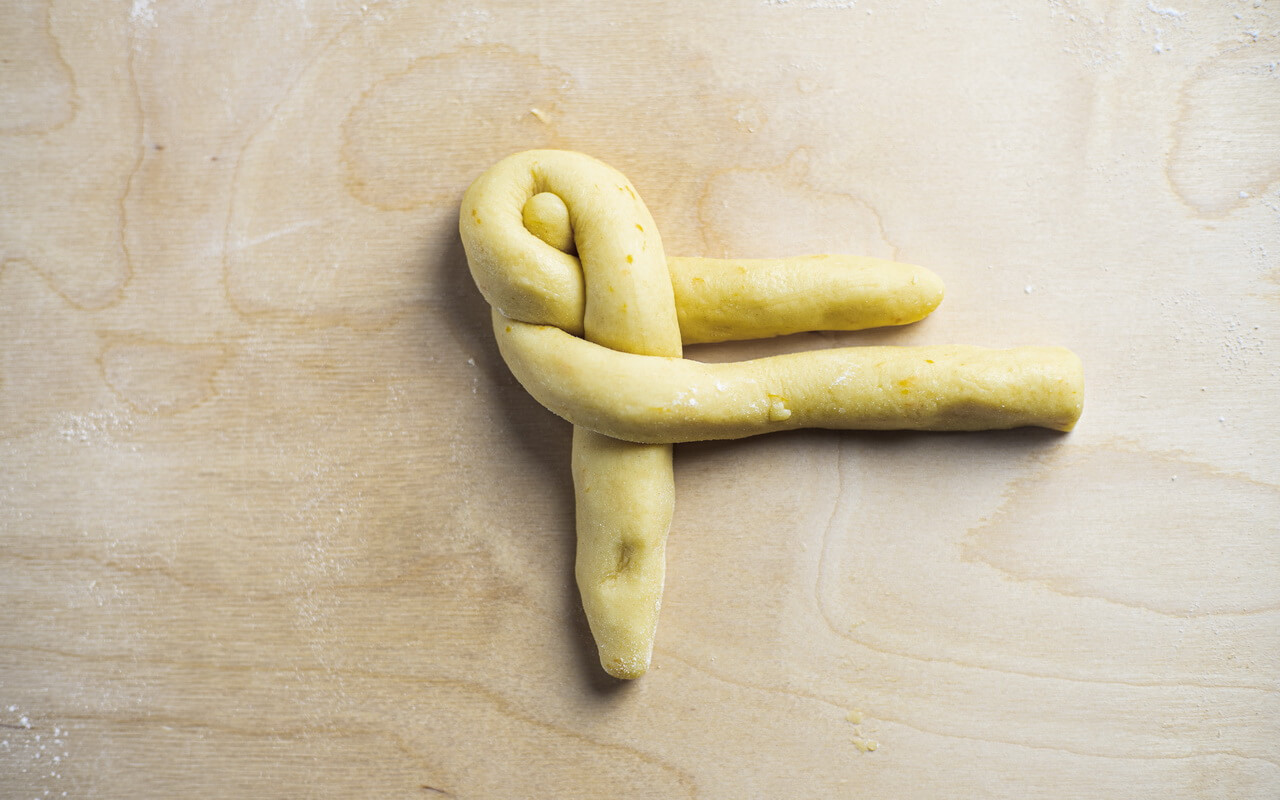
- Pick the top right of the horizontal cord, overlap it over the second horizontal cord and and place it in parallel to the vertical cord
- Repeat steps 4 and 5 until you reach the end of one cord
- Cut the remaining cord and put aside
- Tuck the loose ends underneath to finish the braid
Here are some images as an additional help:


5. Coat
| Weight | Ingredient |
| 1x | Egg |
| 5 g | Water |
| ~15 g | Sesame seeds |
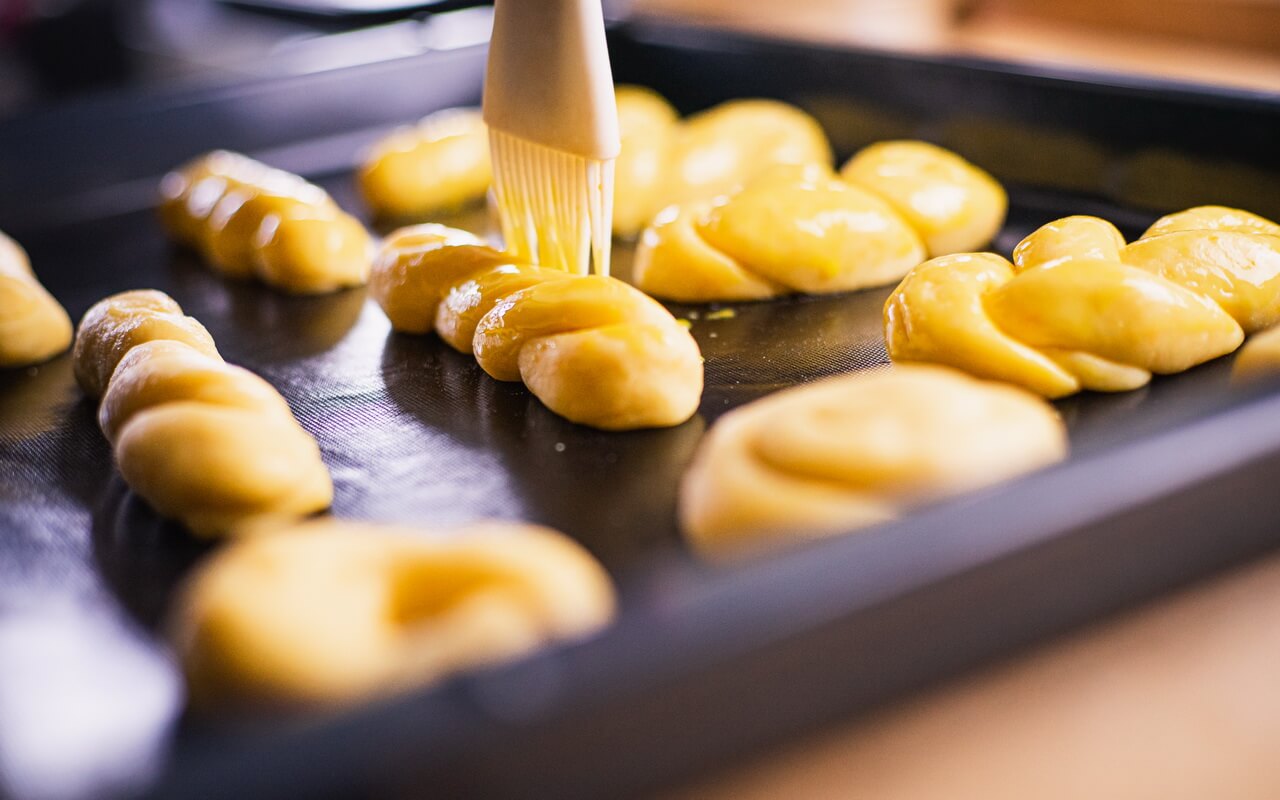
- Create an egg wash by beating one egg with 5 g of water together in a bowl
- Carefully brush the egg wash on top and sides of the shaped cookies so almost nothing drips on the parchment paper
- Sprinkle some sesame seeds on top

6. Bake
- Preheat oven to 190°C (374°F) for ~20 minutes with the upper and lower heat function
- Put it in the oven and bake for 15 to 20 minutes or until golden brown
- After baking take the finished Koulourakia out on the parchment paper they were baked on
7. Cool
- Let your Greek Easter cookies rest on the parchment paper they were baked on for 5 minutes
- Afterwards transfer them to a wire rack to cool down for another 10 minutes
Conclusion
Taste
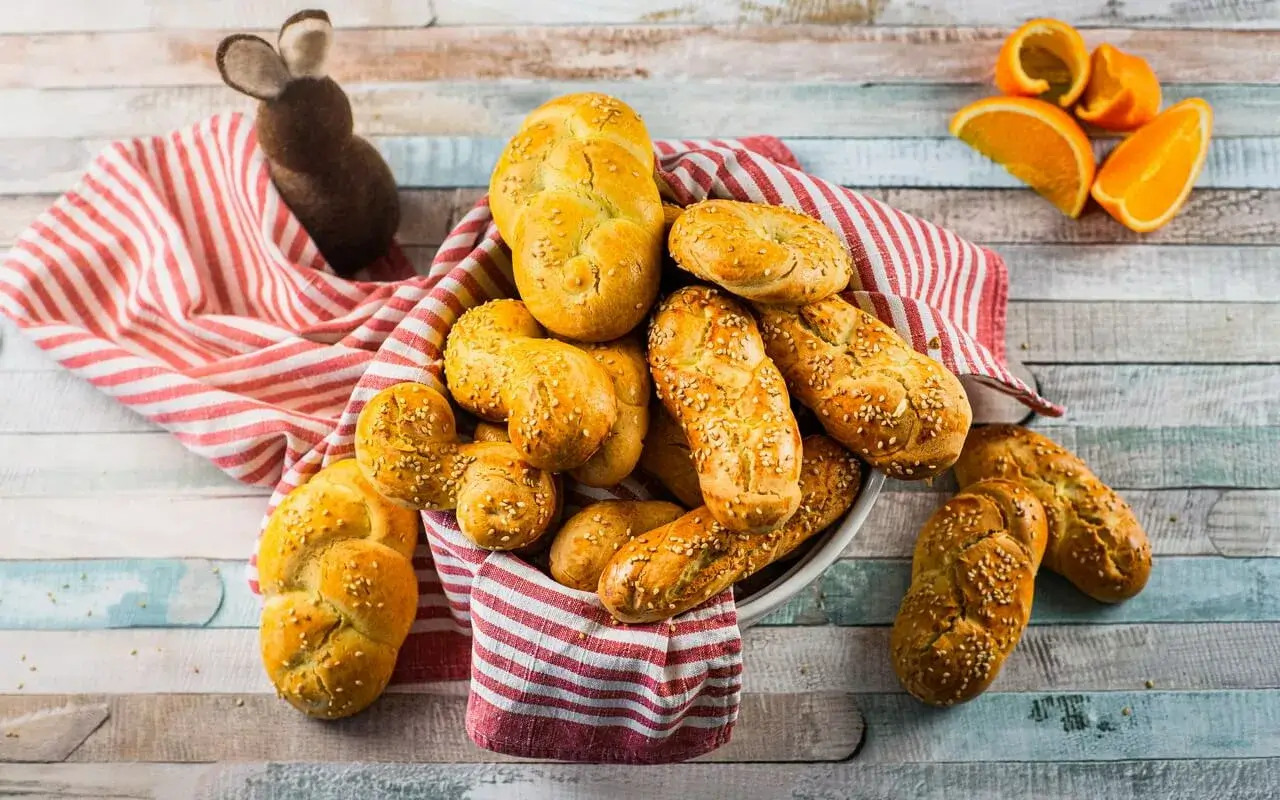
As already mentioned in our introduction text, these Koulourakia – traditional Greek Easter cookies are a little different.
While they look like little yeast plaits due to the way they are shaped, they taste completely different. They are soft but in a way a little dry with a nicely slight but noticeable orange taste.
On top we added some sesame seeds which go very nice with the taste of these cookies. Due to their firm and more dry structure, they are perfect for dipping into your tea or coffee.
Gallery


