
Christmas is a time full of traditions. Whether it’s public traditions such as putting up a Christmas tree or personal traditions like listening to a specific song when decorating the tree.
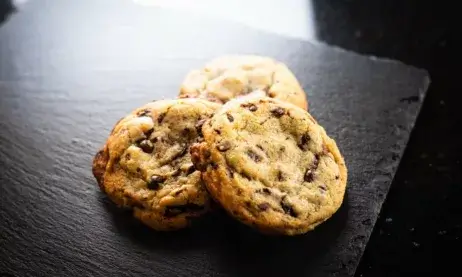
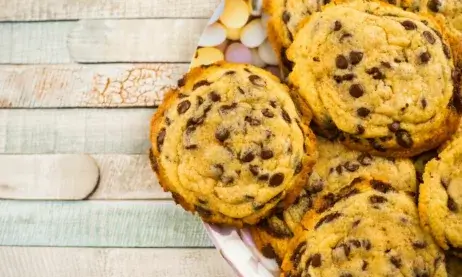
One of the most common traditions is baking cookies during Christmas time.
With your kids, your sports team or with friends: Baking cookies is always fun! You spend time together and can be very creative when decorating them. That’s why we are sharing a basic and classic Christmas cookies recipe today. It is a simple one so you can fully concentrate on decorating and being creative.
Things to know before you start
Time Schedule
| Steps | Work time | Waiting time |
| Mix | ~15 minutes | – |
| Rest | – | 30 minutes |
| Shape (4x) | ~10 minutes | – |
| Bake (4x) | – | 8-10 minutes |
| Cool | – | 15 minutes |
| Glaze | ~10 minutes | – |
| Decorate | 1-4 hours | – |
In about 3,5 to 6,5 hours you will have a huge load of classic Christmas cookies.
Info: The work and waiting times for the shape and bake steps are per baking plate full of cookies. You will have dough for about 4 full baking plates. So while one batch of cookies is baking in the oven, you can already prepare the next one.
Total ingredients
| Weight | Ingredient |
| 500 g | All-purpose flour |
| 250 g | Butter |
| 150 g | White sugar |
| 7.5 g | Baking powder |
| 2x | Eggs |
| 150 g | Powdered sugar |
| – | Stuff for decorating |
We can’t really tell how much classic Christmas cookies you will have in the end, because it totally depends on how big your cookie cutters are. But with about 1.025 g of dough you will be able to bake about 4 baking plates of cookies.
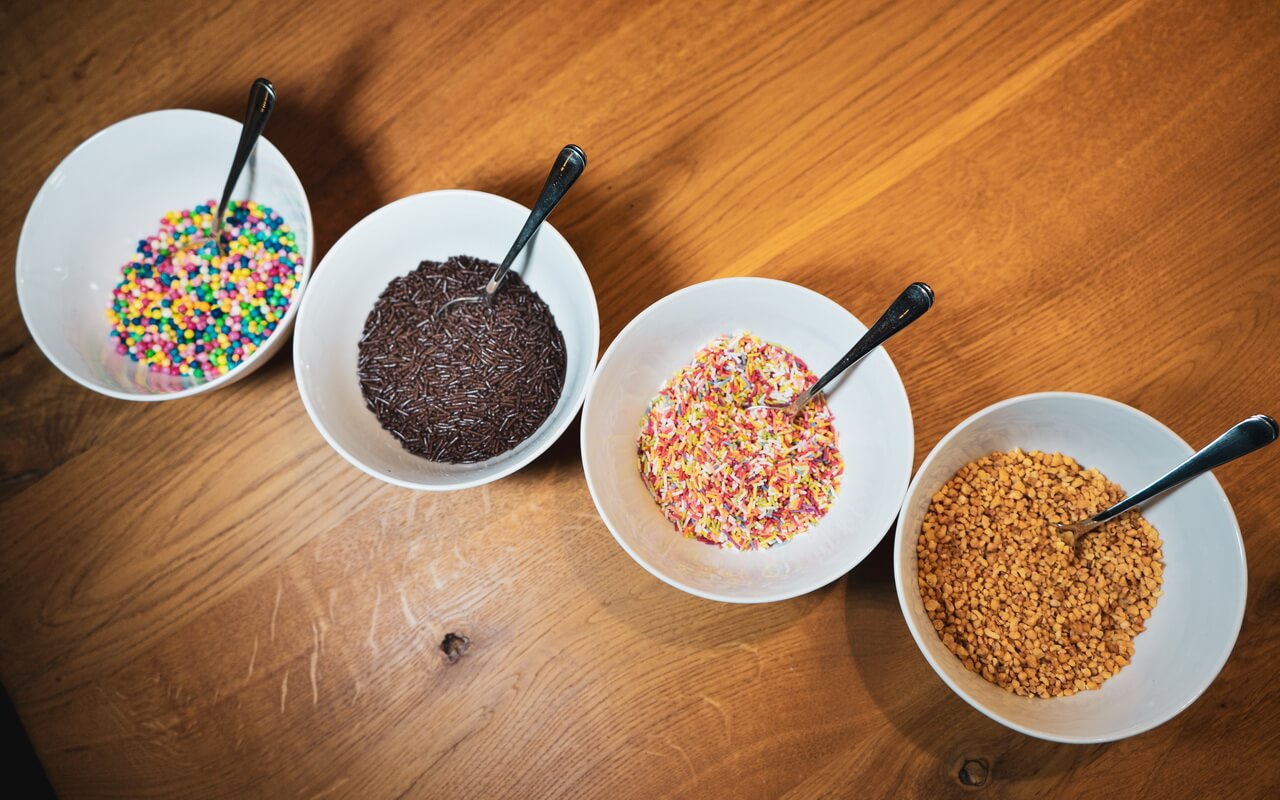
What you want to use for decorating cookies is totally up to you. There are pretty much no limits. You can go for sprinkles, nuts, chocolate chips, food coloring pens and so on.
Tip: We also used lemon juice for our glaze to have a nice contrast between the sweet cookie dough and all the decorations.
Difficulty
Pretty simple recipe with just a few steps where you can get very creative.Baking tools
You are good to go with a hand mixer, bowl, rolling pin, baking plate, parchment paper and of course cookie cutters. A second baking plate can come in handy to place the next cookies on it while the other one is in the oven.
Check out our baking tools section to see what we are using.
Steps
1. Mix
| Weight | Ingredient |
| 150 g | White sugar |
| 2x | Eggs |
| 250 g | Butter (softened) |
| 500 g | All-purpose flour |
| 7.5 g | Baking powder |
- Mix all of the mentioned ingredients together with a hand mixer
- Start with the sugar and eggs until creamy
- Afterwards add the softened butter and mix further
- As the last step add the all-purpose flour and baking powder step by step and mix until well combined
- Tip: If you take your butter directly out of the fridge, you can cut the butter in smaller chunks into a bowl and melt in the microwave for about 30 seconds
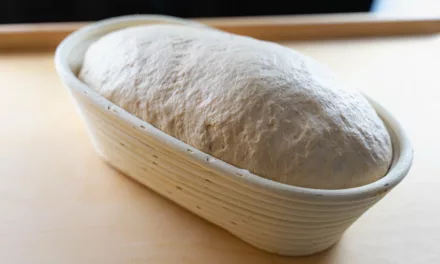
2. Rest
- Store the dough sealed in the fridge at 4-6°C (39,2-42,8°F) for 30 minutes
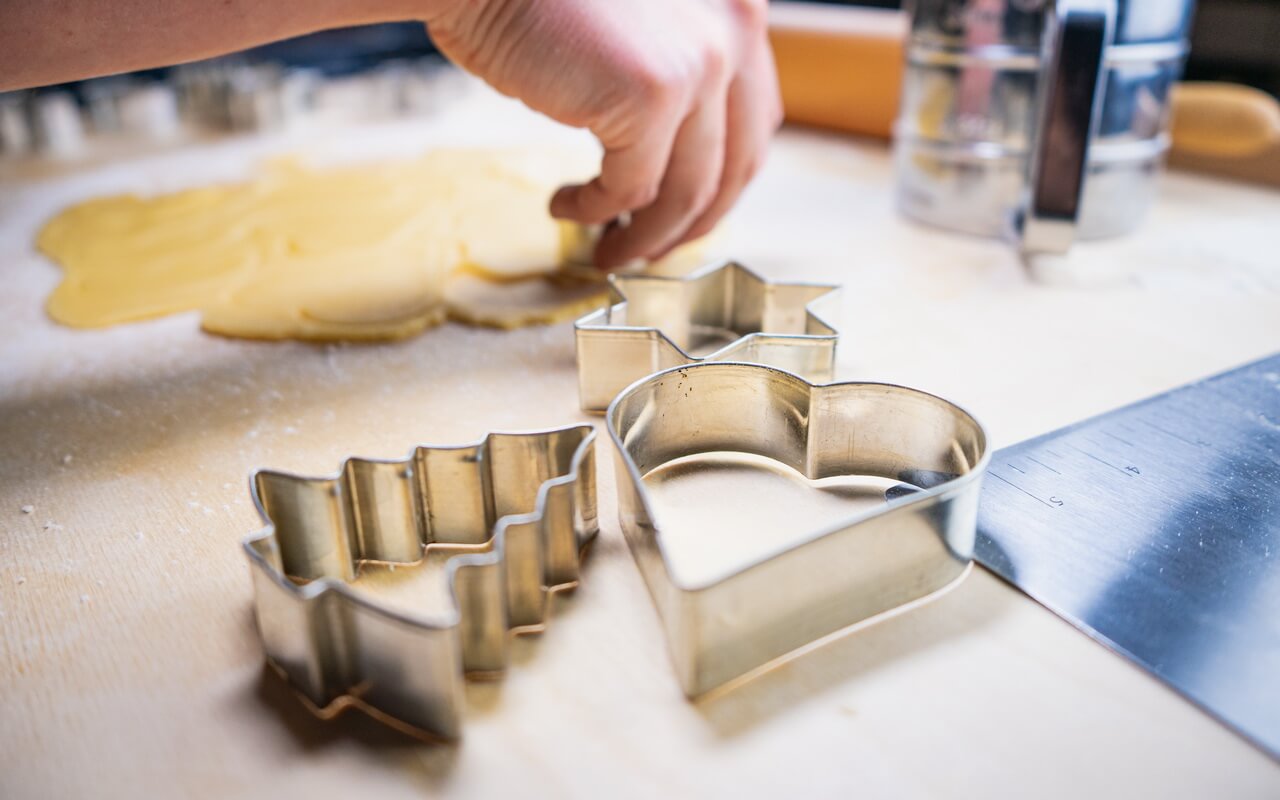
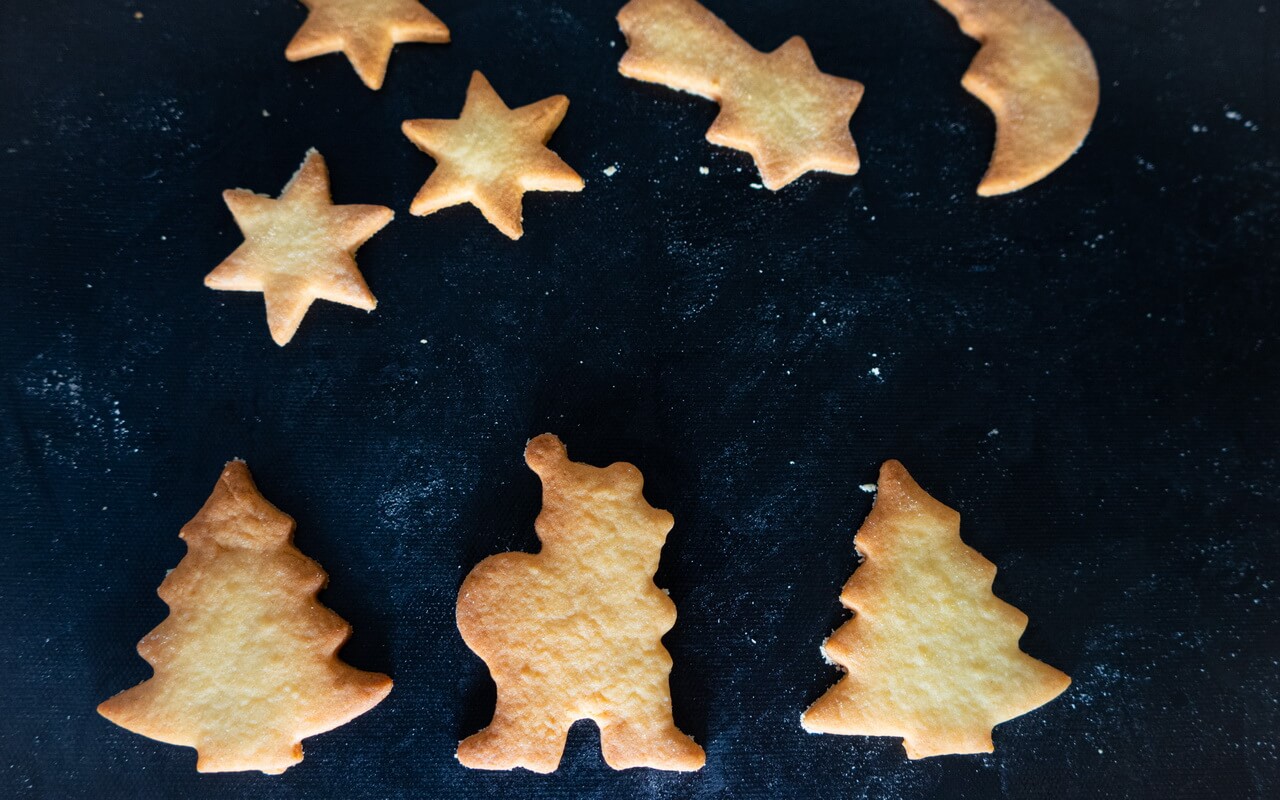
3. Shape
- Take the dough out of the fridge
- Seperate about 20% of it and place it on a slightly floured surface
- Here is a short guide on how to get the cookies into the right shape:
- Shape the dough piece into a small ball
- Add some flour on top of the dough and rolling pin
- Gently roll the dough out to about 0,5 cm or as thin as you want it
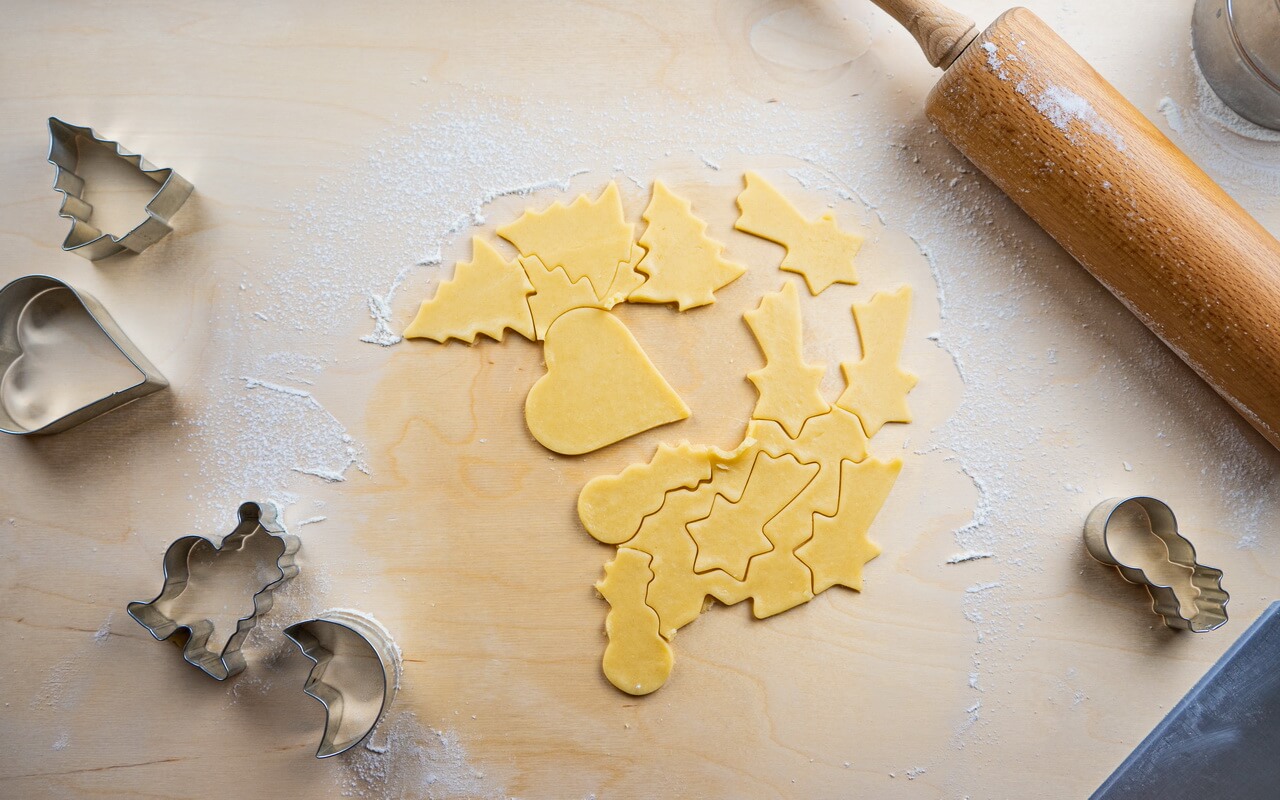
- Use cookie cutters to cut out cookies
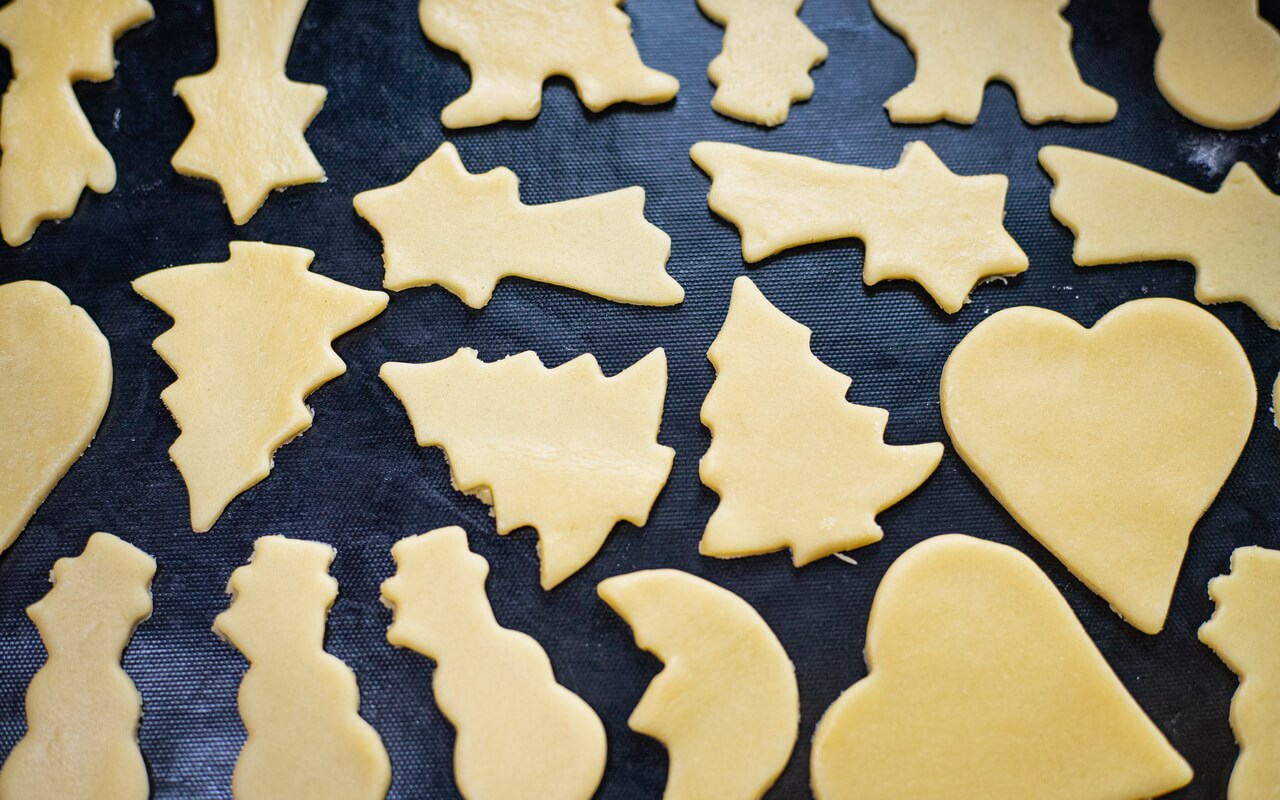
- Place the cookies on a baking plate covered with parchment paper
- Put the leftover dough around the cut out cookies back to the rest of the dough and use it for the next cookies
- Tip: If the dough starts sticking to the rolling pin while rolling it out, add a little flour on top of the dough and start rolling it out further
4. Bake
- Preheat oven to 180°C (356°F) for ~20 minutes with the upper and lower heat function
- Put the first baking plate with the cookies in the oven and bake for 7-10 minutes
- When the margins start to get brown the cookies are ready
- After baking take them out immediately
- Tip: While your first batch of cookies is in the oven, you can start shaping the next ones

5. Cool
- Let your cookies cool down for at least 15 minutes on some kind of baking grid
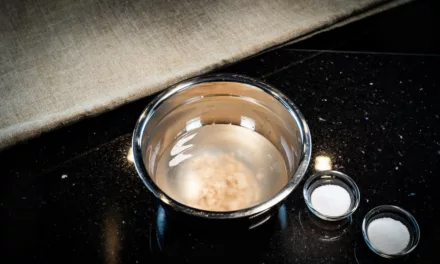
6. Glaze
| Weight | Ingredient |
| 150 g | Powdered sugar |
| – | Water |
- Fill a small bowl with powdered sugar
- You will have to decide how thick you want the glaze to be because the less water you add the thicker the glaze will be
- Add just a bit of water to the powdered sugar and stir until well combined
- If you want to have the glaze less thick, just add a bit more water and stir again until well combined
- After you get your preferred thickness you are ready to decorate your cookies with it
- Tip: As mentioned before you could also use lemon or orange juice instead of water to get another flavour
7. Decorate
- After the cookies cooled down a bit, the creative part starts where it is on you to decide how to transform them to classic Christmas cookies 😉
- One way of decorating is by spreading glaze on a cookie and adding sprinkles, nuts or chocolate on top
- Another way is to use food coloring pens (you can also add sprinkles on top of the food color, as they will stick to it)
- The next way is to spread chocolate on top and then nuts or sprinkles
- Whatever you want to do try it out, the cookies just function as a good base
Conclusion
Taste
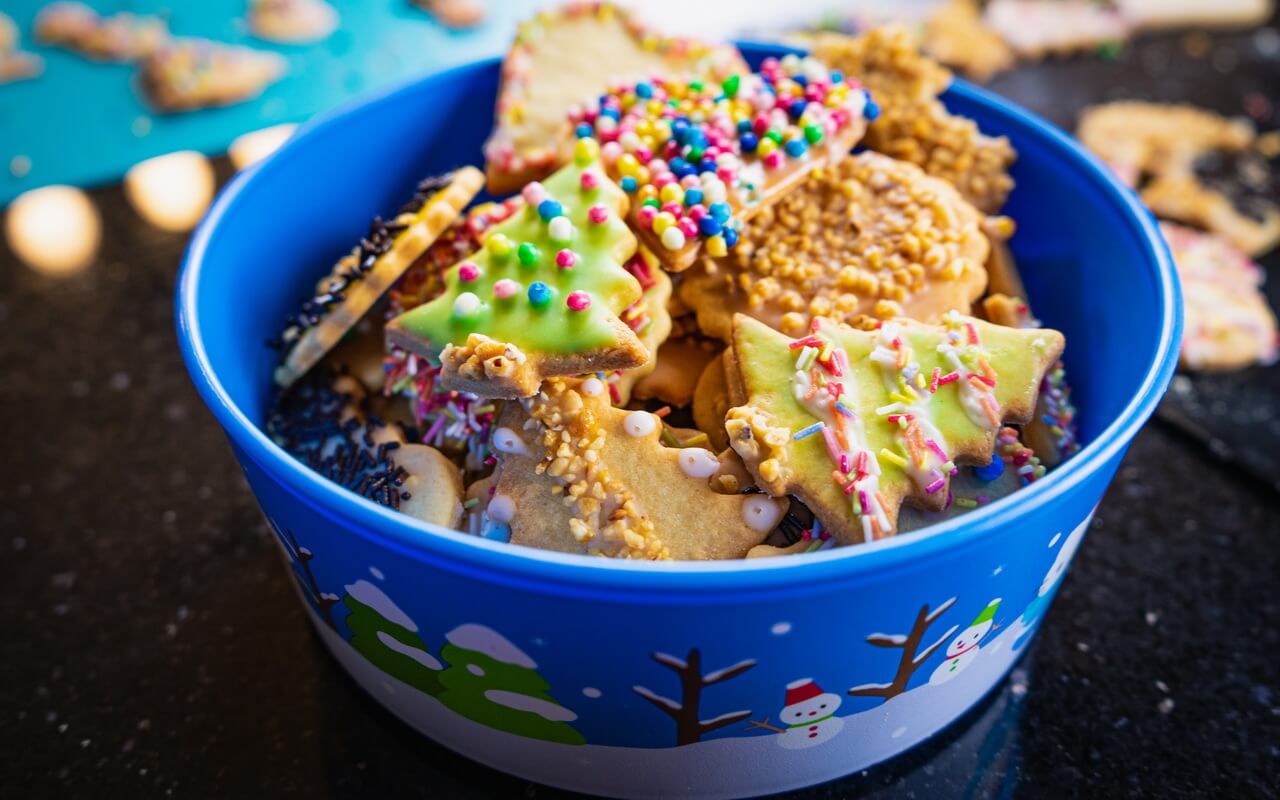
The cookies taste sweet and buttery. The level of sweetness depends on how you decorate them.
We have used crispy sugar pearls, coloured and chocolate sprinkles, brittle and sugar glaze.
It was the usual sugar glaze made of powdered sugar, water and lemon juice. We made two bowls and for the second we added a bit of raspberry syrup.
Enjoy baking and have a wonderful christmas time!
Gallery


