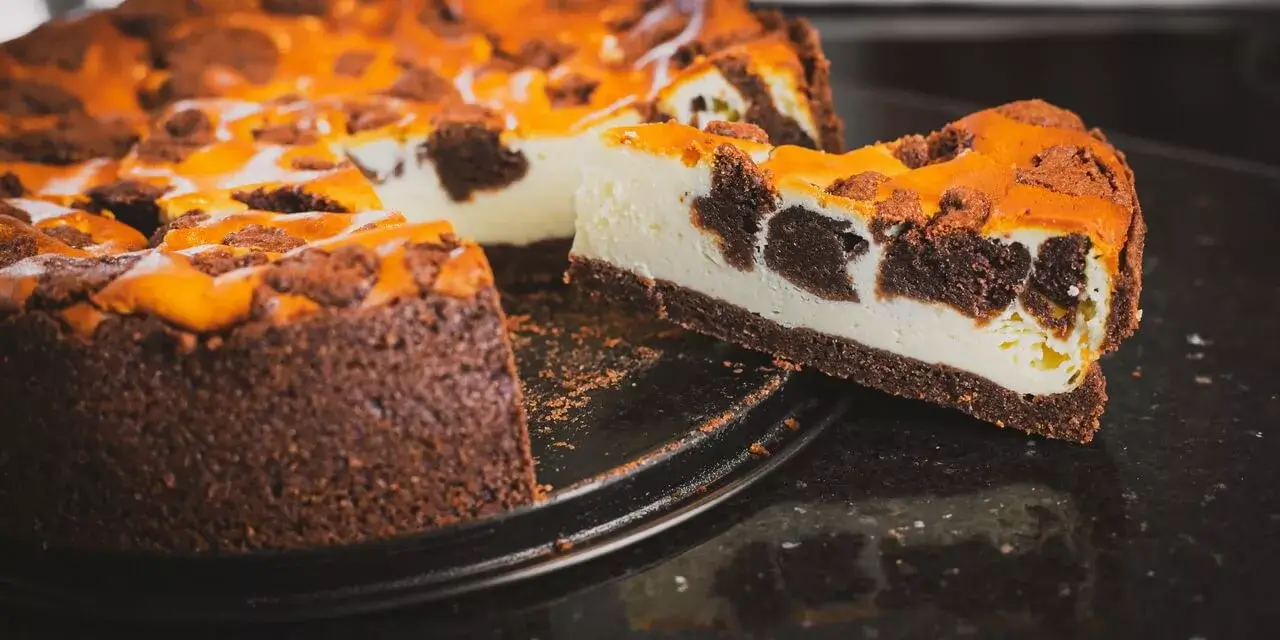
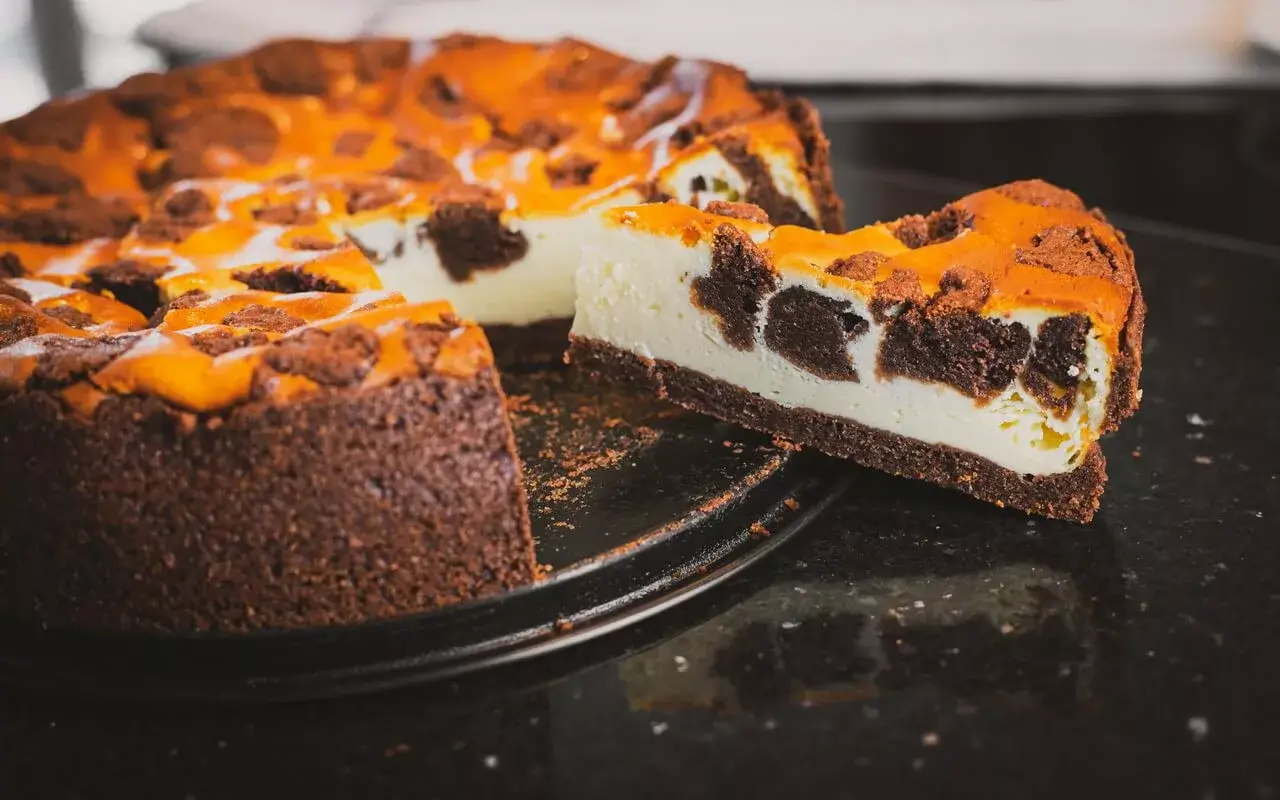
This chocolate cheesecake aka Russischer Zupfkuchen is a real classic – it’s like a wedding between brownies and cheesecake. What could be better?
We also entered the German name in the title and would like to explain this a bit further. The name basically contains 3 parts: “Russischer” means Russian, “Zupf” (from the German “zupfen”) means to pick or to pluck and “Kuchen” is German for cake.
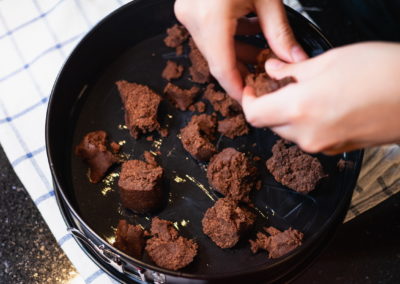
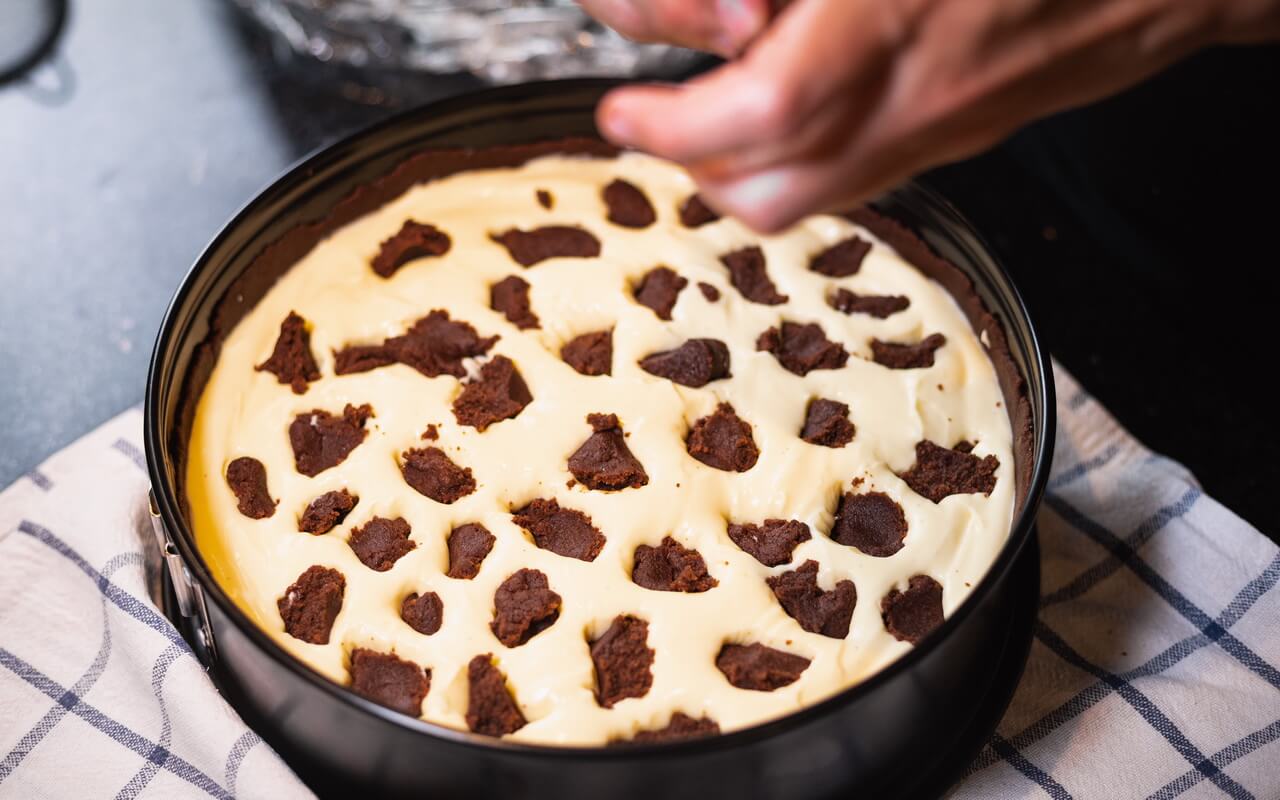
When you follow our recipe below, you will learn that you need to pick little balls of the chocolate dough and “throw” them into the cheesecake.
So far, so good – but what has this got to do with Russia? Is this a typical russian recipe? To be honest: No! It is actually a German recipe which was baked during a baking competition organized by the German Company Dr. Oetker. This company is famous for it’s baking recipe and offers all kinds of ingredients.
Before the cake went into the oven, those little chocolate dough balls reminded of the spires of russian churches. That is when the cake got its name. Since 1993 there is even a baking mixture – of course produced by Dr. Oetker – for this cake. However, we decided we could also do it without so here is our recipe.
Things to know before you start
Time Schedule
| Steps | Work time | Waiting time |
| Mix – Chocolate dough | ~10 minutes | – |
| Rest | – | 30 minutes |
| Melt butter | ~5 minutes | – |
| Coat springform pan | ~15 minutes | – |
| Mix – Filling | ~10 minutes | – |
| Scatter chocolate dough | ~10 minutes | – |
| Bake | – | 60 minutes |
| Cool | – | 8-24 hours |
In under 11 hours you will have a delicious chocolate cheesecake aka Russischer Zupfkuchen. As this is also some kind of cheesecake you should let it cool in the fridge overnight, before you start eating it.
Total ingredients
| Weight | Ingredient |
| 300 g | All-purpose flour |
| 250 g | White sugar |
| 400 g | Butter |
| 4x | Eggs |
| 10 g | Baking powder |
| 30 g | Cocoa powder – Unsweetened |
| 2 packages (~16 g) | Vanilla sugar |
| 500 g | Farmer’s cheese (40% fat) |
| 1 package (~37 g) | Instant vanilla pudding mix |
| 1x | Vanilla bean |
With all of these ingredients you will have a great chocolate cheesecake of about 1.800 g.
Difficulty
Simple to bake but you need to be patient during the cooling phase for a perfect result.
Baking tools
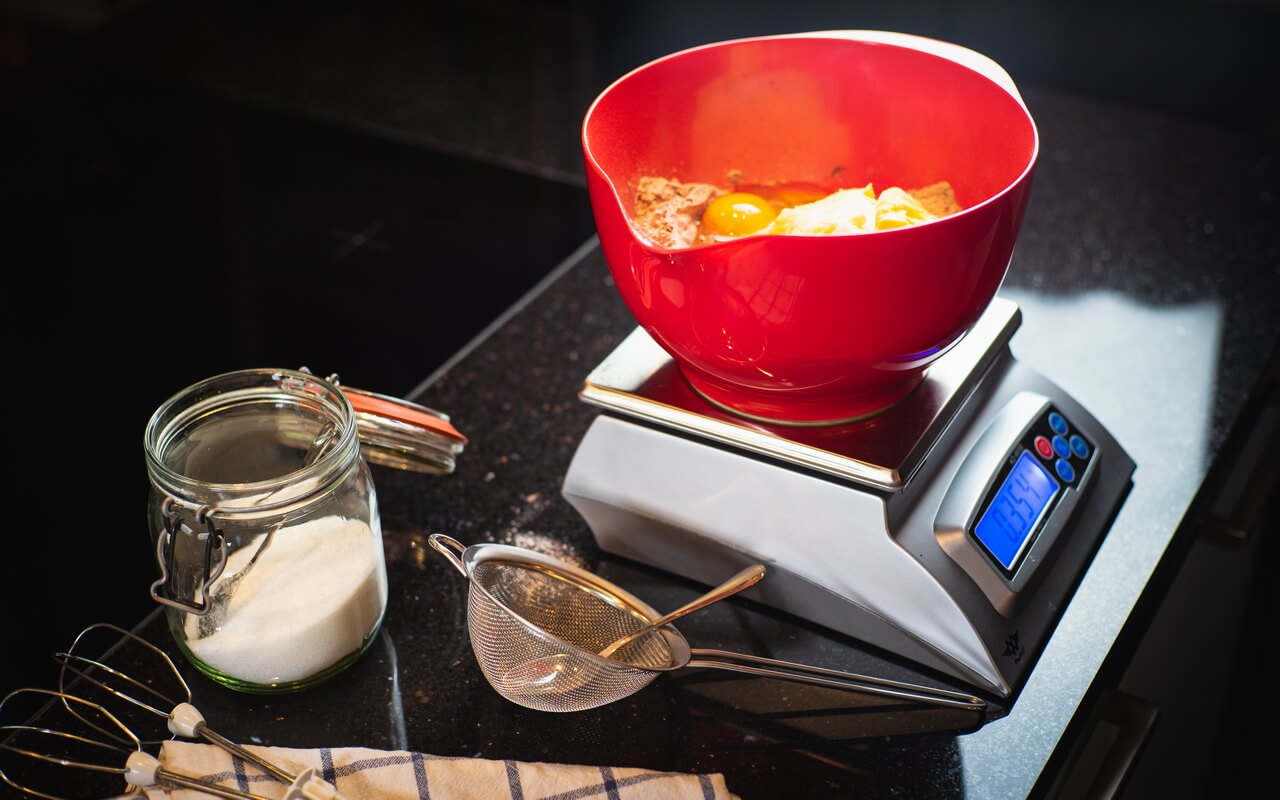
In order to get the best size for this cheesecake you will need a 26 cm springform pan. Besides that having a simple hand mixer, two bowls and a bit of cling film should be enough.
Steps
1. Mix – Chocolate Dough
| Weight | Ingredient |
| 300 g | All-purpose flour |
| 30 g | Cocoa powder – Unsweetened |
| 10 g | Baking powder |
| 125 g | White sugar |
| 1 package (~8 g) | Vanilla sugar |
| 150 g | Butter (softened) |
| 1x | Eggs |
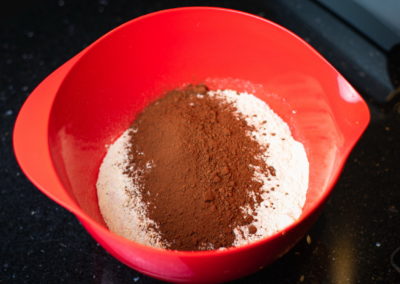
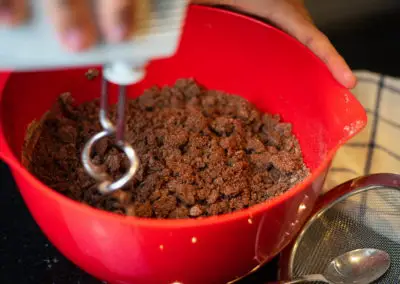
- Start by sifting in the all-purpose flour, cocoa powder and baking powder
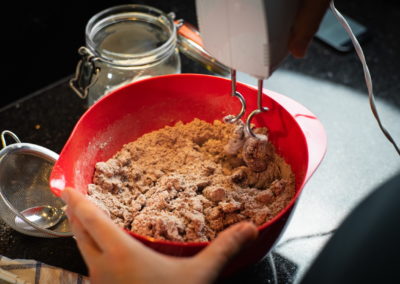
- Mix with a hand mixer using dough hooks
- Add white sugar, vanilla sugar, softened butter and egg and mix until well combined
2. Rest
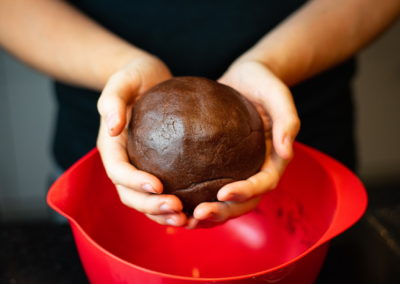
- Form a ball out of the chocolate dough
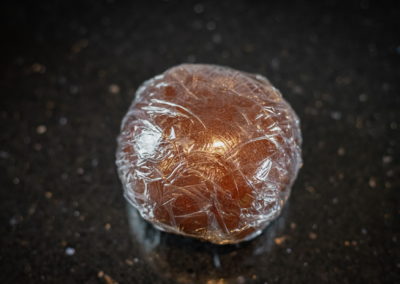
- Wrap it in cling film
- Place in the fridge for 30 minutes
4. Coat Springform Pan
- Grease a 26 cm springform pan with butter on bottom and all sides
- Take the chocolate dough out of the fridge and divide in half
- Put one half aside and use the first one for coating the springform pan
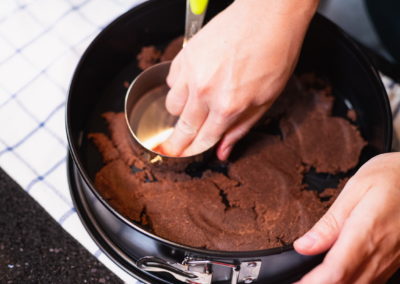
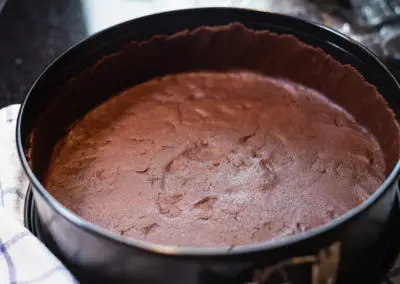
- Press the previously created dough into the bottom and up the sides of the springform pan tightly
- Tip: A measuring cup can come in handy for pressing the dough down
5. Mix – Filling
| Weight | Ingredient |
| 3x | Eggs |
| 125 g | White sugar |
| 1 package (~8 g) | Vanilla sugar |
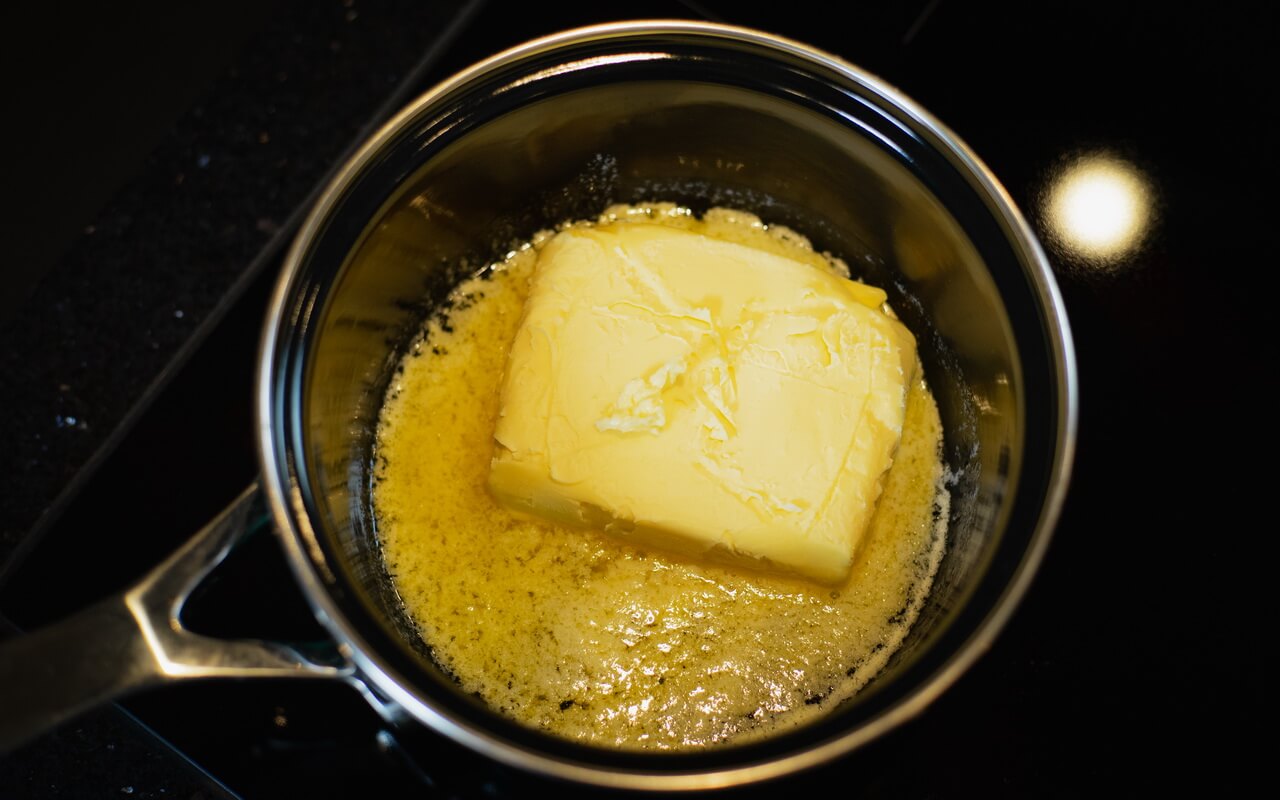
| – | Butter (melted) |
| 500 g | Farmer’s cheese (40% fat) |
| 1 package (~37 g) | Instant vanilla pudding mix |
| 1x | Vanilla bean |
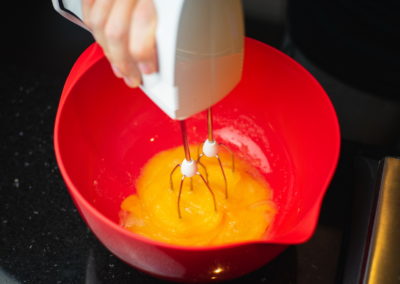
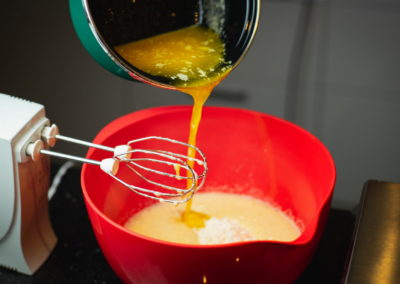
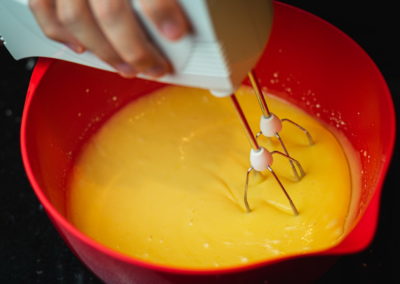
- Mix all of the mentioned ingredients together with the hand mixer on low speed
- Start by adding the vanilla sugar and eggs
- Afterwards add the previously melted butter, farmer’s cheese, instant vanilla pudding
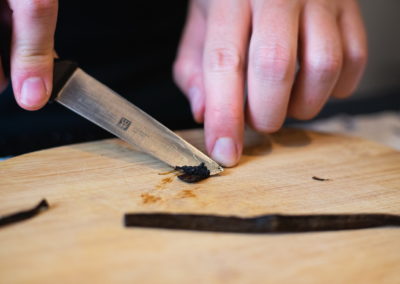
- Scrape the insides of the vanilla bean and also add them to the mixture
- You want to have a homogenous mass so don’t mix too long
- As the last step, pour the whole mixture into the coated springform pan
7. Bake
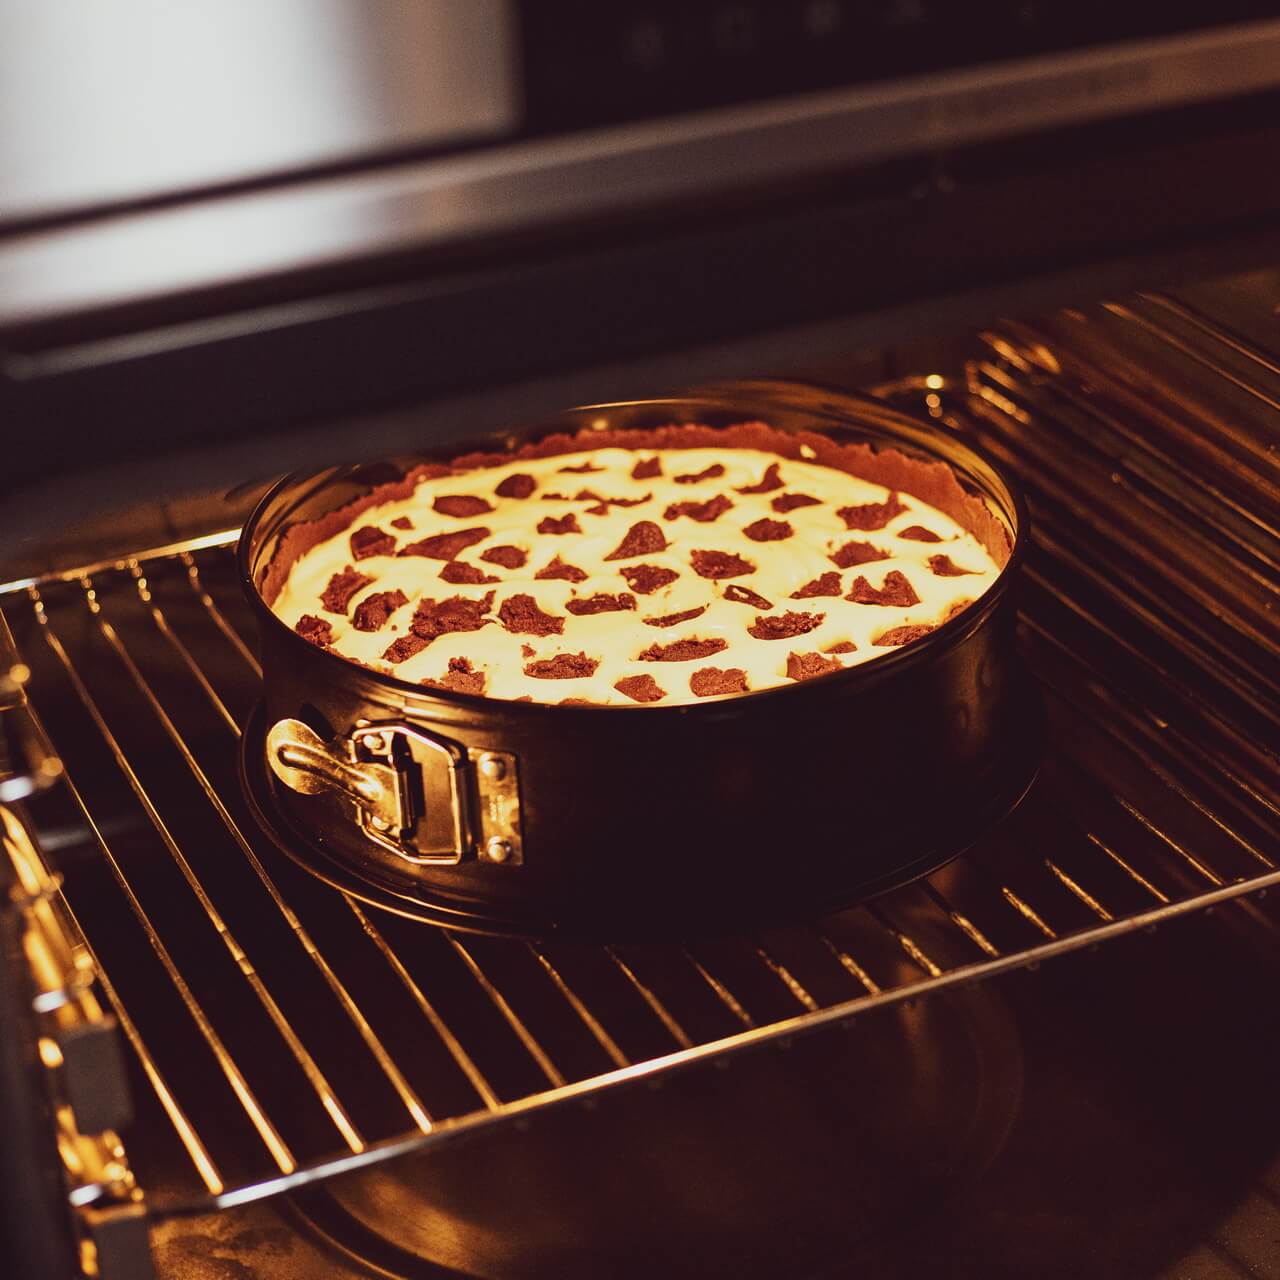
- Put a bowl with about 500 g water on the bottom of the oven and a baking grill in the middle
- Preheat it to 165°C (329°F) for ~20 minutes with the upper and lower heat function
- Add the chocolate cheesecake and bake for 60 minutes
- After 60 minutes of baking turn the oven off and slightlty open the oven door
8. Cool
- For a good result you want to cool down the chocolate cheesecake very slowly
- As mentioned before start the cooling down process by slightly opening the oven door for 60 minutes
- Afterwards place the cake on the counter for further cooling of 3 hours
- As the last step, put it in the fridge and let it chill for at least 4 hours
- I know it is hard but to achieve the perfect result for this chocolate cheesecake aka Russischer Zupfkuchen you should let it chill overnight
Conclusion
Taste
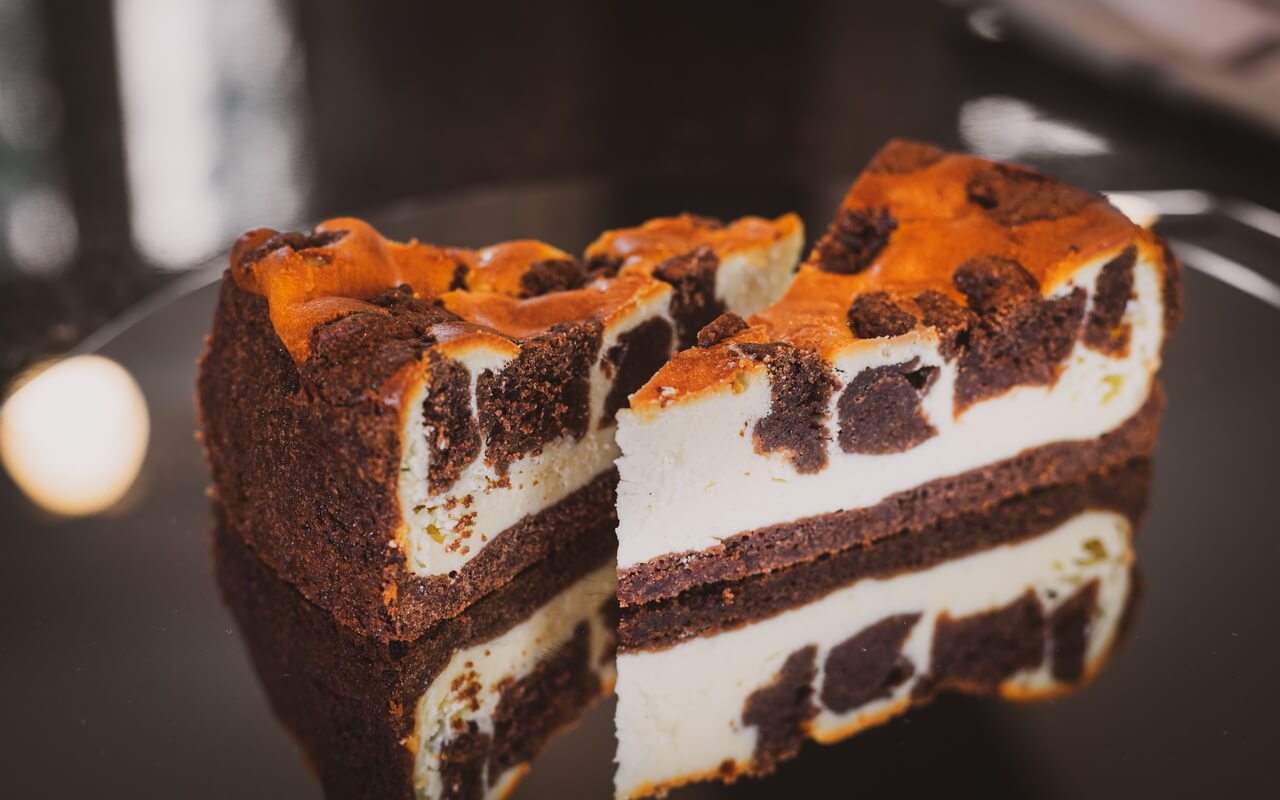
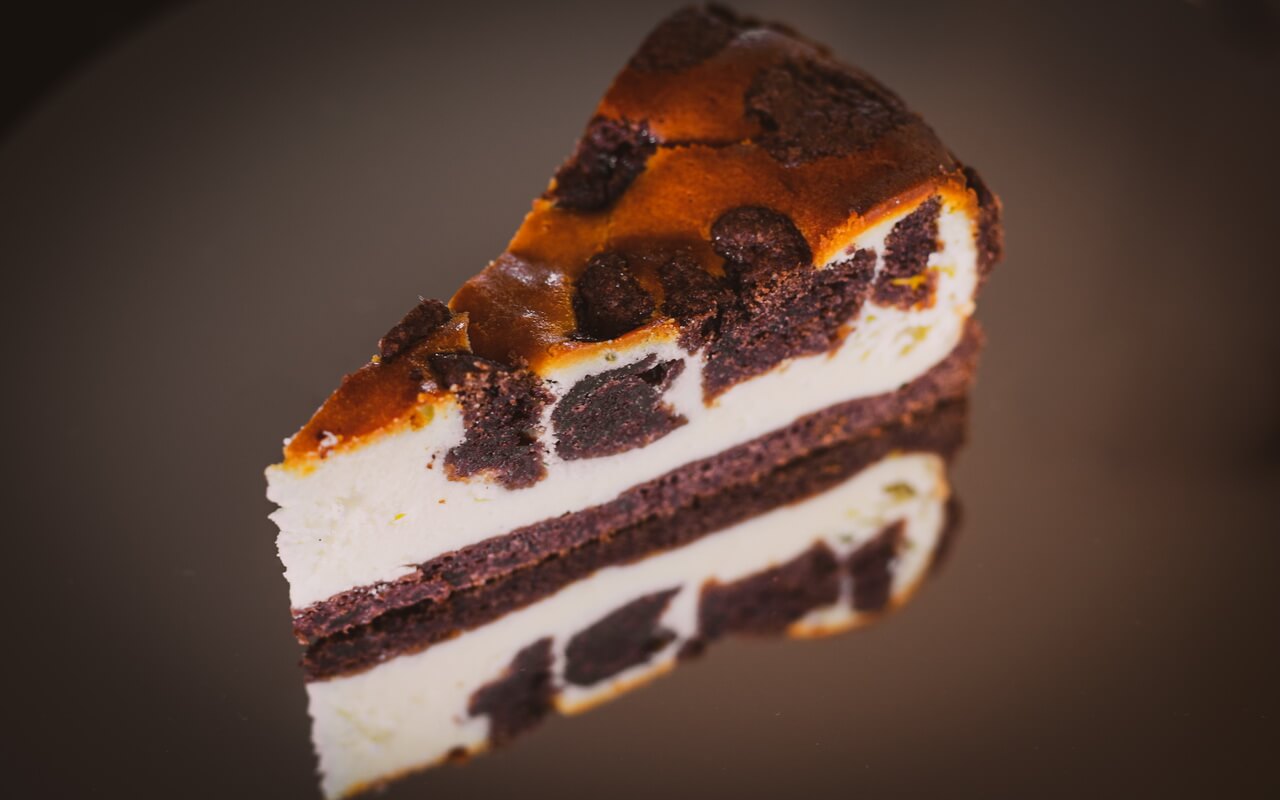
As per our introduction, this cake seems like a wedding between brownies and cheesecake. It has the slightly crunchy and fudgy base which reminds of a brownie and the creamy, soft topping which reminds of a cheesecake.
As we used real vanilla, we reduced the amount of vanilla sugar a bit. You can taste the vanilla but it is not this overwhelming vanilla taste that overshadows all other tastes.
The taste combination of cheesecake with vanilla flavour and chocolate brownies is just so delicious and saturating. You will just love this “Russischer Zupfkuchen” – and so will your friends and family.

Is there a typo in the recipe? The total ingredients lists 350g of butter, but the dough has 150g, and the batter has 250g, totaling 400g.
Good catch, thank you!
Just adjusted the total amount in the beginning to state the correct 400 g of butter.
Will it be fine if it chills for longer than 24 hours, thinking about making this in the morning, and serving it the day after at night?
Yes, that is totally fine!
In my opinion this cake tastes better even better on the 2nd and 3rd day.
For the butter, do you use salted or unsalted?
Always unsalted butter.
You can’t accurately tell how salty your dough will get, if you use salted butter.
So it is better to use unsalted one and add salt on your own 😉
Thank you for the detailed instructions and great working tips. My results have been really good from the first run. I do wonder, however, why you want to cool the chocolate ball in cling wrap in the refrigerator. Chemically I am making a guess that nothing much happens during that time, while it is my (limited) experience that it is easier to work with this mass while it is at room temperature, allowing it to be kneaded up the walls of the baking form, and avoiding sticking to a glass used for spreading it out.
Hey, nice recipe. Do you know how is this cake called in the US? Is it just a chocolate cheesecake?
Unfortunately I don’t know, hence why I called it “Chocolate Cheesecake”.
I only know it under the name “Russischer Zupfkuchen” from Germany / Austria.