Ever wondered how to achieve that perfect, crusty loaf of bread right in your own kitchen? This guide will show you how, with a Dutch oven!
Baking bread at home can be a daunting task, especially when you’re aiming for that bakery-style crust. It’s a common problem many home bakers face. But here’s the solution: baking bread in a Dutch oven.
With years of experience in baking and a passion for sharing knowledge, I’ve mastered the art of baking bread in a Dutch oven. This guide is a culmination of all those years of trial, error, and eventual success.
Ready to embark on a delicious journey? Let’s dive in and start baking!
Table of Contents
- Why Bake Bread in a Dutch Oven?
- Choosing the Right Dutch Oven for Baking Bread
- Maintaining and Caring for Your Dutch Oven
- Step-by-Step Guide to Baking Bread in a Dutch Oven
- Tips for Perfecting Your Dutch Oven Bread
- Where to Buy
- Conclusion
- Frequently Asked Questions (FAQ)
Why Bake Bread in a Dutch Oven?
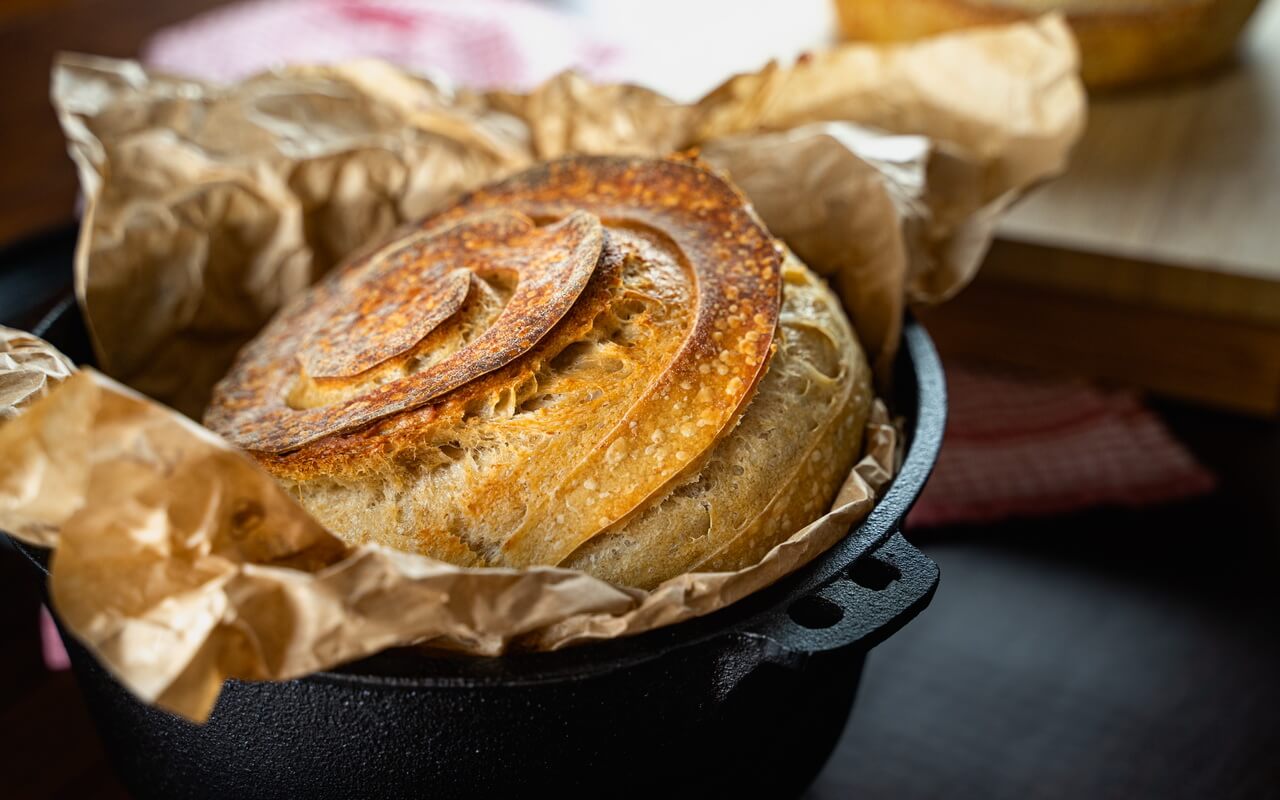
Baking bread in a Dutch oven might seem unconventional, but it’s a game-changer. The Dutch oven, with its heavy lid, traps steam during the baking process. This steam is what gives your bread that delightful, crispy crust that’s often hard to achieve in a home oven. But it’s not just about the crust. The Dutch oven also ensures even heat distribution, resulting in a perfectly baked loaf every time.
Choosing the Right Dutch Oven for Baking Bread
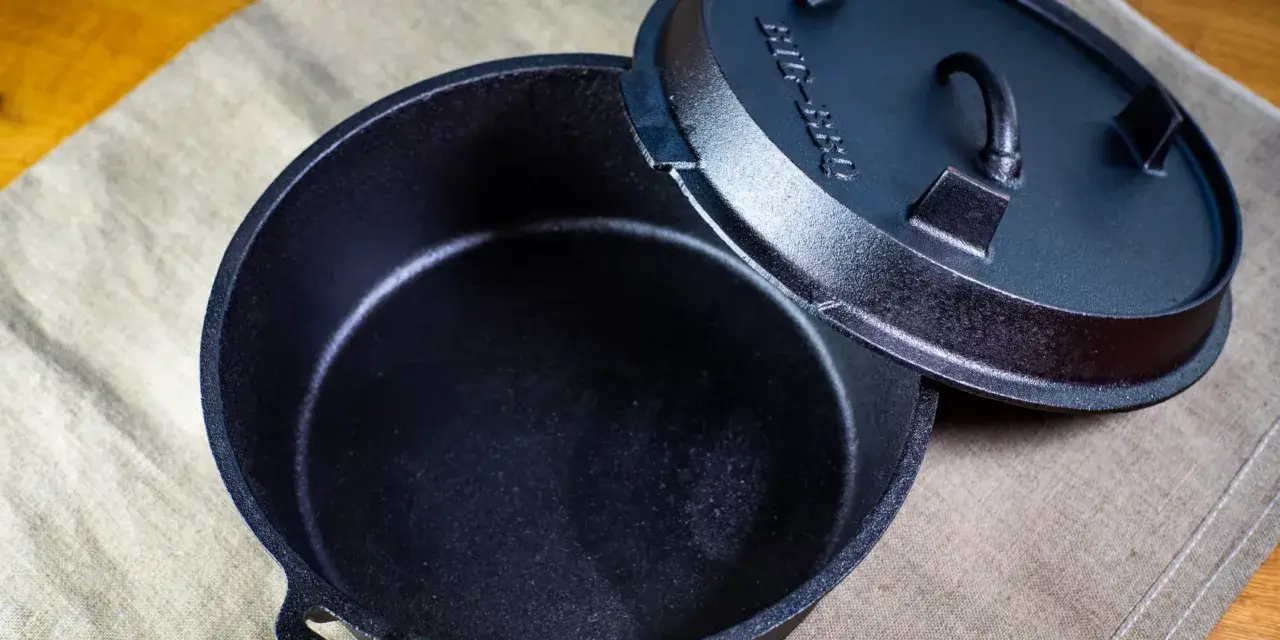
Choosing the right Dutch oven for baking bread is crucial. You’ll want to consider factors like size, material, and shape. Not all Dutch ovens are created equal, and the type you choose can significantly impact the quality of your bread. Here are some of the most common types of Dutch ovens used for baking bread:
- Cast Iron Dutch Ovens: These are the most traditional type of Dutch ovens. They are known for their excellent heat retention and even heating, making them ideal for baking bread. However, they can be quite heavy and require proper care to prevent rusting.
- Enameled Cast Iron Dutch Ovens: These Dutch ovens have a layer of enamel coating, which makes them easier to clean and maintain than traditional cast iron Dutch ovens. They also come in a variety of colors, adding a touch of style to your kitchen. However, they can be more expensive than uncoated cast iron Dutch ovens.
- Ceramic Dutch Ovens: These Dutch ovens are lighter than cast iron Dutch ovens and come in a variety of shapes and sizes. They are great for baking bread, but they may not heat as evenly as cast iron Dutch ovens.
- Stainless Steel Dutch Ovens: These Dutch ovens are lightweight and easy to clean. They are also resistant to rust. However, they may not retain heat as well as cast iron Dutch ovens.
- Aluminum Dutch Ovens: These Dutch ovens are lightweight and heat up quickly. However, they may not retain heat as well as cast iron Dutch ovens, and they can be prone to warping.
The size of the Dutch oven can also affect the shape and size of your loaf. A 5-7 quart Dutch oven is typically a good size for most bread recipes.
Remember, the best Dutch oven for you depends on your specific needs and preferences. Consider factors such as size, weight, maintenance, and price when choosing the right Dutch oven for baking bread.
Maintaining and Caring for Your Dutch Oven
A Dutch oven is a valuable tool in your kitchen, and with proper care, it can last a lifetime. Here are some tips for maintaining and caring for your Dutch oven:
- Cleaning: After each use, clean your Dutch oven with warm water and a soft sponge. Avoid using harsh detergents or metal scrubbers, which can damage the surface.
- Seasoning: Cast iron Dutch ovens need to be seasoned regularly to maintain their non-stick surface. To season your Dutch oven, apply a thin layer of cooking oil to the inside and outside, then bake it in a 350°F oven for about an hour.
- Storing: Store your Dutch oven in a dry place to prevent rusting. If you’re storing it for a long period, place a paper towel inside to absorb any moisture.
- Using: Never heat an empty Dutch oven, as this can cause it to crack. Always add some form of liquid before heating.
- Placement: Place your Dutch oven on a stable, heat-resistant surface while baking. Remember, the Dutch oven will become very hot, so handle it with care.
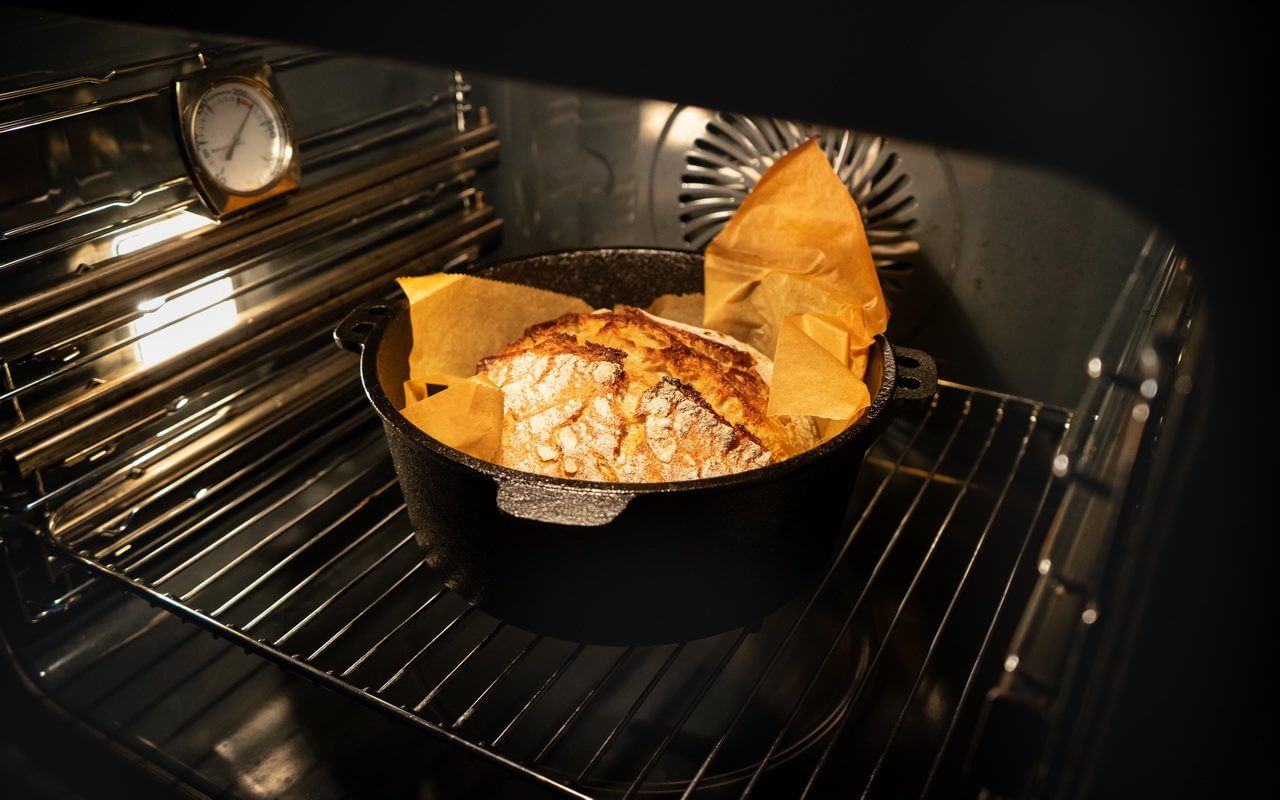
Step-by-Step Guide to Baking Bread in a Dutch Oven
Baking bread in a Dutch oven involves a few key steps. From mixing and kneading the dough to the final bake in the Dutch oven, each step is crucial to achieving that perfect loaf.
For a detailed step-by-step guide, check out these recipes on baking sourdough bread in a Dutch oven or sourdough bread with 60% hydration in a Dutch oven.
Tips for Perfecting Your Dutch Oven Bread
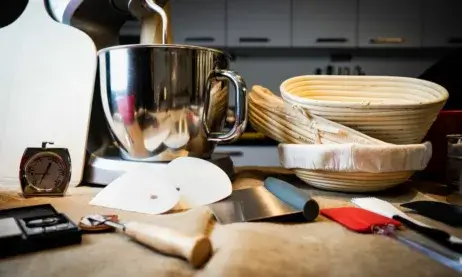
Perfecting your Dutch oven bread takes practice, but here area few tips to help you along the way. First, always preheat your Dutch oven before adding the dough. This helps to create a nice oven spring and a crispy crust.
Second, don’t be afraid to experiment with different types of flour and hydration levels. Different flours can give your bread a unique flavor and texture. If you’re new to bread making, this beginner’s guide is a great place to start.
Third, remember that baking is a science. Keep track of what works and what doesn’t, and don’t be afraid to tweak your recipe as needed. For more advanced bakers, this ultimate guide to sourdough can help you take your bread to the next level.
Where to Buy
Ready to start baking? You’ll need a Dutch oven. You can find a variety of Dutch ovens online on Amazon. Pretty much all are durable, retain heat well, and are perfect for baking bread.
You pick a smaller 5 quart one or a pretty big 9 quart one depending on how big your breads should be:
No products found.
Conclusion
Baking bread in a Dutch oven might seem intimidating at first, but with a little practice, you’ll be turning out bakery-quality loaves in no time. Remember, the key is to understand your Dutch oven, choose the right recipe, and follow the baking process carefully. Happy baking!
Frequently Asked Questions (FAQ)
How long should I keep the lid on the Dutch oven when baking bread?
The lid should be kept on for the first 20-30 minutes of baking. This helps to create steam inside the Dutch oven, which gives the bread its crispy crust. After this, remove the lid to allow the crust to brown.
Should I use parchment paper when baking bread in a Dutch oven?
Yes, using parchment paper can make it easier to transfer the dough into and out of the Dutch oven. It also helps to prevent the bottom of the bread from burning.
What is the advantage of baking bread in a Dutch oven?
Baking bread in a Dutch oven can help to achieve a crispy crust and a soft, fluffy interior. The Dutch oven traps steam during baking, which is what gives the bread its crust.
Does the size of the Dutch oven matter for baking bread?
Yes, the size of the Dutch oven can affect the shape and size of your loaf. A 5-7 quart Dutch oven is typically a good size for most bread recipes.
How to prevent the bottom of loaves from burning in a Dutch oven?
Using parchment paper can help to prevent the bottom of the bread from burning. Also, make sure to preheat the Dutch oven before adding the dough.
Is bread better in a Dutch oven?
Many bakers find that bread baked in a Dutch oven has a superior crust and texture compared to bread baked in a regular oven.
Can you bake bread in a cast iron Dutch oven?
Yes, cast iron Dutch ovens are excellent for baking bread. They retain heat well and can create the steamy environment needed for a crispy crust.

