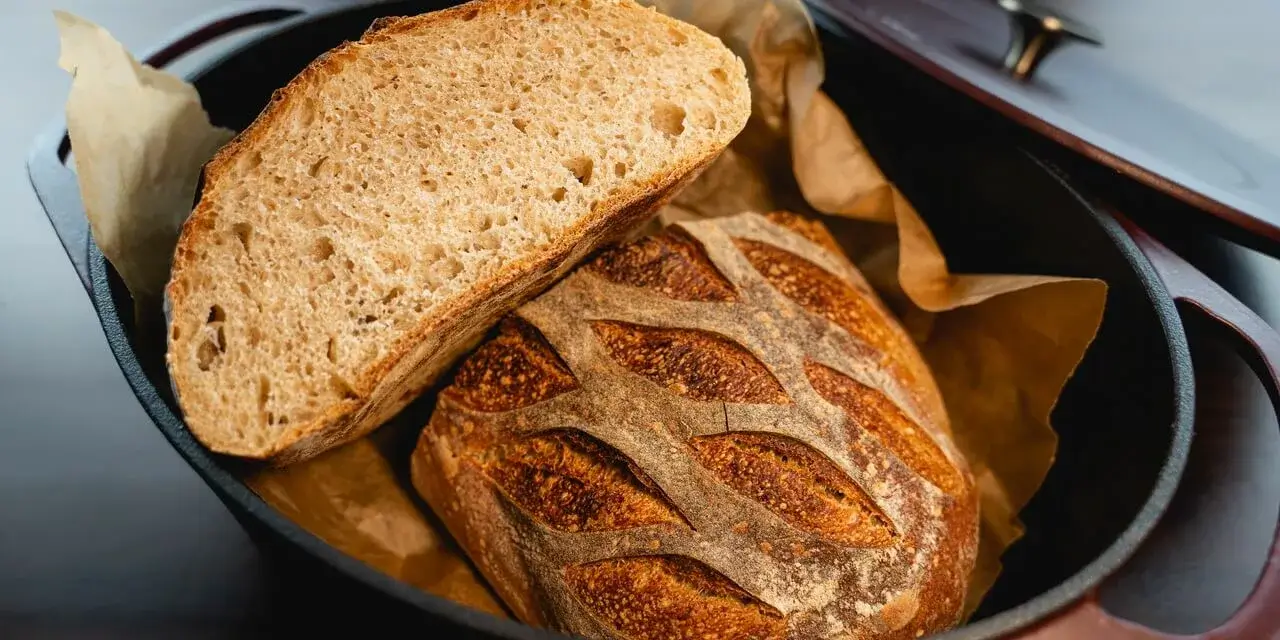
Welcome to the delightful world of homemade bread! Are you ready to transform simple ingredients into a warm, aromatic loaf?
Baking bread at home can seem daunting, especially for beginners. But fear not, this guide is your perfect companion to navigate the art of bread making. From understanding the ingredients to mastering the techniques, we’ve got you covered.
I’m Ryu, your guide on this baking journey. With years of experience in baking and a passion for sharing knowledge, I’ve crafted this guide to make bread making an enjoyable and rewarding experience for you.
So, are you ready to roll up your sleeves and create your first loaf? Let’s dive in and start our journey towards the perfect homemade bread!
Table of Contents
- Understanding the Ingredients
- Types of Flour
- Yeast and Leavening Agents
- Salt and Sugar
- Equipment and Tools Needed
- Basic Bread Making Techniques
- Mixing the Dough
- Kneading and Gluten Development
- Proofing the Dough
- Shaping and Final Proofing
- Baking the Bread
- Common Bread Varieties for Beginners
- White Bread
- Whole Wheat Bread
- Multigrain Bread
- Troubleshooting Common Bread Making Issues
- Tips for Successful Bread Making
- Exploring Advanced Bread Making Techniques
- Health Benefits of Homemade Bread
- Storing and Preserving Bread
- Conclusion
- Frequently Asked Questions (FAQ)
Understanding the Ingredients
Before you start baking bread, it’s important to familiarize yourself with the main ingredients and their roles in the process.
Types of Flour
Flour is the backbone of bread making. There are various types of flour available, each with its own unique characteristics. Common options include all-purpose flour, bread flour, whole wheat flour, and rye flour. Understanding the differences between these flours will help you choose the right one for your desired bread texture.
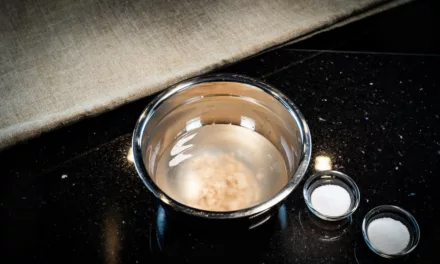
Yeast and Leavening Agents
Yeast is a crucial ingredient in bread making as it helps the dough rise and gives the bread its fluffy texture. There are different types of yeast available, such as active dry yeast and instant yeast. Additionally, you can explore natural leavening agents like sourdough starter, which adds complexity and flavor to your bread.
Salt and Sugar
Salt and sugar play important roles in bread making. It helps control the fermentation process, enhances flavor, and helps strengthen the gluten structure. Sugar adds sweetness and aids in yeast activation.
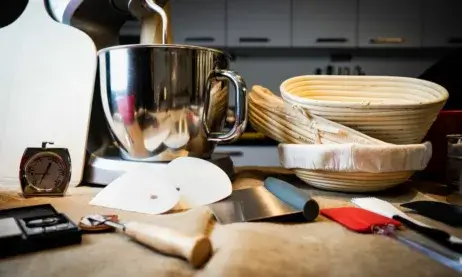
Equipment and Tools Needed
To get started with bread making, you’ll need a few essential tools and equipment. These include:
- Mixing bowls
- Measuring cups and spoons
- Dough scraper
- Wooden spoon or dough whisk
- Kitchen scale
- Baking pans or bread loaf tins
- Oven thermometer
- Cooling rack
Having the right tools on hand will make the bread making process smoother and more enjoyable.
Basic Bread Making Techniques
Mastering the basic bread making techniques is the foundation for successful baking. Let’s explore each step of the process.
Mixing the Dough
Start by combining the flour, yeast, salt, and sugar in a mixing bowl. Gradually add water or other liquid ingredients while stirring to form a shaggy dough.
Kneading and Gluten Development
Kneading is the process of working the dough to develop gluten, which gives the bread structure and elasticity. Place the dough on a lightly floured surface and begin kneading by pushing the dough away from you with the heel of your hand. Fold the dough over and repeat this motion, gradually incorporating more flour if needed. Knead the dough for about 10-15 minutes until it becomes smooth and elastic.
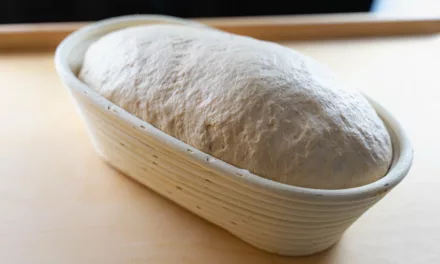
Proofing the Dough
After kneading, the dough needs time to rise and ferment. Place the dough in a greased bowl, cover it with a clean kitchen towel or plastic wrap, and let it rest in a warm, draft-free area. The dough will double in size during this proofing period, usually taking around 1-2 hours.
Shaping and Final Proofing
Once the dough has proofed, gently punch it down to release any air bubbles. Transfer it to a lightly floured surface and shape it according to the desired bread type. This can include traditional loaf shapes, round boules, or even decorative braids. Place the shaped dough on a baking pan or bread loaf tin, cover it, and allow it to undergo a final proofing. This typically takes about 30-60 minutes.
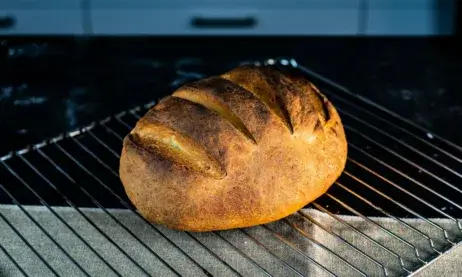
Baking the Bread
Preheat your oven to the recommended temperature for the type of bread you are making. Before placing the bread in the oven, you can make decorative slashes on the surface with a sharp knife or razor blade. This helps control the bread’s expansion during baking. Bake the bread for the specified time, until it turns golden brown and produces a hollow sound when tapped on the bottom.
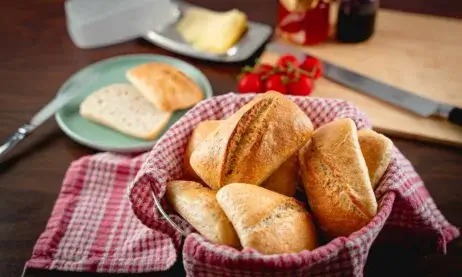
Common Bread Varieties for Beginners
As a beginner, it’s helpful to start with some simple and popular bread varieties. Here are a few options to consider:
White Bread
White bread is a classic choice that’s loved by many. Its soft and tender texture makes it perfect for sandwiches or toast.
Whole Wheat Bread
Whole wheat bread offers a heartier and more nutritious alternative to white bread. It contains the bran and germ of the wheat, providing additional fiber and vitamins.
Multigrain Bread
Multigrain bread incorporates a variety of grains and seeds, such as oats, flaxseeds, and sunflower seeds. It offers a delightful texture and a nutty flavor.
Troubleshooting Common Bread Making Issues
While bread making can be a delightful process, it’s not uncommon to encounter some challenges along the way. Here are a few troubleshooting tips for common issues:
- Dense bread: Insufficient kneading or not allowing enough time for the dough to rise properly.
- Bread collapses: Over-proofing the dough or using too much yeast.
- Tough crust: Insufficient steam during baking or baking at too high a temperature.
- Uneven browning: Uneven heat distribution in the oven or placing the bread too close to the heat source.
Tips for Successful Bread Making
To improve your bread making skills, consider these helpful tips:
- Use fresh ingredients and measure them accurately.
- Maintain the ideal temperature for yeast activation and dough proofing.
- Experiment with different flour types and additions like herbs, cheese, or dried fruits.
- Keep a baking journal to record your recipes, techniques, and results for future reference.
- Don’t be discouraged by failures. Embrace them as learning opportunities.
Exploring Advanced Bread Making Techniques
- Gluten-Free Bread Making: Using alternative flours like rice flour, almond flour, or tapioca flour to create delicious gluten-free bread options.
- Artisan Bread Making: Embracing the artistry of bread making by focusing on hand-shaped loaves, unique scoring patterns, and specialty ingredients.
- Sourdough Bread Making: Delving into the world of natural fermentation by creating and maintaining a sourdough starter to produce tangy and flavorful bread.
Health Benefits of Homemade Bread
Baking your own bread provides several health benefits. Here are a few reasons why homemade bread is a healthier choice:
- Control over Ingredients: You have complete control over the ingredients used, allowing you to avoid artificial additives, preservatives, or excessive sugar.
- Nutritional Value: Homemade bread can be packed with nutrients and fiber, especially when using whole grain flours and incorporating seeds and grains.
- Reduced Sodium Intake: By adjusting the salt content in your bread, you can manage your sodium intake more effectively.
Storing and Preserving Bread
Proper storage is essential to maintain the freshness and texture of your homemade bread. Here are some guidelines:
- Cool the bread completely before storing it to prevent condensation and mold growth.
- Store bread in a paper bag or bread box to maintain airflow and prevent it from becoming too soft or soggy.
- Freeze any excess bread slices or loaves in airtight containers or freezer bags for longer-term storage.
Conclusion
Bread making is a fulfilling journey that allows you to create delicious and wholesome loaves right in your own kitchen. By understanding the ingredients, mastering basic techniques, and exploring different variations, you can confidently embark on your bread-making adventures. Remember to embrace the process, learn from any challenges you encounter, and enjoy the delightful aroma and taste of freshly baked bread.
Frequently Asked Questions (FAQ)
Can I use instant yeast instead of active dry yeast?
Yes, instant yeast can be used as a substitute for active dry yeast. However, you may need to make slight adjustments to the recipe, such as reducing the amount or skipping the step of proofing the yeast.
Can I mix different types of flour when making bread?
Absolutely! Mixing different types of flour can add complexity and flavor to your bread. Experiment with combinations like whole wheat and rye flour or incorporate a small amount of spelt flour for variation.
How can I tell if my bread is fully baked?
A fully baked bread will have a golden brown crust and produce a hollow sound when tapped on the bottom. You can also use an instant-read thermometer to check if the internal temperature reaches around 190-200°F (88-93°C).
Is it necessary to use a bread machine for bread making?
No, a bread machine is not necessary for bread making. While it can be convenient, you can achieve excellent results by kneading and baking bread manually. The process allows you to have more control over the texture and shape of the bread.
Can I make bread without yeast?
Yes, there are yeast-free bread recipes available that use alternative leavening agents like baking powder or baking soda. These types of bread may have a different texture and flavor compared to yeast-risen bread.


