Ready to elevate your baking game? This guide reveals the secret tool every baker swears by – the flour sifter.
Baking is an art requiring precision. Lumpy flour can lead to dense, unevenly cooked goods. The solution? A flour sifter, designed to aerate your flour, eliminate lumps, and ensure a smooth texture every time.
As a seasoned baker, I spent countless hours in the kitchen experimenting to bring you the best advice.
Ready to discover the magic of flour sifters and transform your baking experience? Keep reading to uncover the secrets of this must-have baking tool.
Table of Contents
- What is a Flour Sifter?
- The Importance of Using a Flour Sifter
- Types of Flour Sifters
- Handheld Flour Sifters
- Rotary Flour Sifters
- Electric Flour Sifters
- How to Use a Flour Sifter Properly
- Step 1: Prepare the Sifter and Flour
- Step 2: Sifting the Flour
- Step 3: Cleaning and Maintenance
- Benefits of Using a Flour Sifter
- Choosing the Right Flour Sifter for Your Needs
- Consider the Material
- Size and Capacity
- Ease of Use and Cleaning
- Customer Reviews and Ratings
- Tips for Maintaining Your Flour Sifter
- Alternative Uses for a Flour Sifter
- Where to Buy a Flour Sifter
- Conclusion
- Frequently Asked Questions (FAQ)
What is a Flour Sifter?
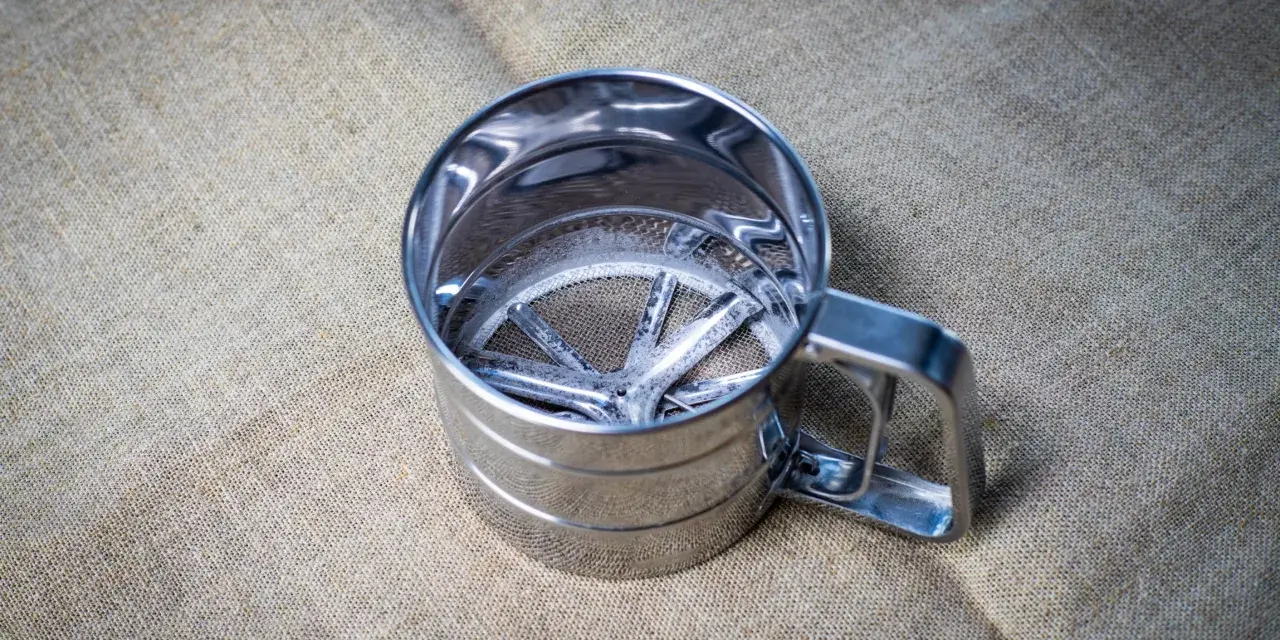
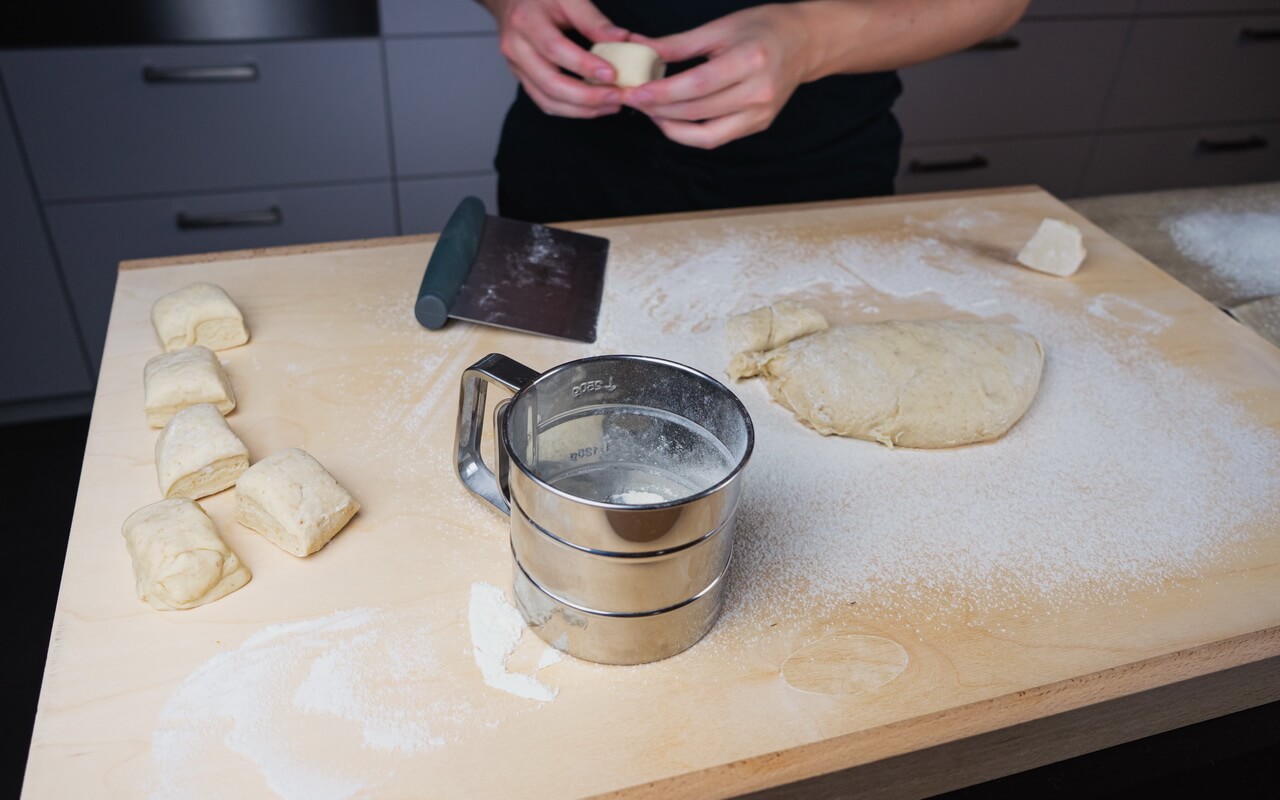
A flour sifter is a kitchen tool designed to break up clumps in flour, remove impurities, and aerate the flour for a lighter and more uniform texture. It consists of a container with a mesh screen or fine wires that allow the flour to pass through while filtering out larger particles. Sifting flour not only helps remove lumps but also adds air, resulting in a smoother batter or dough.
The Importance of Using a Flour Sifter
Using a flour sifter is crucial for several reasons. Firstly, it ensures that your flour is free from lumps, which can negatively impact the texture of your baked goods. It also helps remove any unwanted debris or impurities that may have found their way into the flour during packaging or storage.
Secondly, sifting flour incorporates air into the mixture, making it lighter and fluffier. This aeration process is particularly important for delicate recipes, such as cakes and pastries, as it helps achieve the desired softness and rise.
Lastly, sifting flour can help distribute ingredients evenly, ensuring uniformity and consistency in your final product. This is especially vital for recipes that require precise measurements and even blending.
Types of Flour Sifters
There are several types of flour sifters available in the market, each with its own unique features and benefits. Let’s explore the most common ones:
Handheld Flour Sifters
Handheld flour sifters are the traditional choice and are operated manually. They usually consist of a container with a mesh screen and a handle or squeeze mechanism. These sifters are compact, easy to use, and suitable for small baking projects.
Rotary Flour Sifters
Rotary flour sifters are operated by rotating a crank handle, which activates a mesh screen that sifts the flour. These sifters are more efficient and can handle larger quantities of flour. They are great for bakers who frequently work with larger batches or need a faster sifting process.
Electric Flour Sifters
Electric flour sifters are a modern and convenient option for busy bakers. These sifters use electricity to power a motor that automatically sifts the flour. They are efficient, time-saving, and often come with adjustable settings for different levels of sifting. Electric sifters are ideal for professional bakers or those who frequently bake in larger quantities.
How to Use a Flour Sifter Properly
Now that we understand the importance of using a flour sifter let’s explore how to use one correctly. Follow these simple steps for optimal results:
Step 1: Prepare the Sifter and Flour
Start by ensuring your flour sifter is clean and dry. Remove any dust or debris from previous uses. Next, measure the required amount of flour for your recipe and place it into the sifter’s container.
Step 2: Sifting the Flour
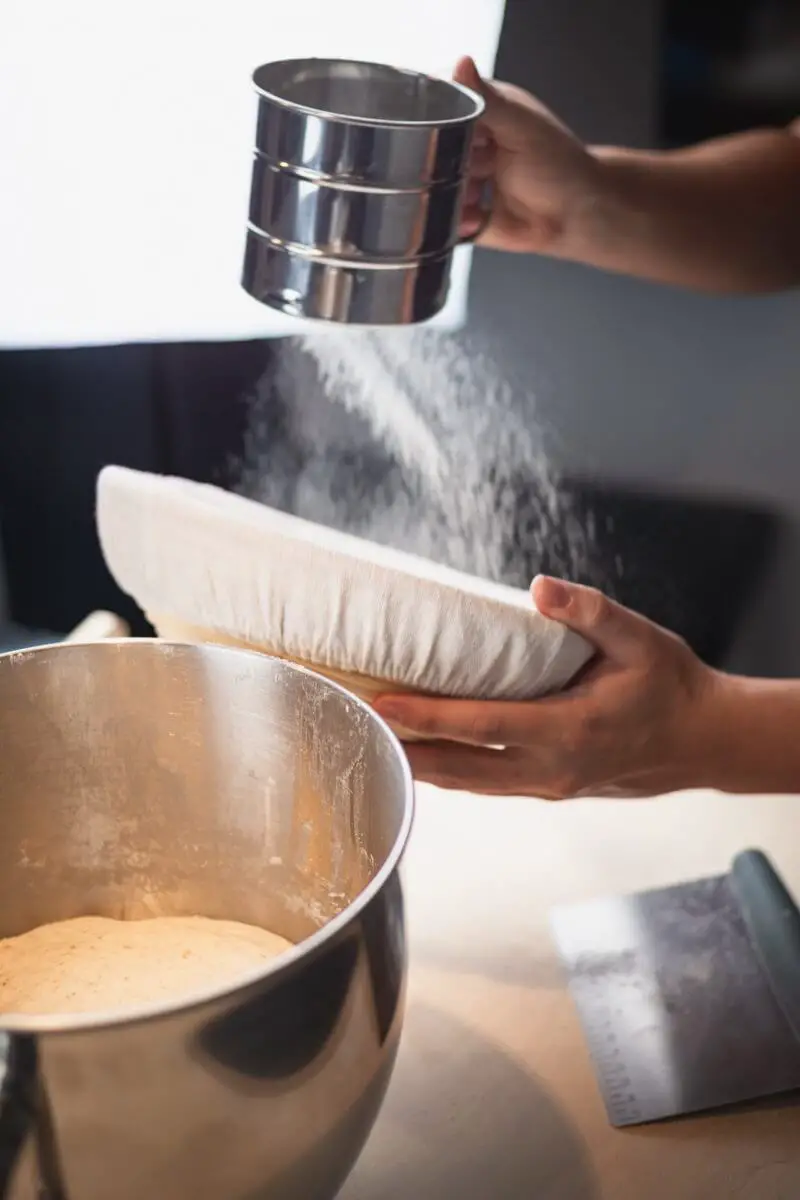
Hold the sifter over a clean bowl or directly onto your mixing bowl or recipe ingredients. Gently turn the crank or squeeze the handle, allowing the flour to pass through the mesh screen. Move the sifter in a circular motion to ensure all the flour is sifted. Continue until all the flour has passed through the mesh, leaving behind any lumps or impurities.
Step 3: Cleaning and Maintenance
After using the flour sifter, clean it thoroughly. Depending on the type of sifter, disassemble the parts if necessary and wash them with warm soapy water. Ensure all residue is removed, rinse well, and let it dry completely before storing. Regular maintenance and cleaning will prolong the lifespan of your flour sifter and keep it in optimal condition.
Benefits of Using a Flour Sifter
Using a flour sifter offers numerous benefits that can significantly enhance your baking experience:
- Improved Texture: Sifting flour removes lumps and creates a smoother texture, resulting in lighter and fluffier baked goods.
- Even Distribution: Sifting flour helps distribute ingredients evenly, ensuring consistent flavors and textures throughout your recipe.
- Aeration: The sifting process adds air to the flour, contributing to a better rise and a more delicate crumb in your baked treats.
- Removal of Impurities: Flour sifters filter out impurities like debris or unwanted particles, ensuring a clean and pure flour for your recipes.
- Enhanced Mixing: Sifted flour blends more easily with other ingredients, leading to a better overall mix and minimizing the risk of overmixing.
Choosing the Right Flour Sifter for Your Needs
When selecting a flour sifter, consider the following factors to ensure it meets your specific requirements:
Consider the Material
Flour sifters are commonly made of stainless steel, aluminum, or plastic. Stainless steel sifters are durable and easy to clean, while aluminum ones are lightweight and conduct heat evenly. Plastic sifters are affordable but may not be as long-lasting.
Size and Capacity
Consider the amount of flour you typically work with. Choose a sifter with a suitable capacity to accommodate your baking needs. Larger sifters are more efficient for big batches, while smaller ones are ideal for small-scale baking.
Ease of Use and Cleaning
Opt for a flour sifter that is user-friendly with comfortable handles and easy assembly. Look for sifters that are dishwasher safe or have detachable parts for effortless cleaning.
Customer Reviews and Ratings
Read customer reviews and ratings to gain insights into the performance and durability of different flour sifters. This can help you make an informed decision and choose a reliable
and high-quality product.
Tips for Maintaining Your Flour Sifter
To ensure your flour sifter remains in excellent condition, follow these maintenance tips:
- Clean your sifter thoroughly after each use, removing any leftover flour or residue.
- Store your flour sifter in a dry place to prevent moisture build-up and potential rusting.
- Inspect the mesh screen regularly and replace it if it becomes damaged or worn out.
- Lubricate any moving parts as recommended by the manufacturer to maintain smooth operation.
- Follow the manufacturer’s instructions for disassembly, cleaning, and reassembly to avoid damaging the sifter.
Alternative Uses for a Flour Sifter
Beyond its primary purpose, a flour sifter can be versatile in the kitchen. Consider these alternative uses:
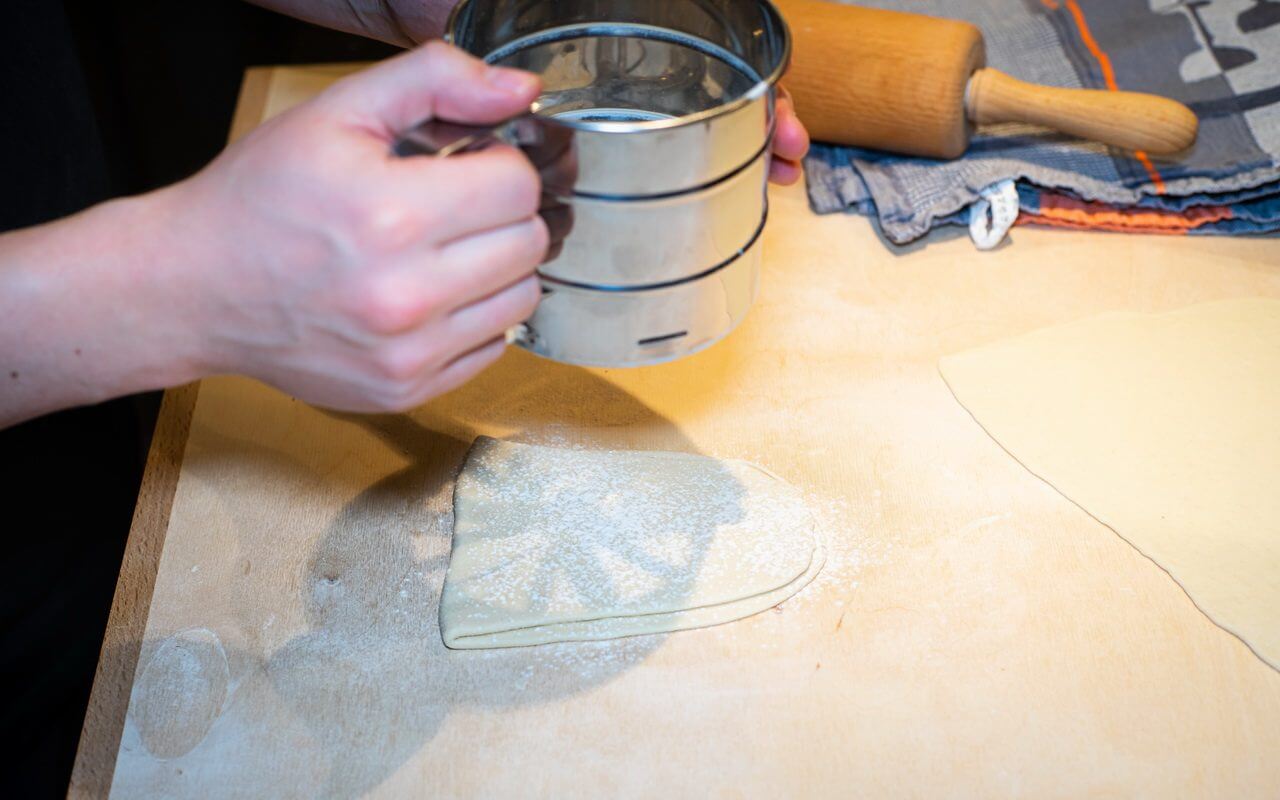
- Cocoa or Powdered Sugar Dusting: Use a flour sifter to evenly dust cocoa powder or powdered sugar over cakes, cookies, or desserts for an elegant finishing touch.
- Straining Homemade Stocks or Soups: If you need to strain small particles from homemade stocks or soups, a flour sifter can come in handy.
- Sprinkling Spices: Fill your sifter with ground spices like cinnamon or nutmeg and gently shake it over desserts, hot beverages, or savory dishes for an evenly distributed sprinkle.
- Infusing Tea or Herbs: Place tea leaves or dried herbs in a flour sifter and submerge it in a cup of hot water to create a DIY tea infuser.
- Removing Clumps from Dry Mixes: When working with pancake mixes, powdered drink mixes, or similar dry mixes, use a flour sifter to remove any clumps before mixing with liquids.
Where to Buy a Flour Sifter
Flour sifters are essential for achieving perfect texture in your baked goods. You can purchase a flour sifter online from Amazon. Look for durable materials and consider the size that suits your baking needs.
For example one of these two will be perfect:
Conclusion
In the world of baking, a flour sifter is a magical tool that can transform your creations. From ensuring a lump-free and pure flour to providing aeration and enhancing texture, a flour sifter is an essential companion for every baker. Choose the right type of sifter, master its usage techniques, and enjoy the benefits of perfectly sifted flour in your delicious baked goods.
Frequently Asked Questions (FAQ)
How often should I sift flour for baking?
It is generally recommended to sift flour for baking purposes whenever a recipe specifically calls for it or when you notice the flour is clumpy or compacted. Sifting helps ensure consistent results and a smooth batter or dough.
Can I use a sieve instead of a flour sifter?
Yes, a sieve can serve as a substitute for a flour sifter. It performs a similar function of breaking up lumps and removing impurities. However, flour sifters are specifically designed for the task and may offer additional features like ergonomic handles or multiple mesh sizes for more precise sifting.
Can I sift other dry ingredients besides flour?
Yes, you can sift other dry ingredients like cocoa powder, powdered sugar, baking powder, or spices to remove clumps and ensure even distribution in your recipes.
Is it necessary to sift flour for every baking recipe?
While it’s not mandatory for every recipe, sifting flour can significantly improve the texture and consistency of your baked goods. It’s particularly important for delicate recipes like cakes, pastries, and fine-textured desserts.
Can I reuse leftover flour from the sifter?
Yes, if there is any flour left in the sifter after sifting, you can reuse it in your baking. However, ensure that it is still fresh and free from any contaminants or moisture that may have accumulated during the sifting process.

