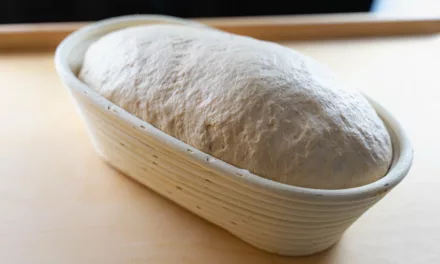
As the name already tells you, this simple white bread is easy to make. This recipe is also a guide that contains lots of explanations and pictures to guide you through the process step by step.
Additionally, you only need very few ingredients and baking tools that are probably available in your kitchen anyway. It’s a good way to do the first steps towards your very first own bread… and it really doesn’t take long! So let us grab some flour, water, salt, sugar, yeast and start baking this simple white bread 😉
Things to know before you start
Time Schedule
| Steps | Work time | Waiting time |
| Mix | ~20 minutes | 10 minutes |
| Bulk Fermentation | – | 1 hour |
| Stretch & Fold | ~10 minutes | – |
| Shape | ~5 minutes | – |
| Proof and Preheat Oven | – | 45 minutes |
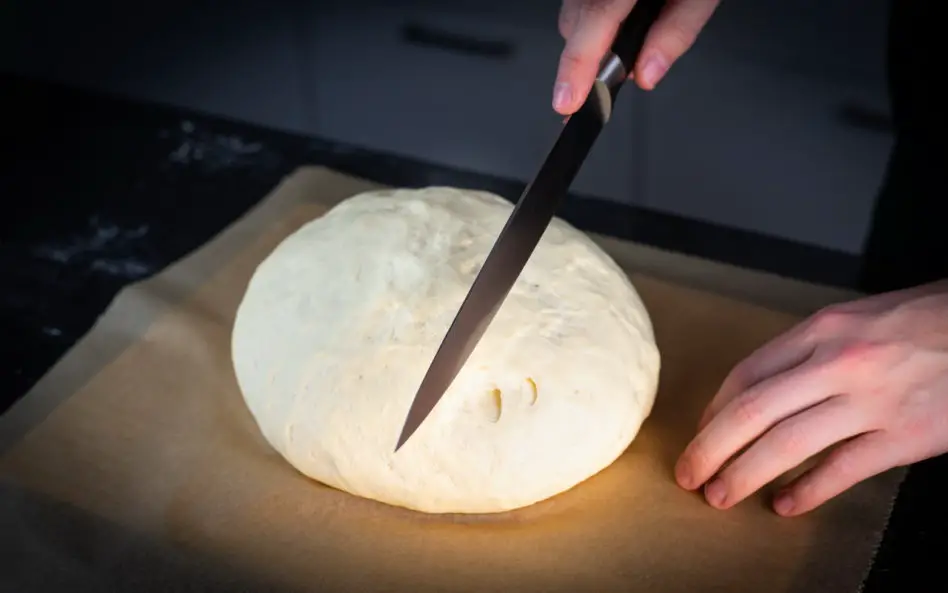
| Score | ~5 minutes | – |
| Bake | ~5 minutes | 45 minutes |
| Cool | – | 1 hour |
You will be able to enjoy your bread in under 4 hours.
Total ingredients
| Weight | Ingredient |
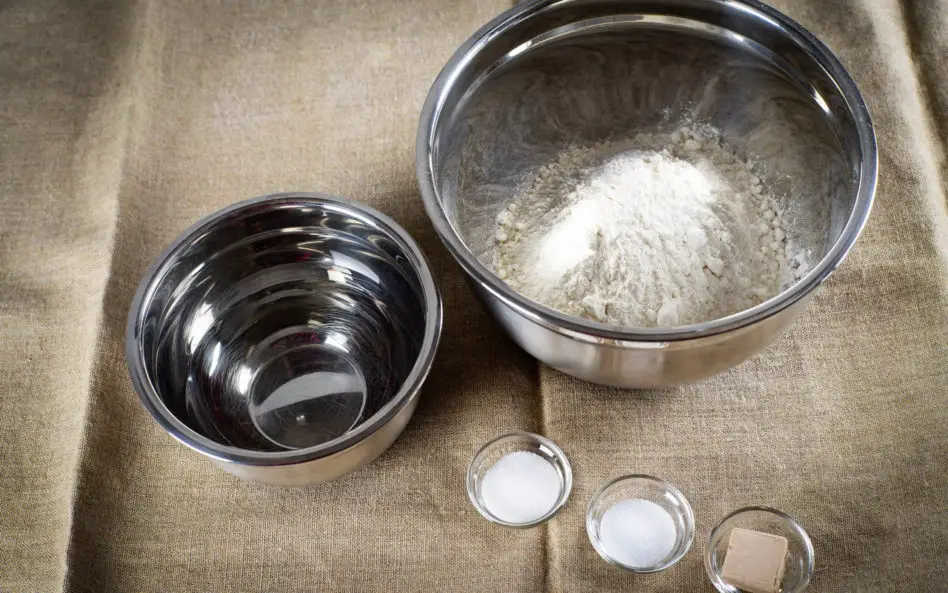
| 600 g | All-purpose flour |
| 20 g | Salt |
| 15 g | Sugar |
| 21 g | Yeast – Fresh |
| 330 g | Water |
You will have a dough of about 986 g in total.
Difficulty
A very simple recipe, perfectly suited for beginners that never baked a bread before.
Baking tools
For this recipe, we only used tools that you probably already have in your kitchen. So make sure to have the following:
- Scale
- Large bowl
- Small bowl
- Clean kitchen towel
- Spoon
- Sharp knife
- Board (carving board / cutting board / pizza peel)
- Parchment paper
- Baking plate (the thicker, the better)
- Spray bottle
Of course, if you have some of our mentioned baking tools they could lead to a slightly better result.
Steps
1. Mix
| Weight | Ingredient |
| 20 g | Salt |
| 15 g | Sugar |
| 21 g | Yeast – Fresh |
| 330 g | Water – Room temperature |
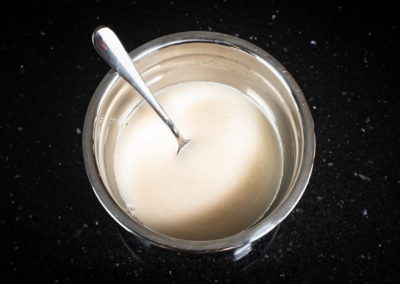
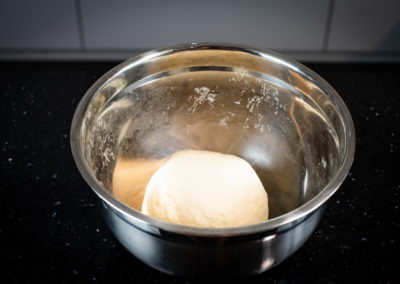
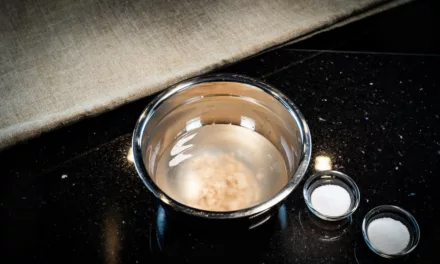
- Pour water into a small bowl
- Add salt, sugar and crumbled yeast
- Stir shortly every 2 to 3 minutes for 10 minutes until dissolved
| Weight | Ingredient |
| 600 g | All-purpose flour |
| – | Dissolved salt, sugar, yeast and water mixture |
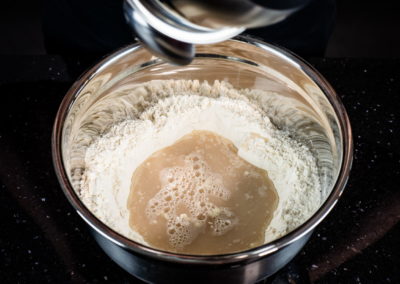
- Add all-purpose flour into a large bowl
- Pour the dissolved salt, sugar, yeast and water mixture on top of it
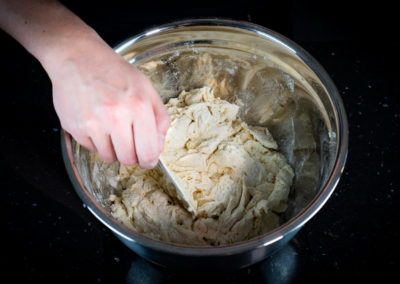
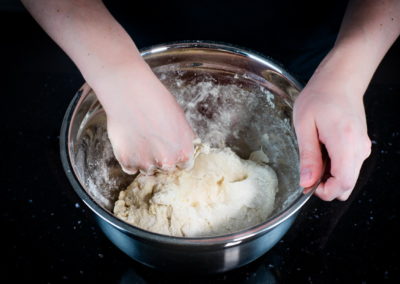
- Mix everything together by hand for about 8 to 10 minutes
- The dough should not stick to the sides of the bowl and have a smooth consistency
2. Bulk Fermentation
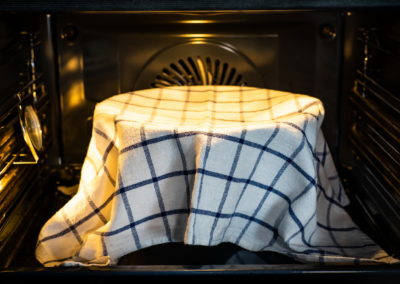
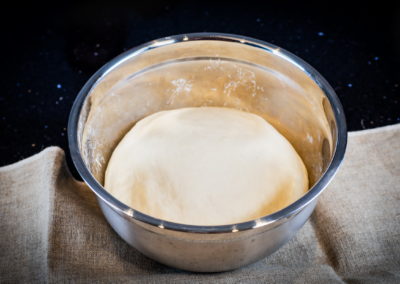
- Put a clean towel on top of the bowl and let it rest for 1 hour at 38°C (100°F)
- Best way to get the desired temperature of 38°C (100°F) is by putting the bowl with the dough in the oven and turning it on for about 1 minute on 40°C (104°F)
- The dough should double in size or even more
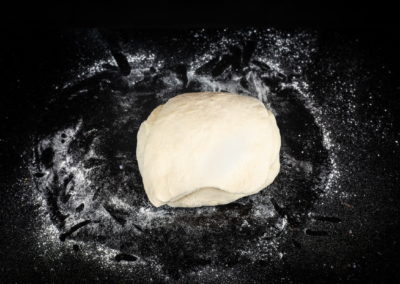
3. Stretch & Fold
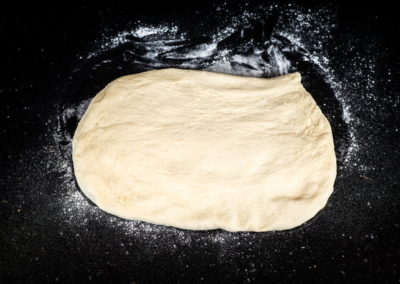
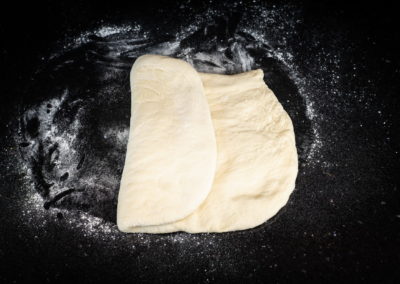
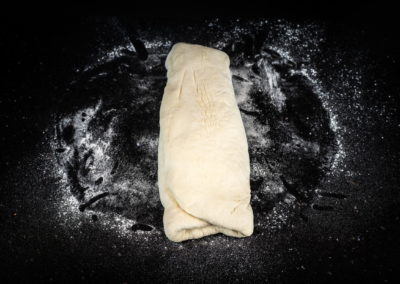
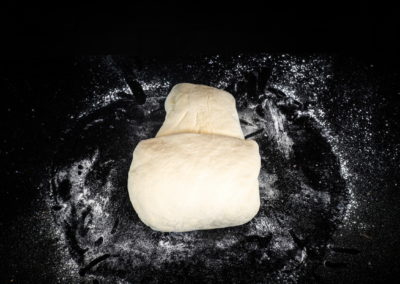
- Now you have to stretch and fold the dough a total of 4 to 6 times
- Here is a small guide on how it is done:
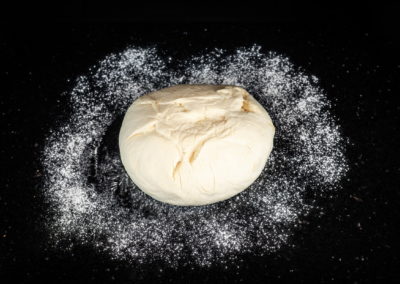
- Place the dough on a well-floured surface
- Spread it out to a rectangle
- Fold it in thirds like a letter and dust the loose flour off of it after each fold
- Rotate it 90 degrees, fold it up again as before and dust the loose flour off of it after each fold
4. Shape
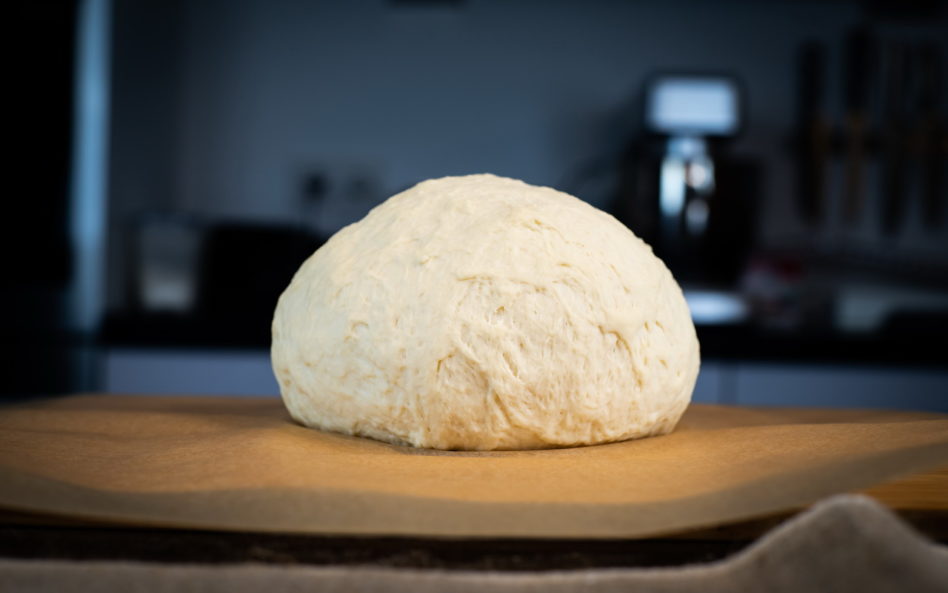
- We want to shape our dough into a round ball
- An easy way to do this is the following:
- Place the dough on a very lightly floured surface
- Fold the edges of the dough under to create a smooth outer skin on top of the dough ball
- Place the dough ball seam-side down on a not floured surface
- Put both of your hands with your ball of the hand on the surface behind the dough ball
- Pull your hands just a bit towards you very slowly while keeping your ball of the hand on the surface
- Turn the dough ball 180° and do the same thing again
- Repeat step 5 and 6 about 4 to 6 more times until you get a nice tight surface on top and the sides of the dough ball
6. Proof & Preheat Oven
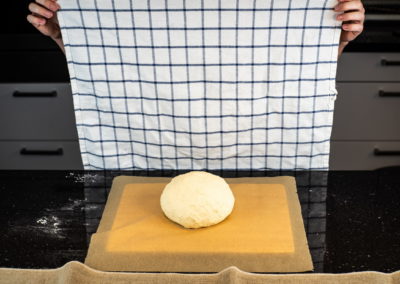
- Cover your board (carving board / cutting board / pizza peel) with parchment paper
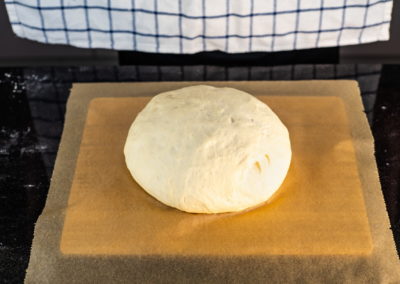
- Place your previously shaped dough seam-side down in the middle of the parchment paper
- Cover it with a towel
- Let it proof for 45 minutes
- The dough should double in size or more during that time
- Put a baking plate in the lower third of the oven
- Preheat to 250°C (482°F) with the upper and lower heat function
- Most ovens need about 45 minutes to reach these temperatures and we need good oven spring so our dough can rise while baking
8. Bake
- The oven should already be preheated to 250°C (482°F) by using the upper and lower heat function
- Fill up a spray bottle with warm water
- Put the loaf in the oven by sliding it down together with the parchment paper on the baking plate
- Quickly grab the spray bottle, spray a good amount of water on top of the loaf and inside the oven and shut the door
- Bake for 45 minutes
- After 10 minutes lower the temperature to 220°C (428°F)
9. Cool
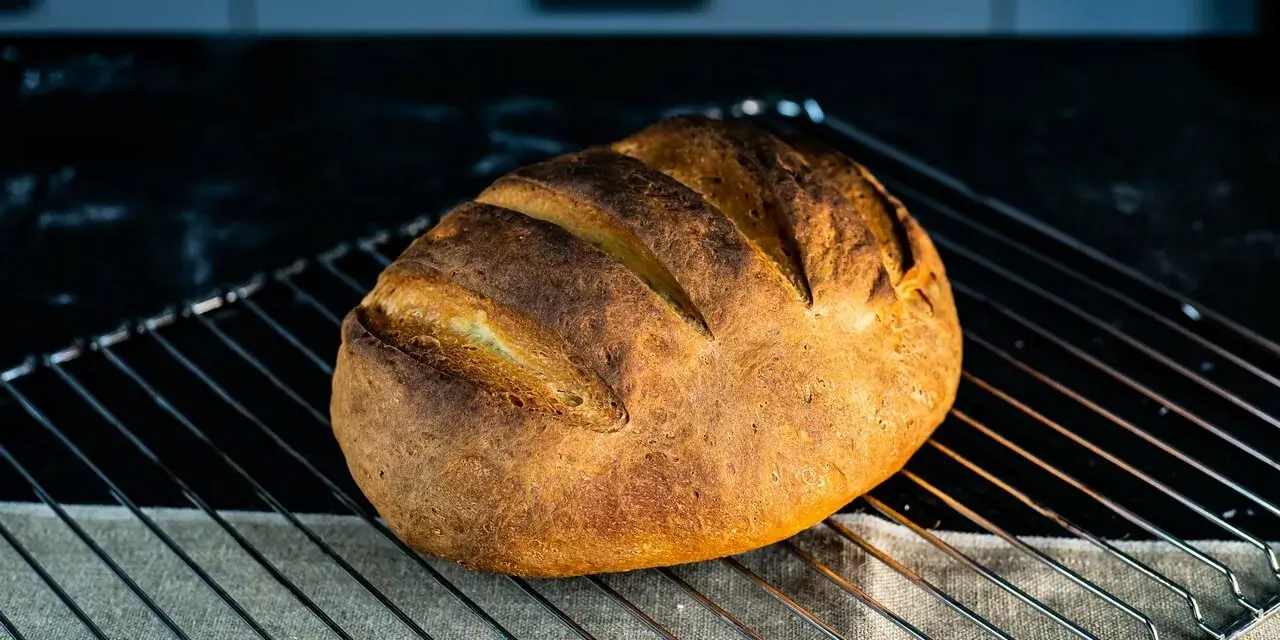
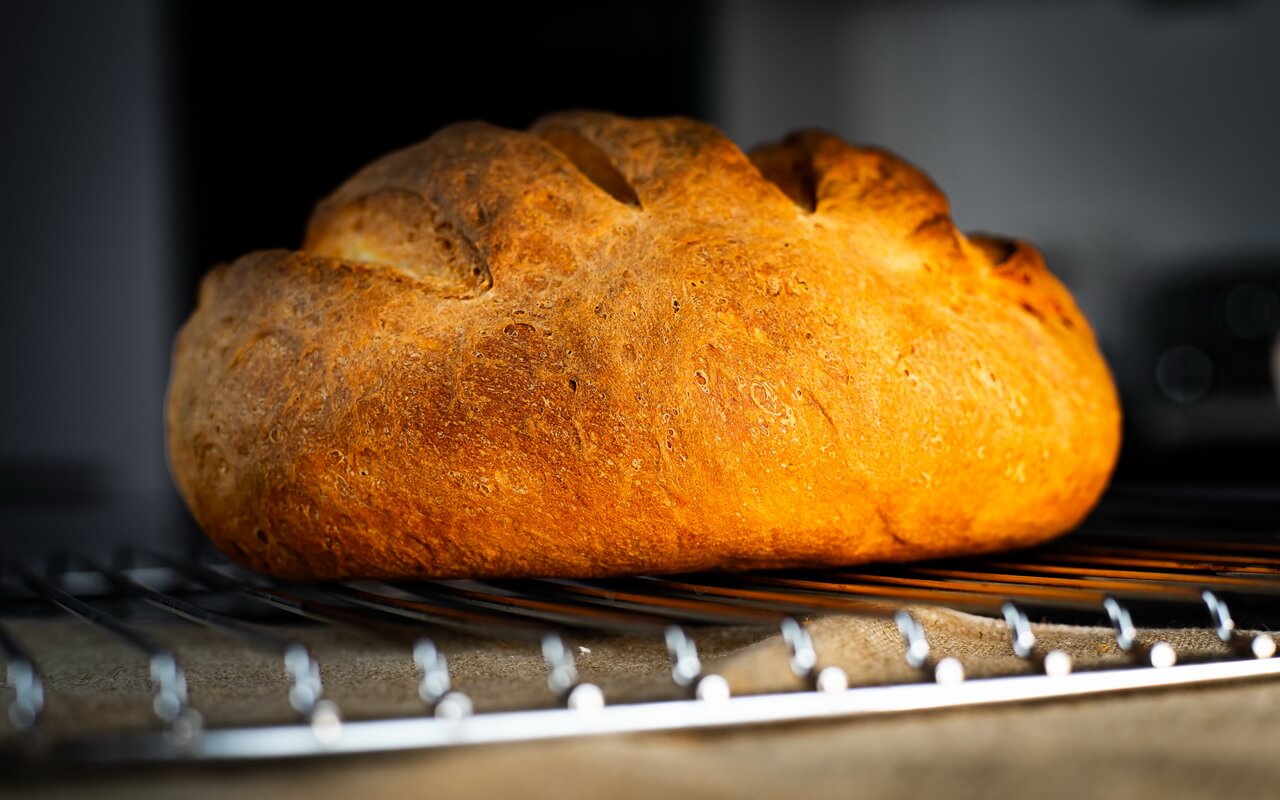
- After baking take your simple white bread out immediately and let it cool down for at least 1 hour on some kind of grid before you cut into it
- By using a grid you make sure that the bottom of the bread won’t get damp
Conclusion
Crust
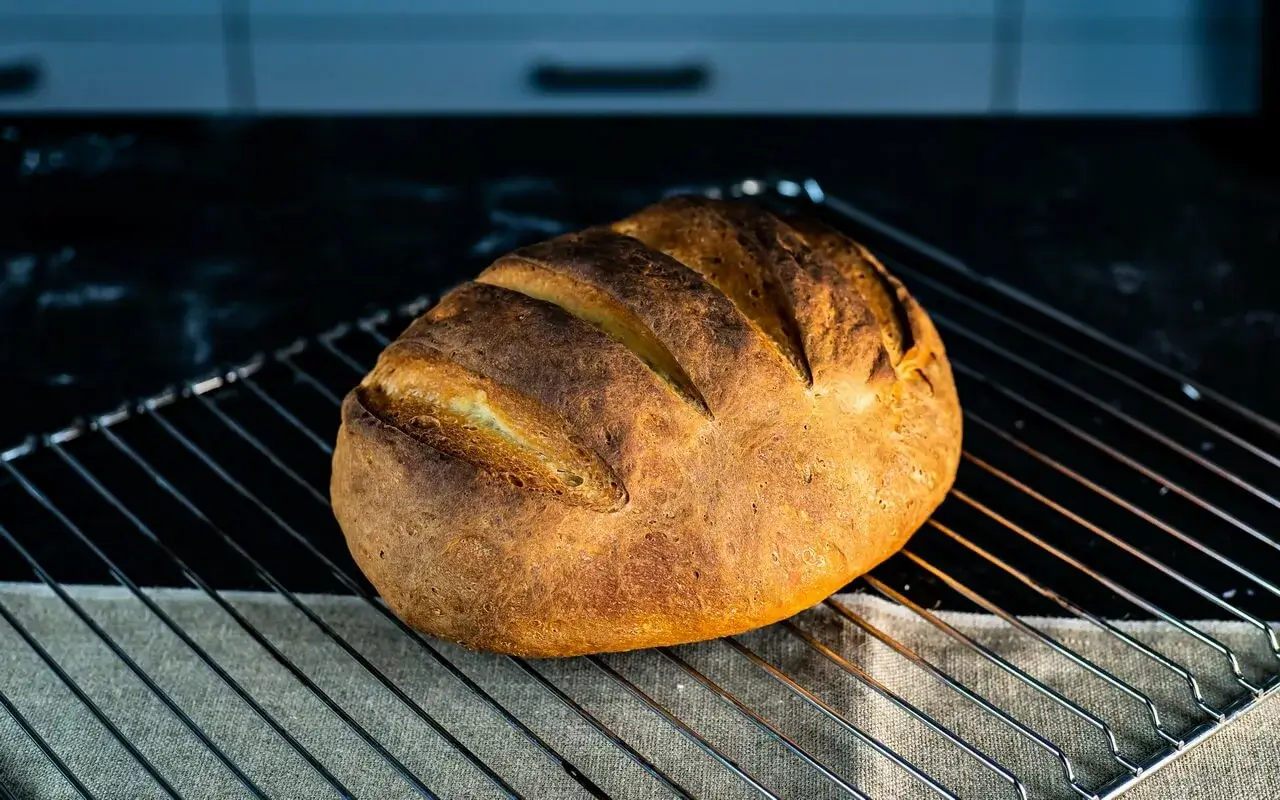
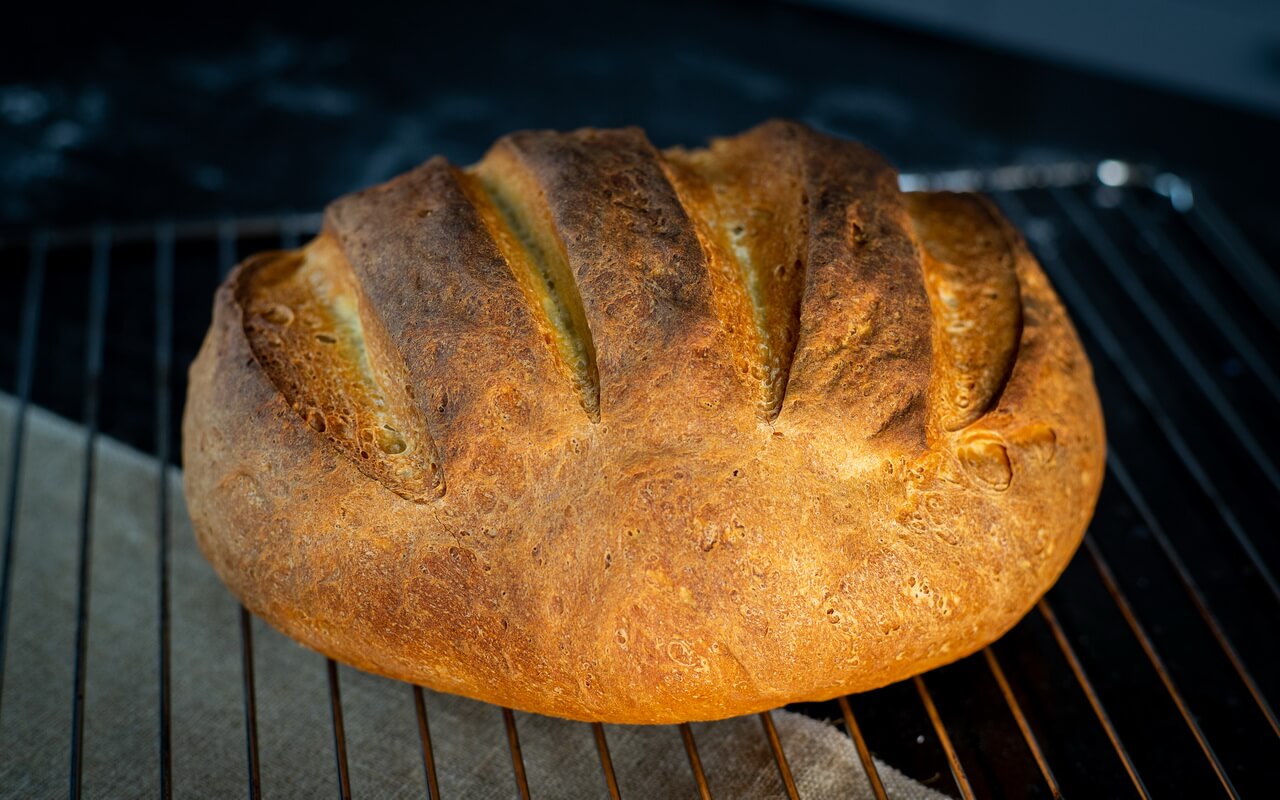
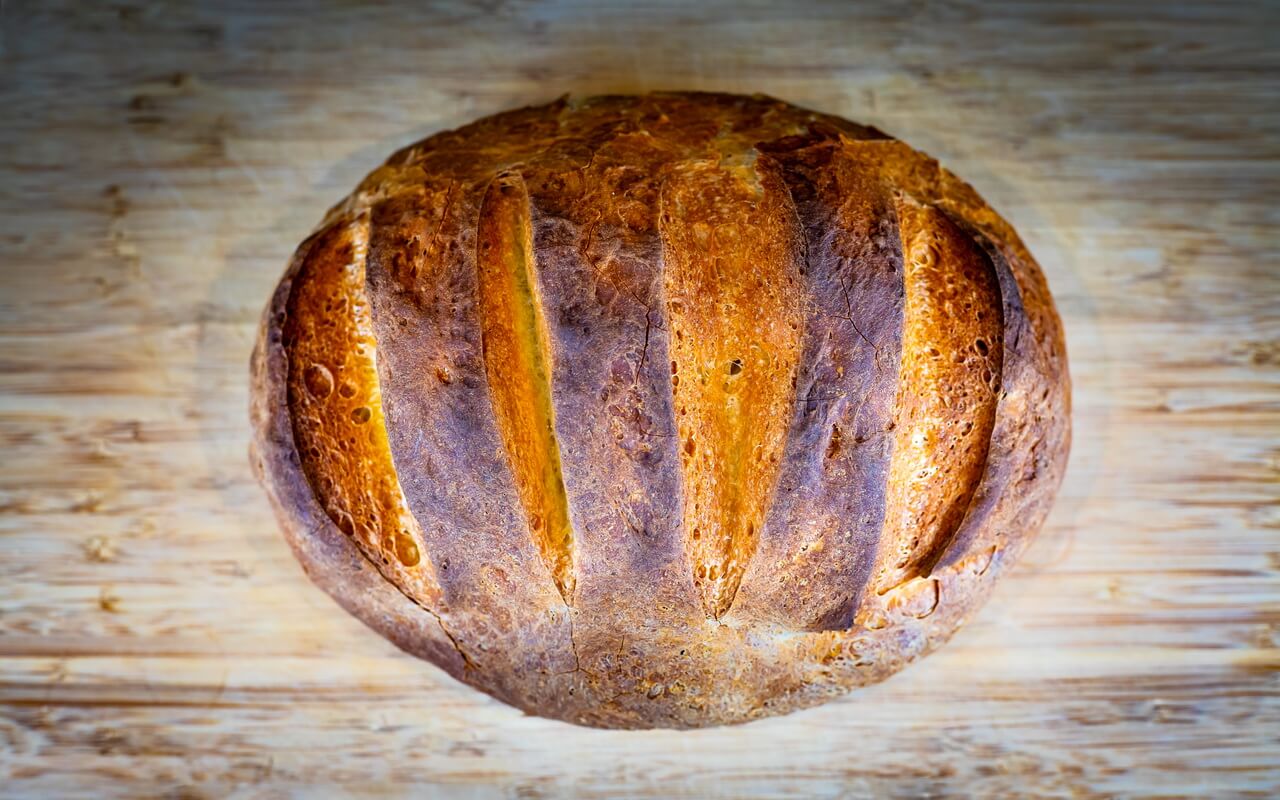
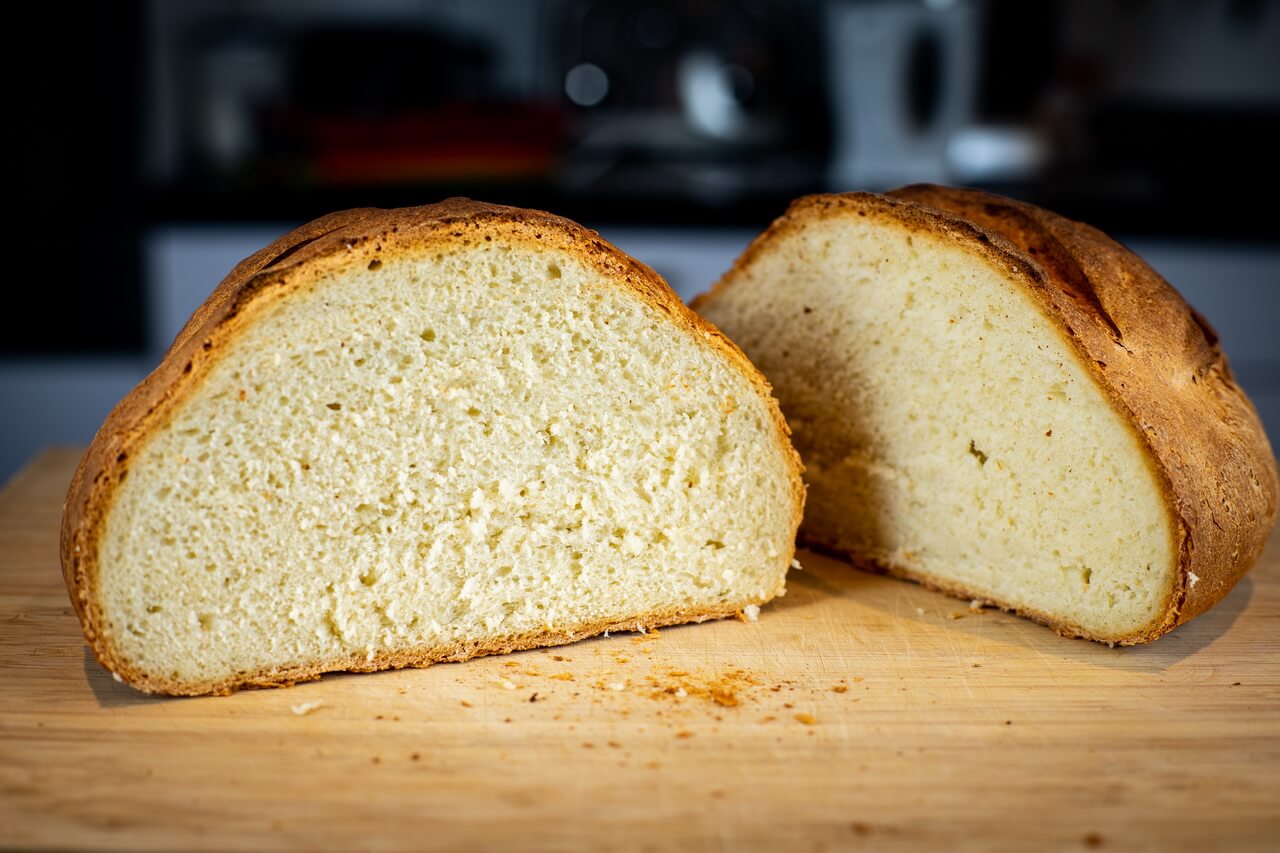
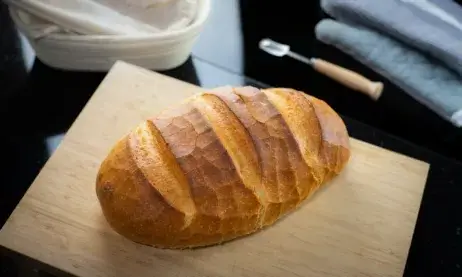
Crunchy and firm crust with a pleasant light taste.
Crumb
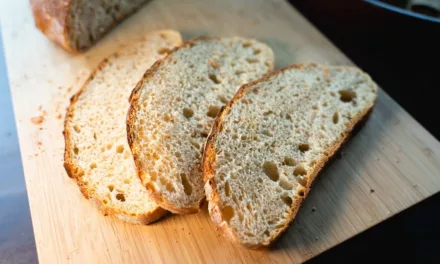
The crumb is nicely soft and fluffy with fine pores. Even though the crumb is fluffy and tender, it is still tight and does not tear apart when you spread it with butter or anything else.
Taste
This simple white bread is done quickly and the preparation is easy. It can not develop as much taste as e.g. a sourdough bread due to the real short preparation time. It does not have an extreme characteristic taste that doesn’t do any harm to the taste as it allows you to combine the bread in many different ways.
We had to use yeast for this bread so of course it should be clear that you will taste the yeast a bit. Still, it is a self made and delicious bread.
Goes good with
…almost everything! This simple white bread does not have an extremely characteristic taste so it can be combined with a lot of different things. If you prefer to make a sandwich out of it, have it toasted or rather like to combine it with sweet things – it all matches very well.

